Segments #
Segments are a way to group and classify users based on certain characteristics or traits that you can define. For example, you might create a segment for users who have made a purchase in the past 30 days, or for users who have visited your website more than 10 times. Segments allow you to filter through your users and understand different trends or patterns among different groups of people. It’s important to note that you can’t manually add or remove individual users from a segment – you can only define the rules that determine which users are included in the segment.
Creating a Segment #
To create a new segment, follow these steps:
- Login to your Retainly account and select [Segments] on the Sidebar.
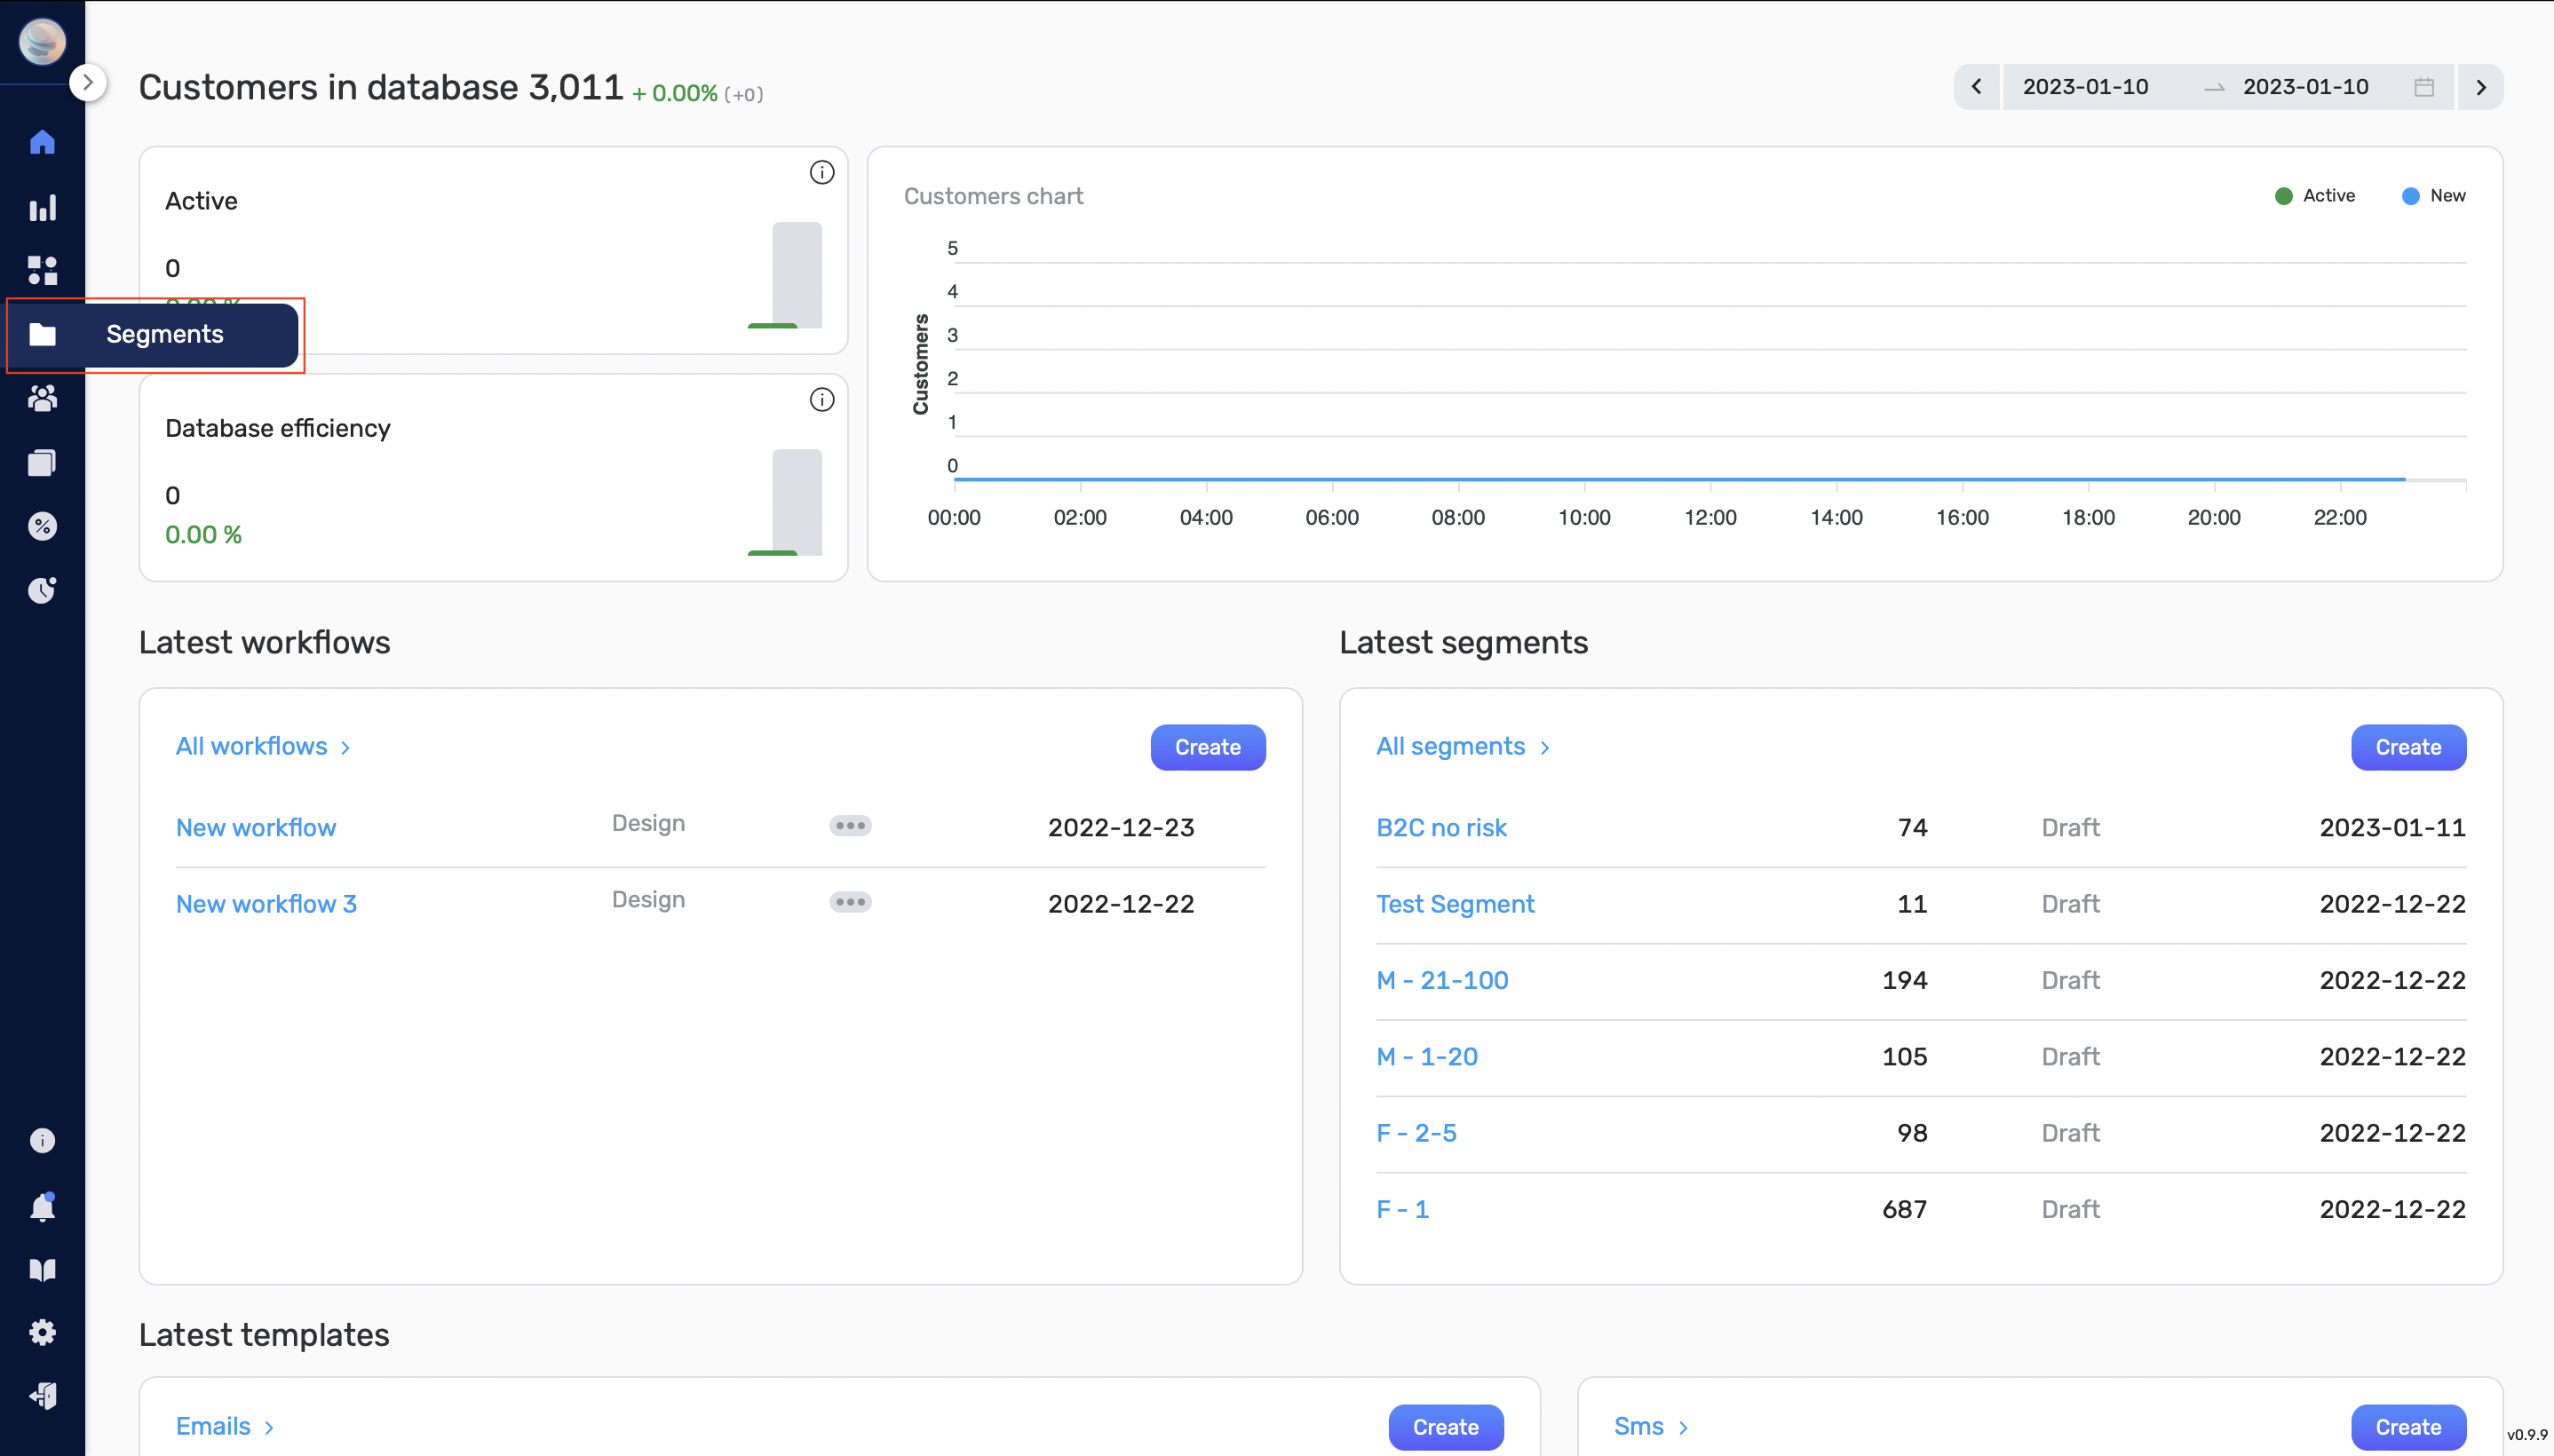
- This will take you to the Segments webpage, where you can see all of your created segments and general information about them.
- Click the [Create] button in the top right corner of the Segments webpage. This will take you to the Segment Creation page.
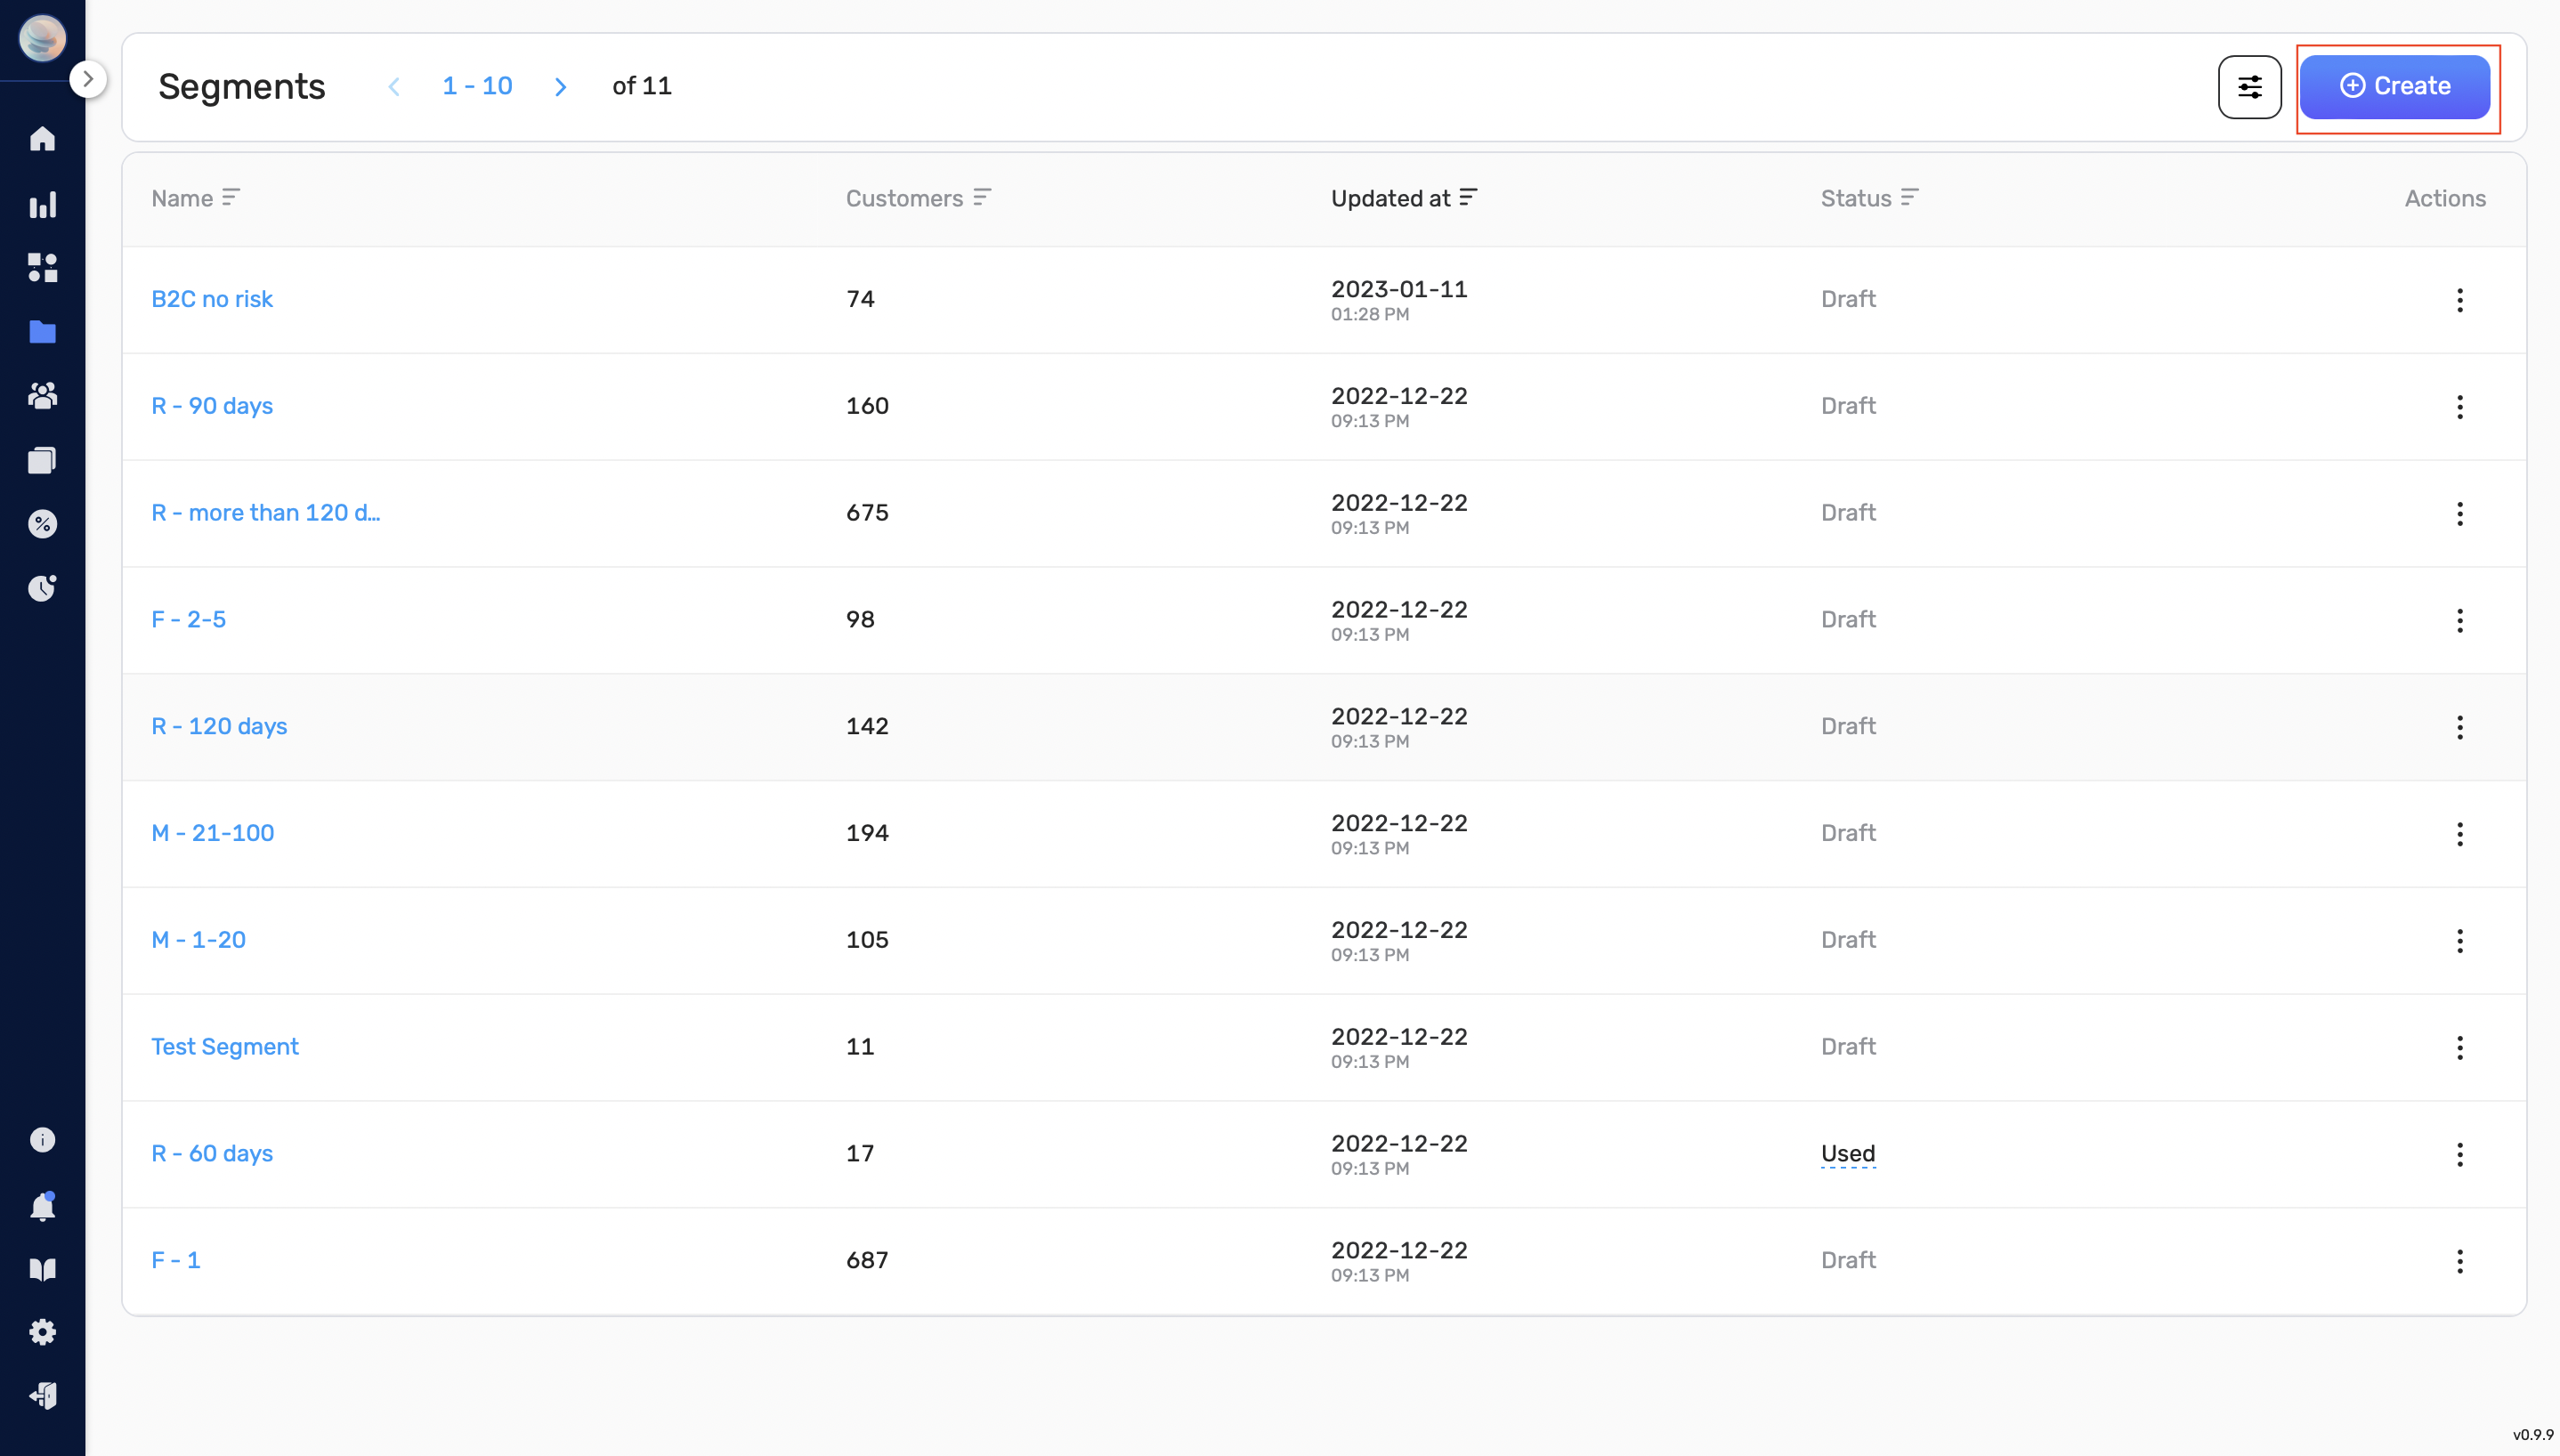
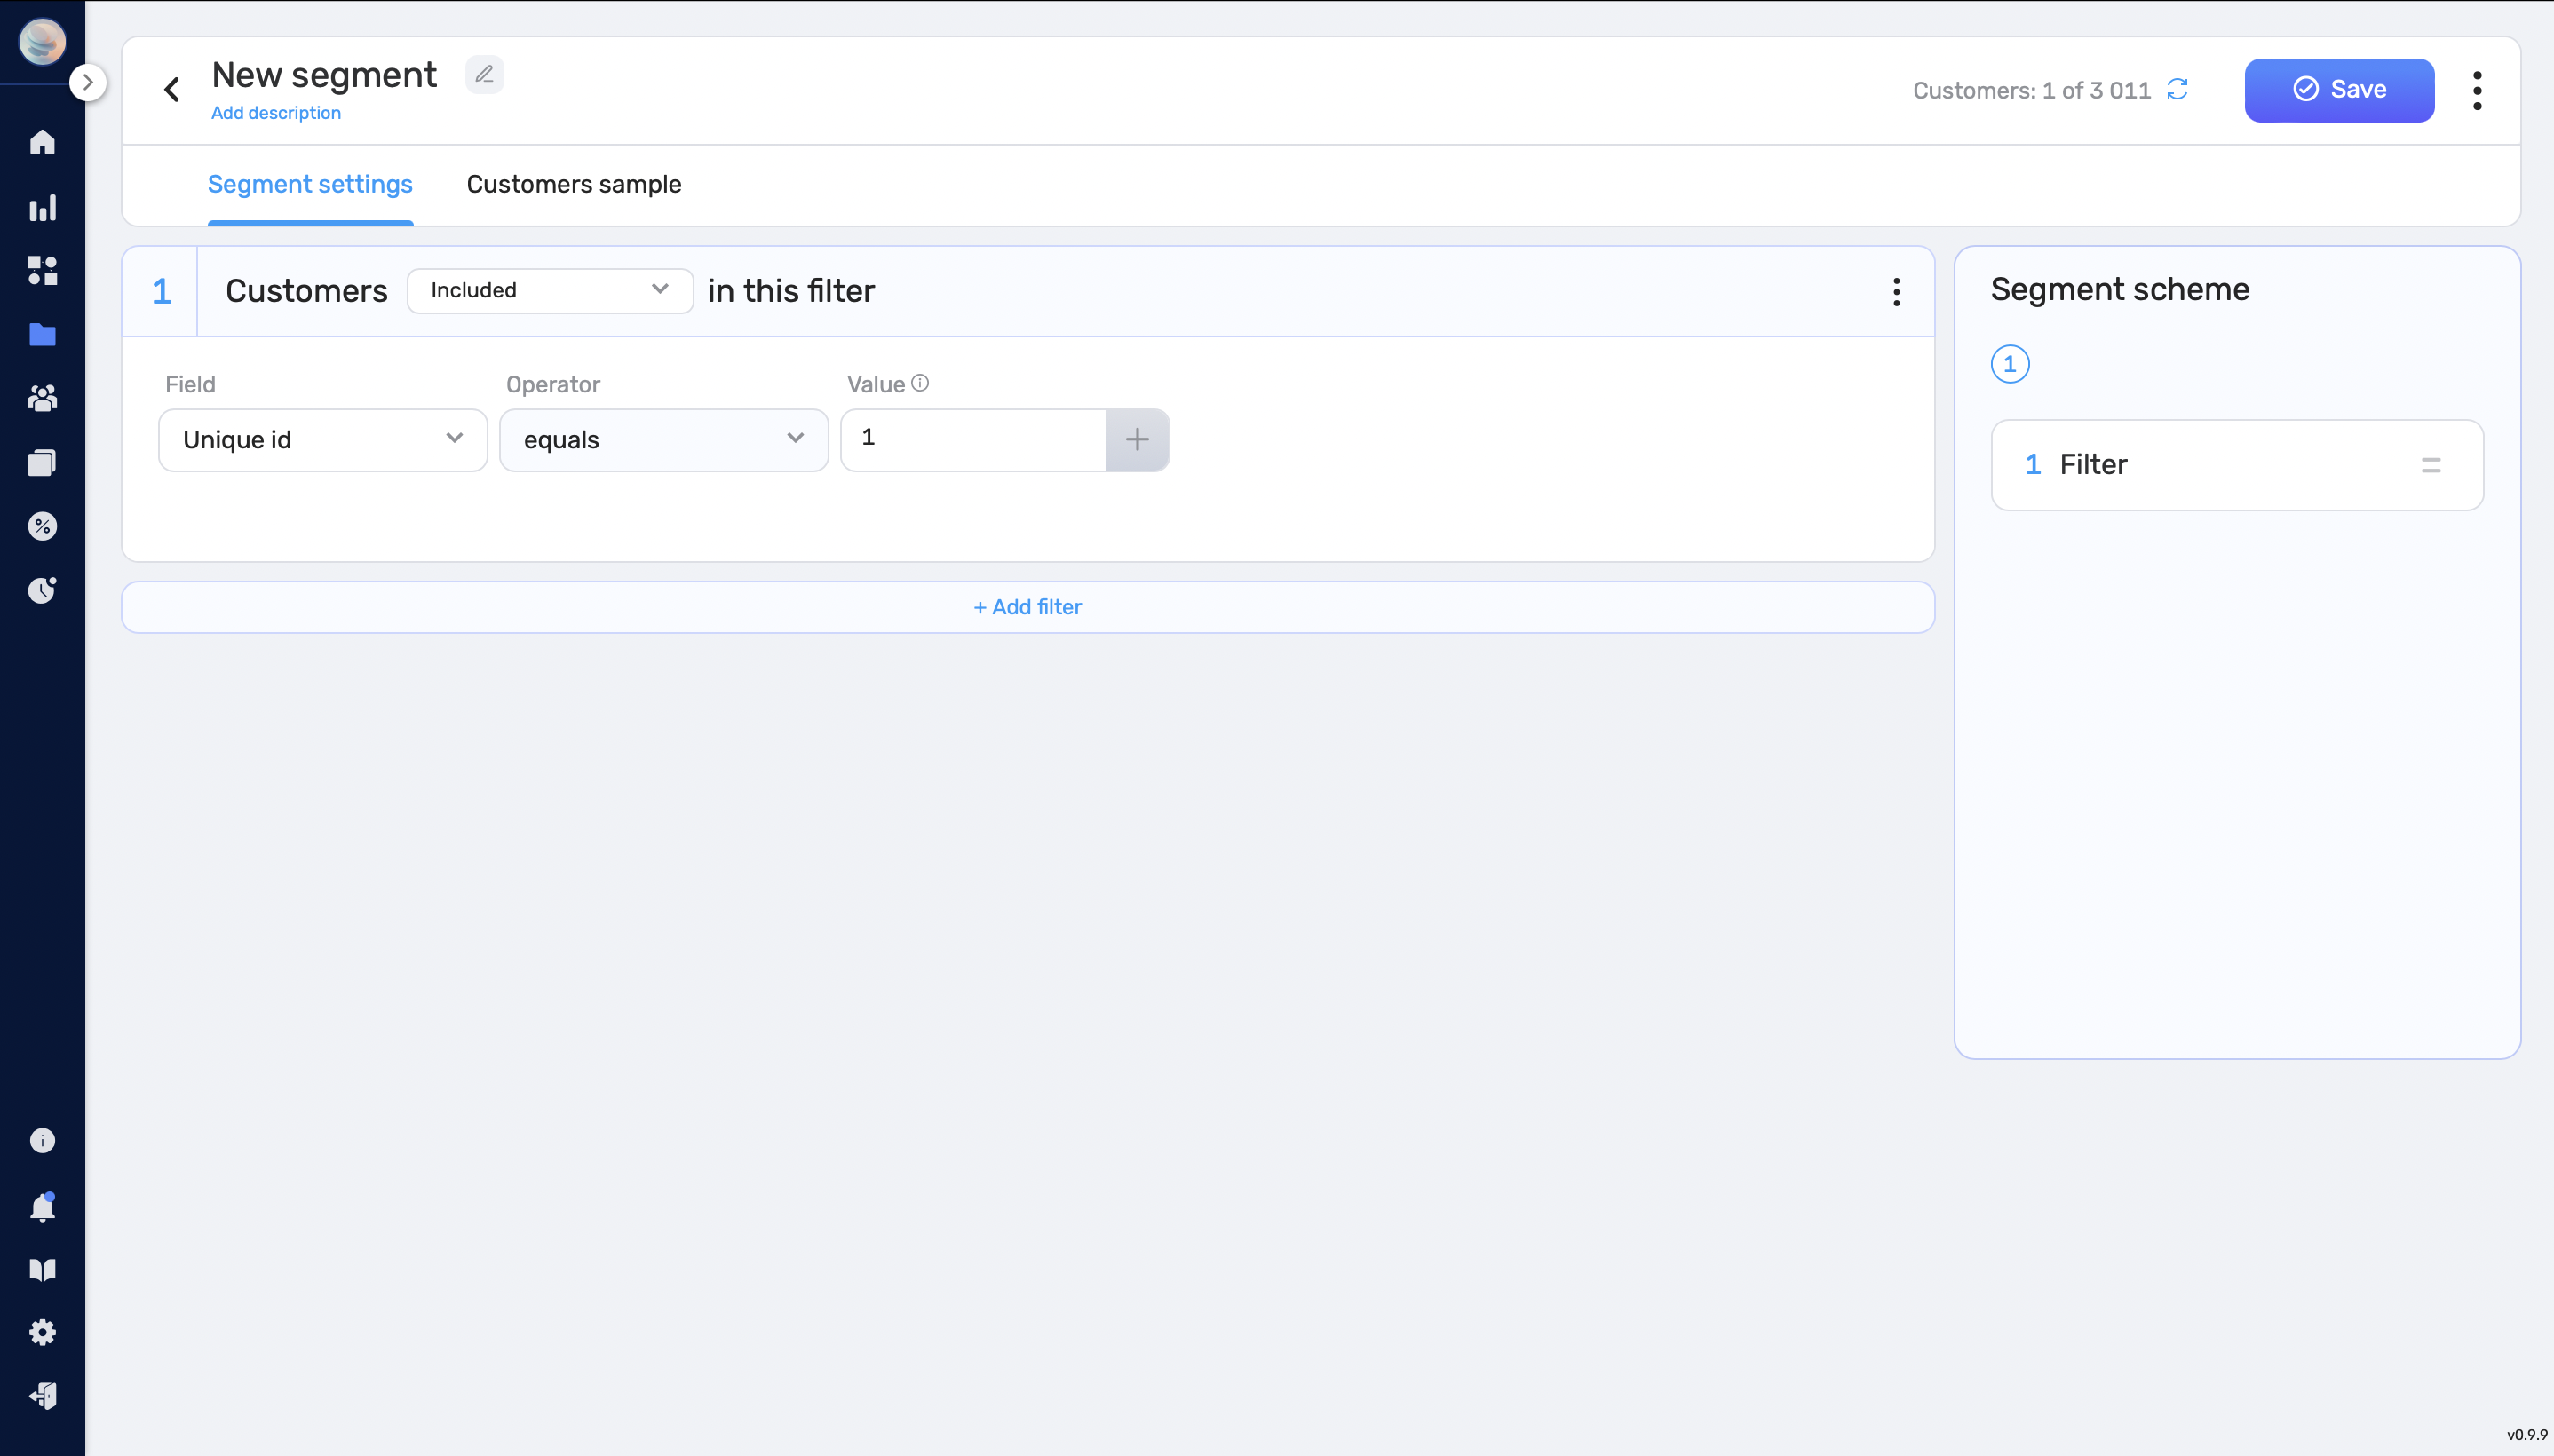
- Press “+ Add filter” to add the first query for your segment.

- From the list, select either a linear attribute, array, event, or aggregate based on which you would like to build your query.
- If you want to specify event parameters, press “+ Add event filter” or change the event operator to either “Matches All” or “Matches Any.”
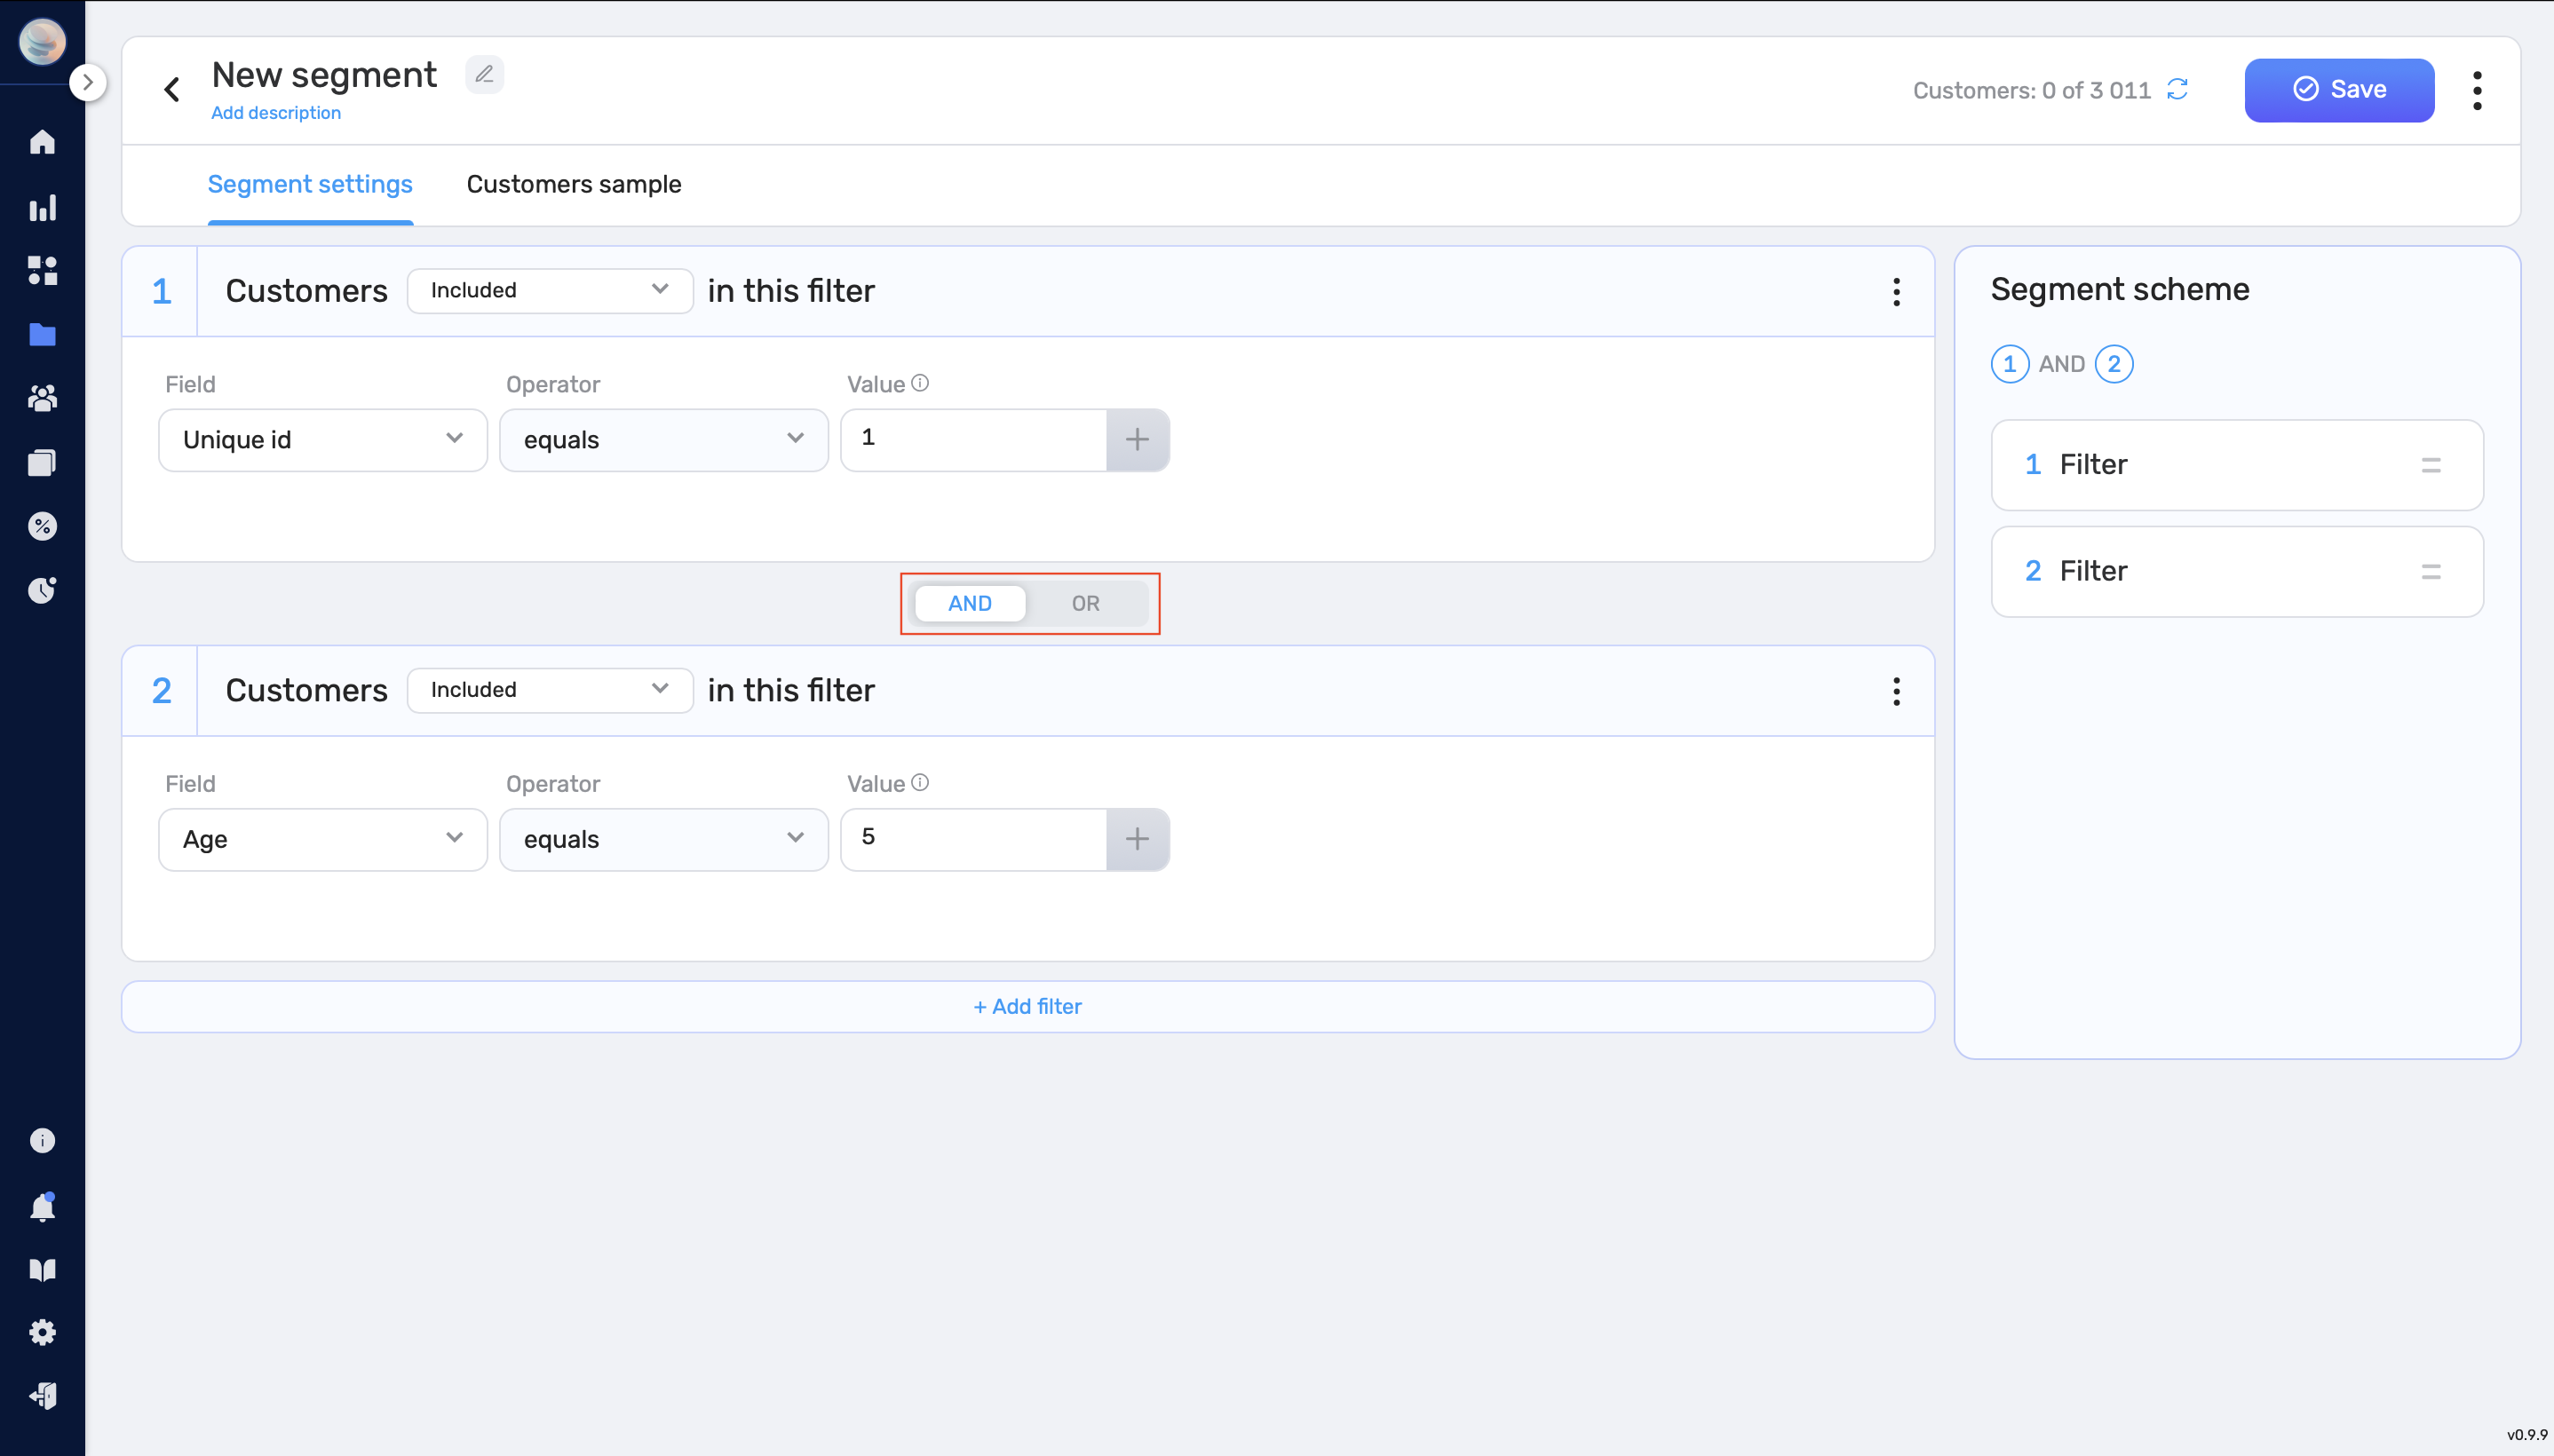
- To add more queries to the segment, press “+ Add filter” and repeat steps 3-4.
- Choose either the OR or AND operator to set the dependencies between the queries:
- OR: Customers that match at least one of the queries will be segmented.
- AND: Customers that match both queries will be segmented.
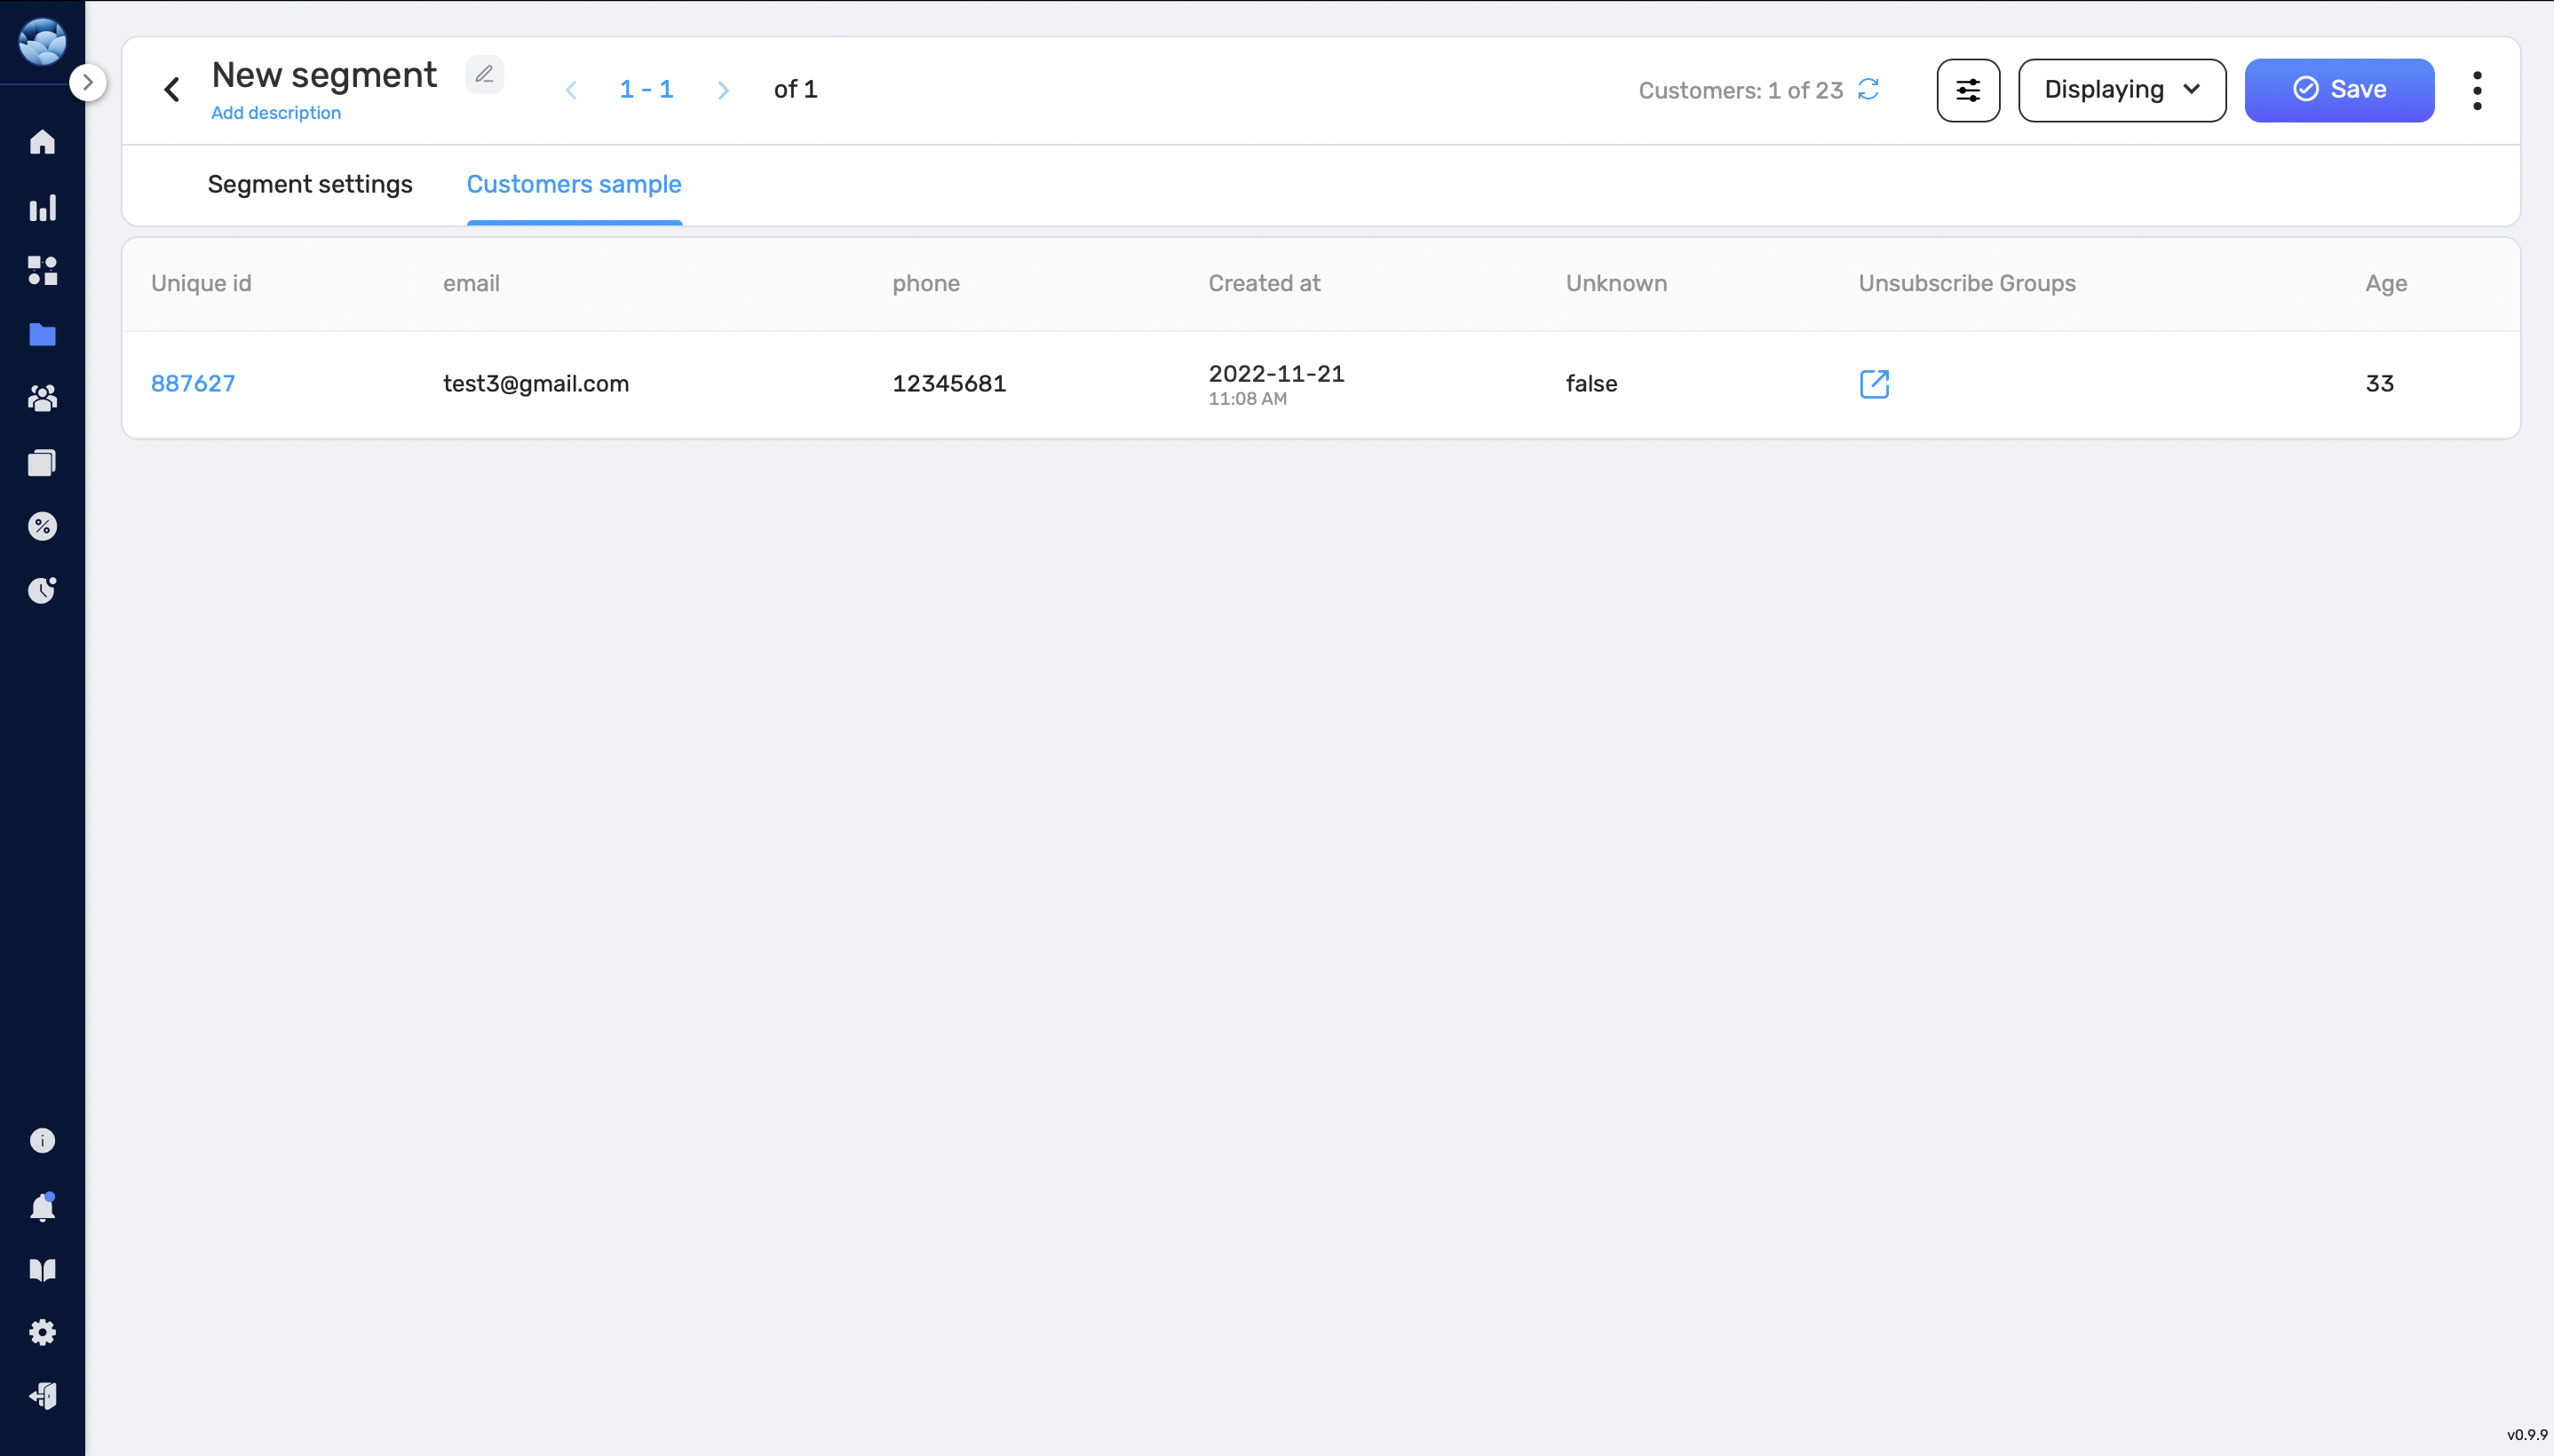
- Click on the “Customers sample” tab to preview the segmented group of customers.
- You can also create funnels for a deeper analysis of the customer journey. See the Funnels section for a step-by-step guide on how to do this.
- To save the created segment, press the “Save” button in the top right corner.
Example #
Here is an example of how you might use segments to filter a group of users:
Let’s say you want to create a segment for customers who have made a purchase in the past month and have a loyalty score of at least 50. To do this, you would add two queries to your segment:
- An event query for the Purchase event, with a time range of the past month.
- A linear attribute query for the Loyalty Score attribute, with a minimum value of 50.
By setting the operator to AND, you will create a segment of users who have met both of these criteria.
Funnels #
A funnel is a series of events or actions a user takes on their journey through your product or website. Creating a funnel allows you to analyze the conversion rate at each step of the journey and identify any bottlenecks or points of friction that may be causing users to drop off.
Creating a Funnel #
To create a new funnel, follow these steps:
- Go to the Sidebar > Segments and click the “Create” button.
- Add a name for your funnel.
- Press the “+Add filter” button to add an event or array query as the first step in your funnel.
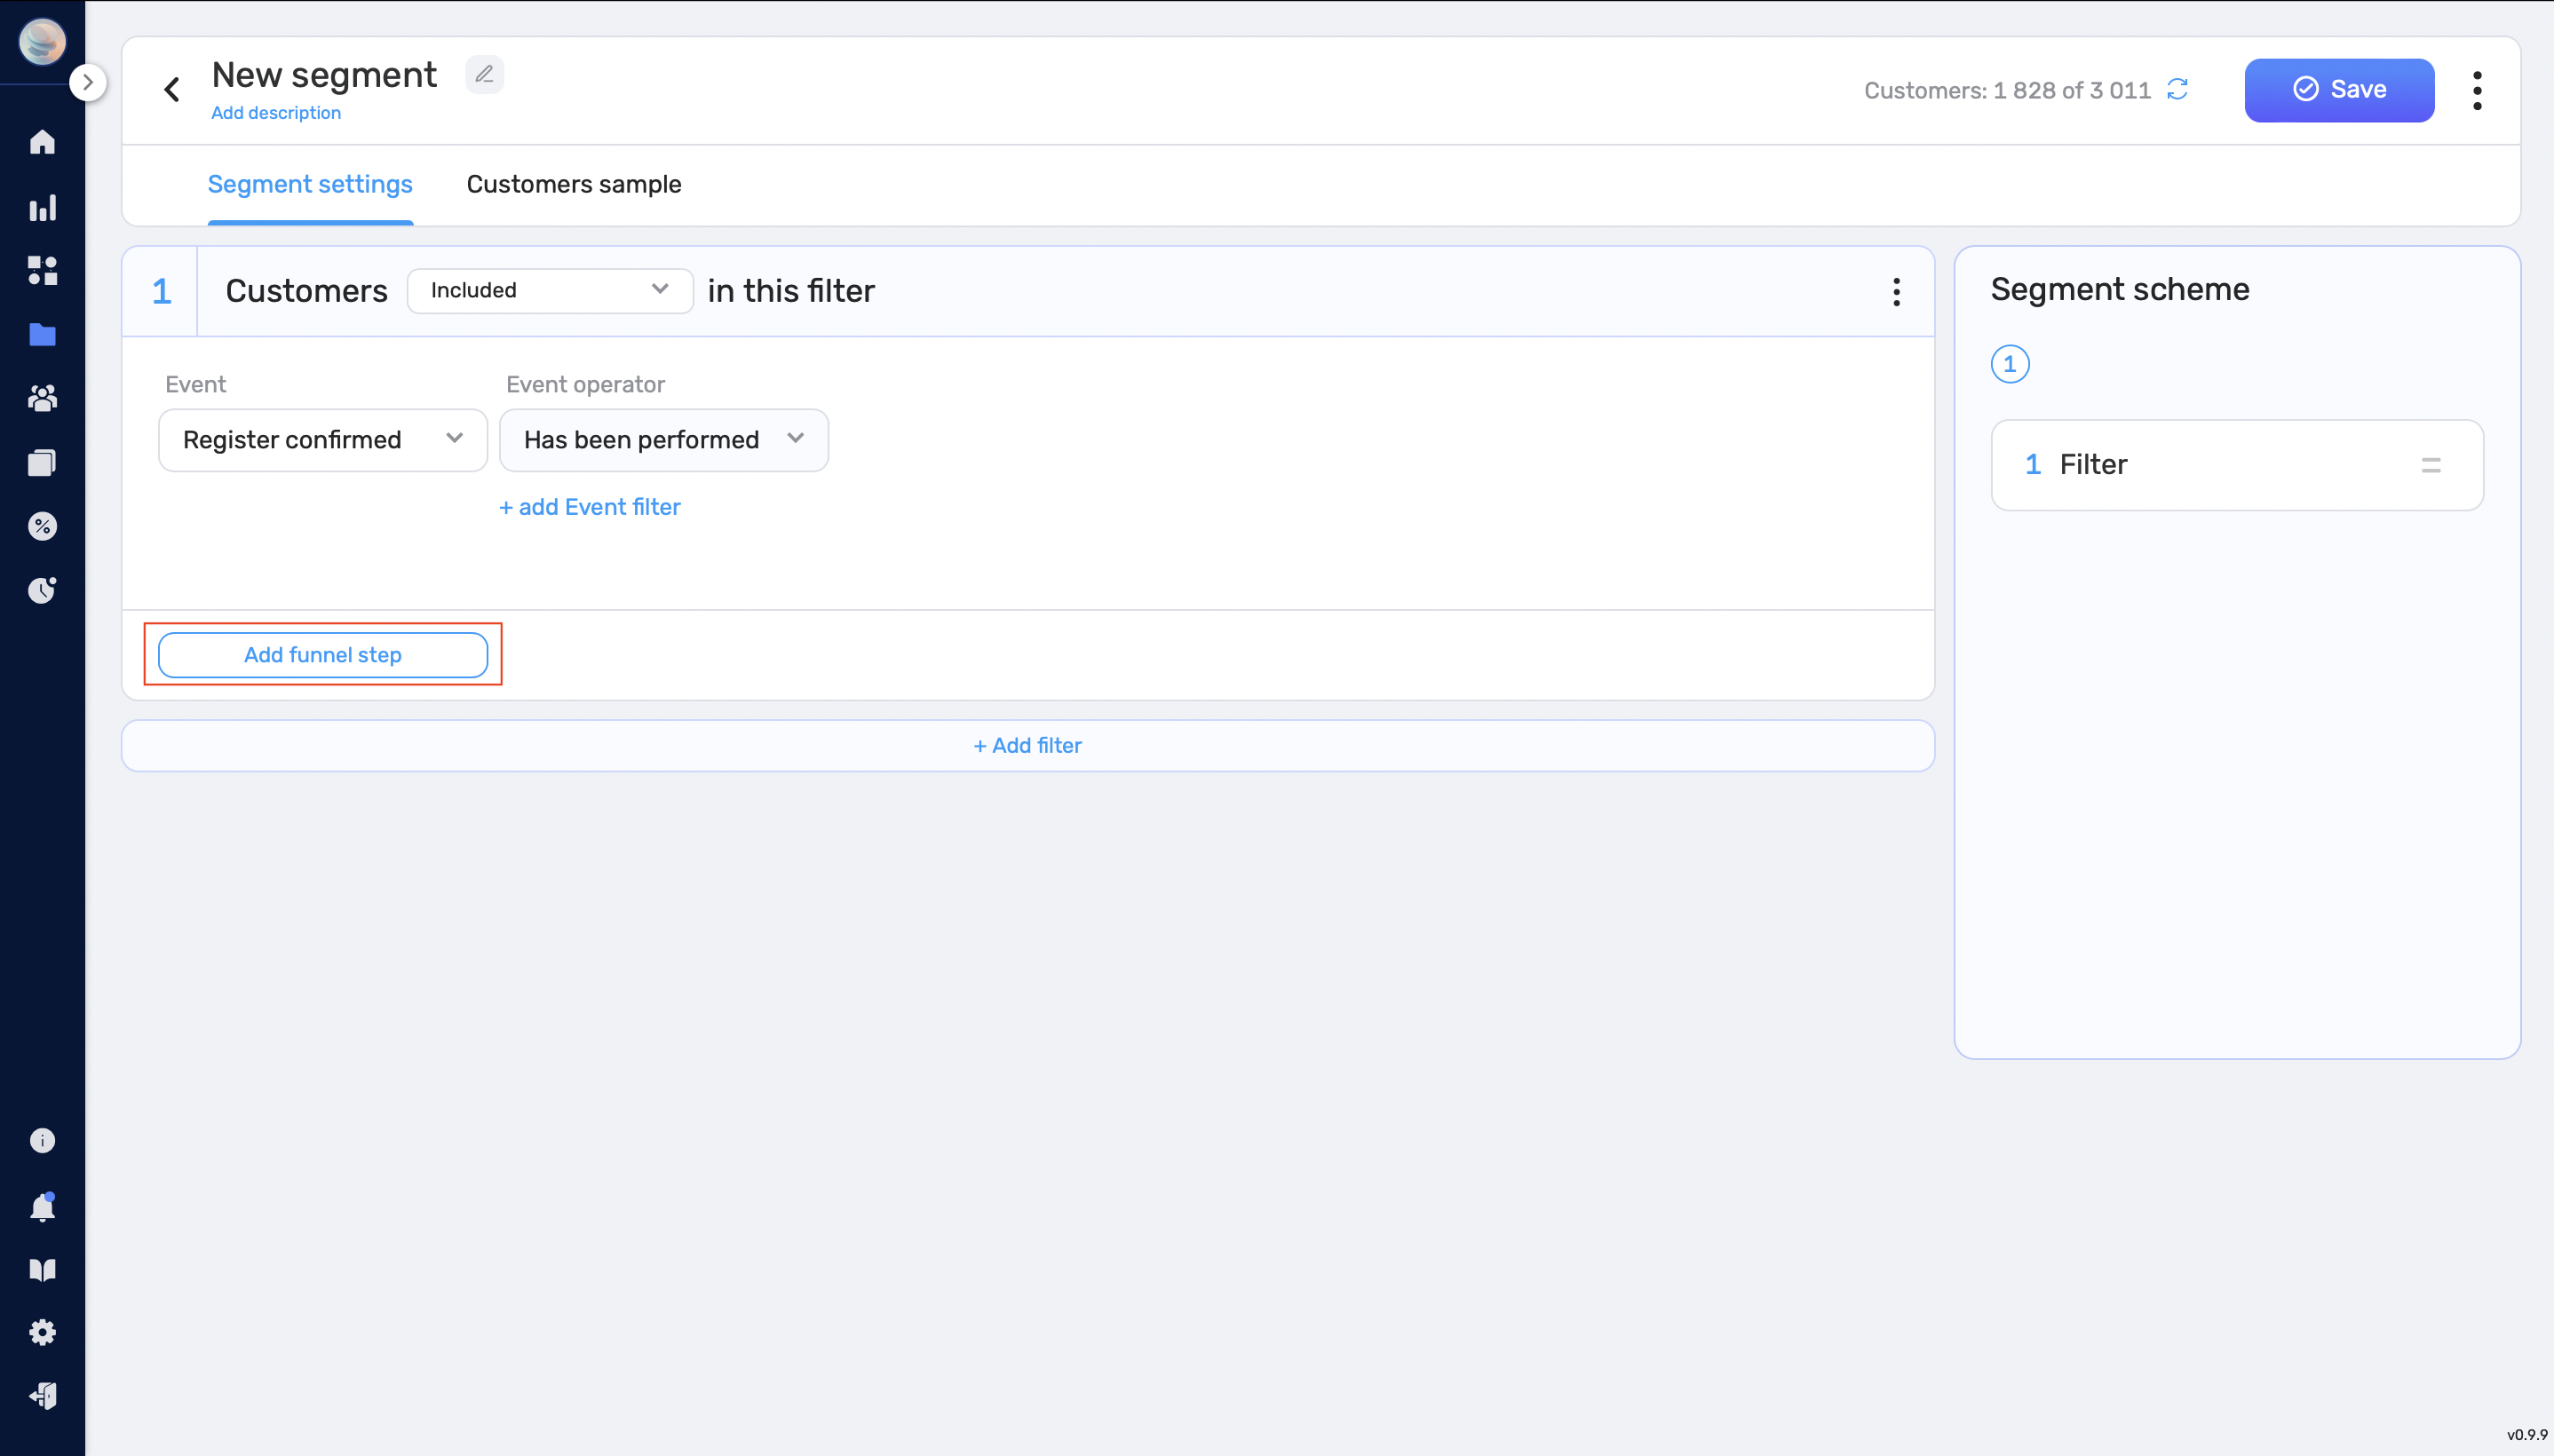
- Press the “Add funnel step” button to add additional steps to your funnel.
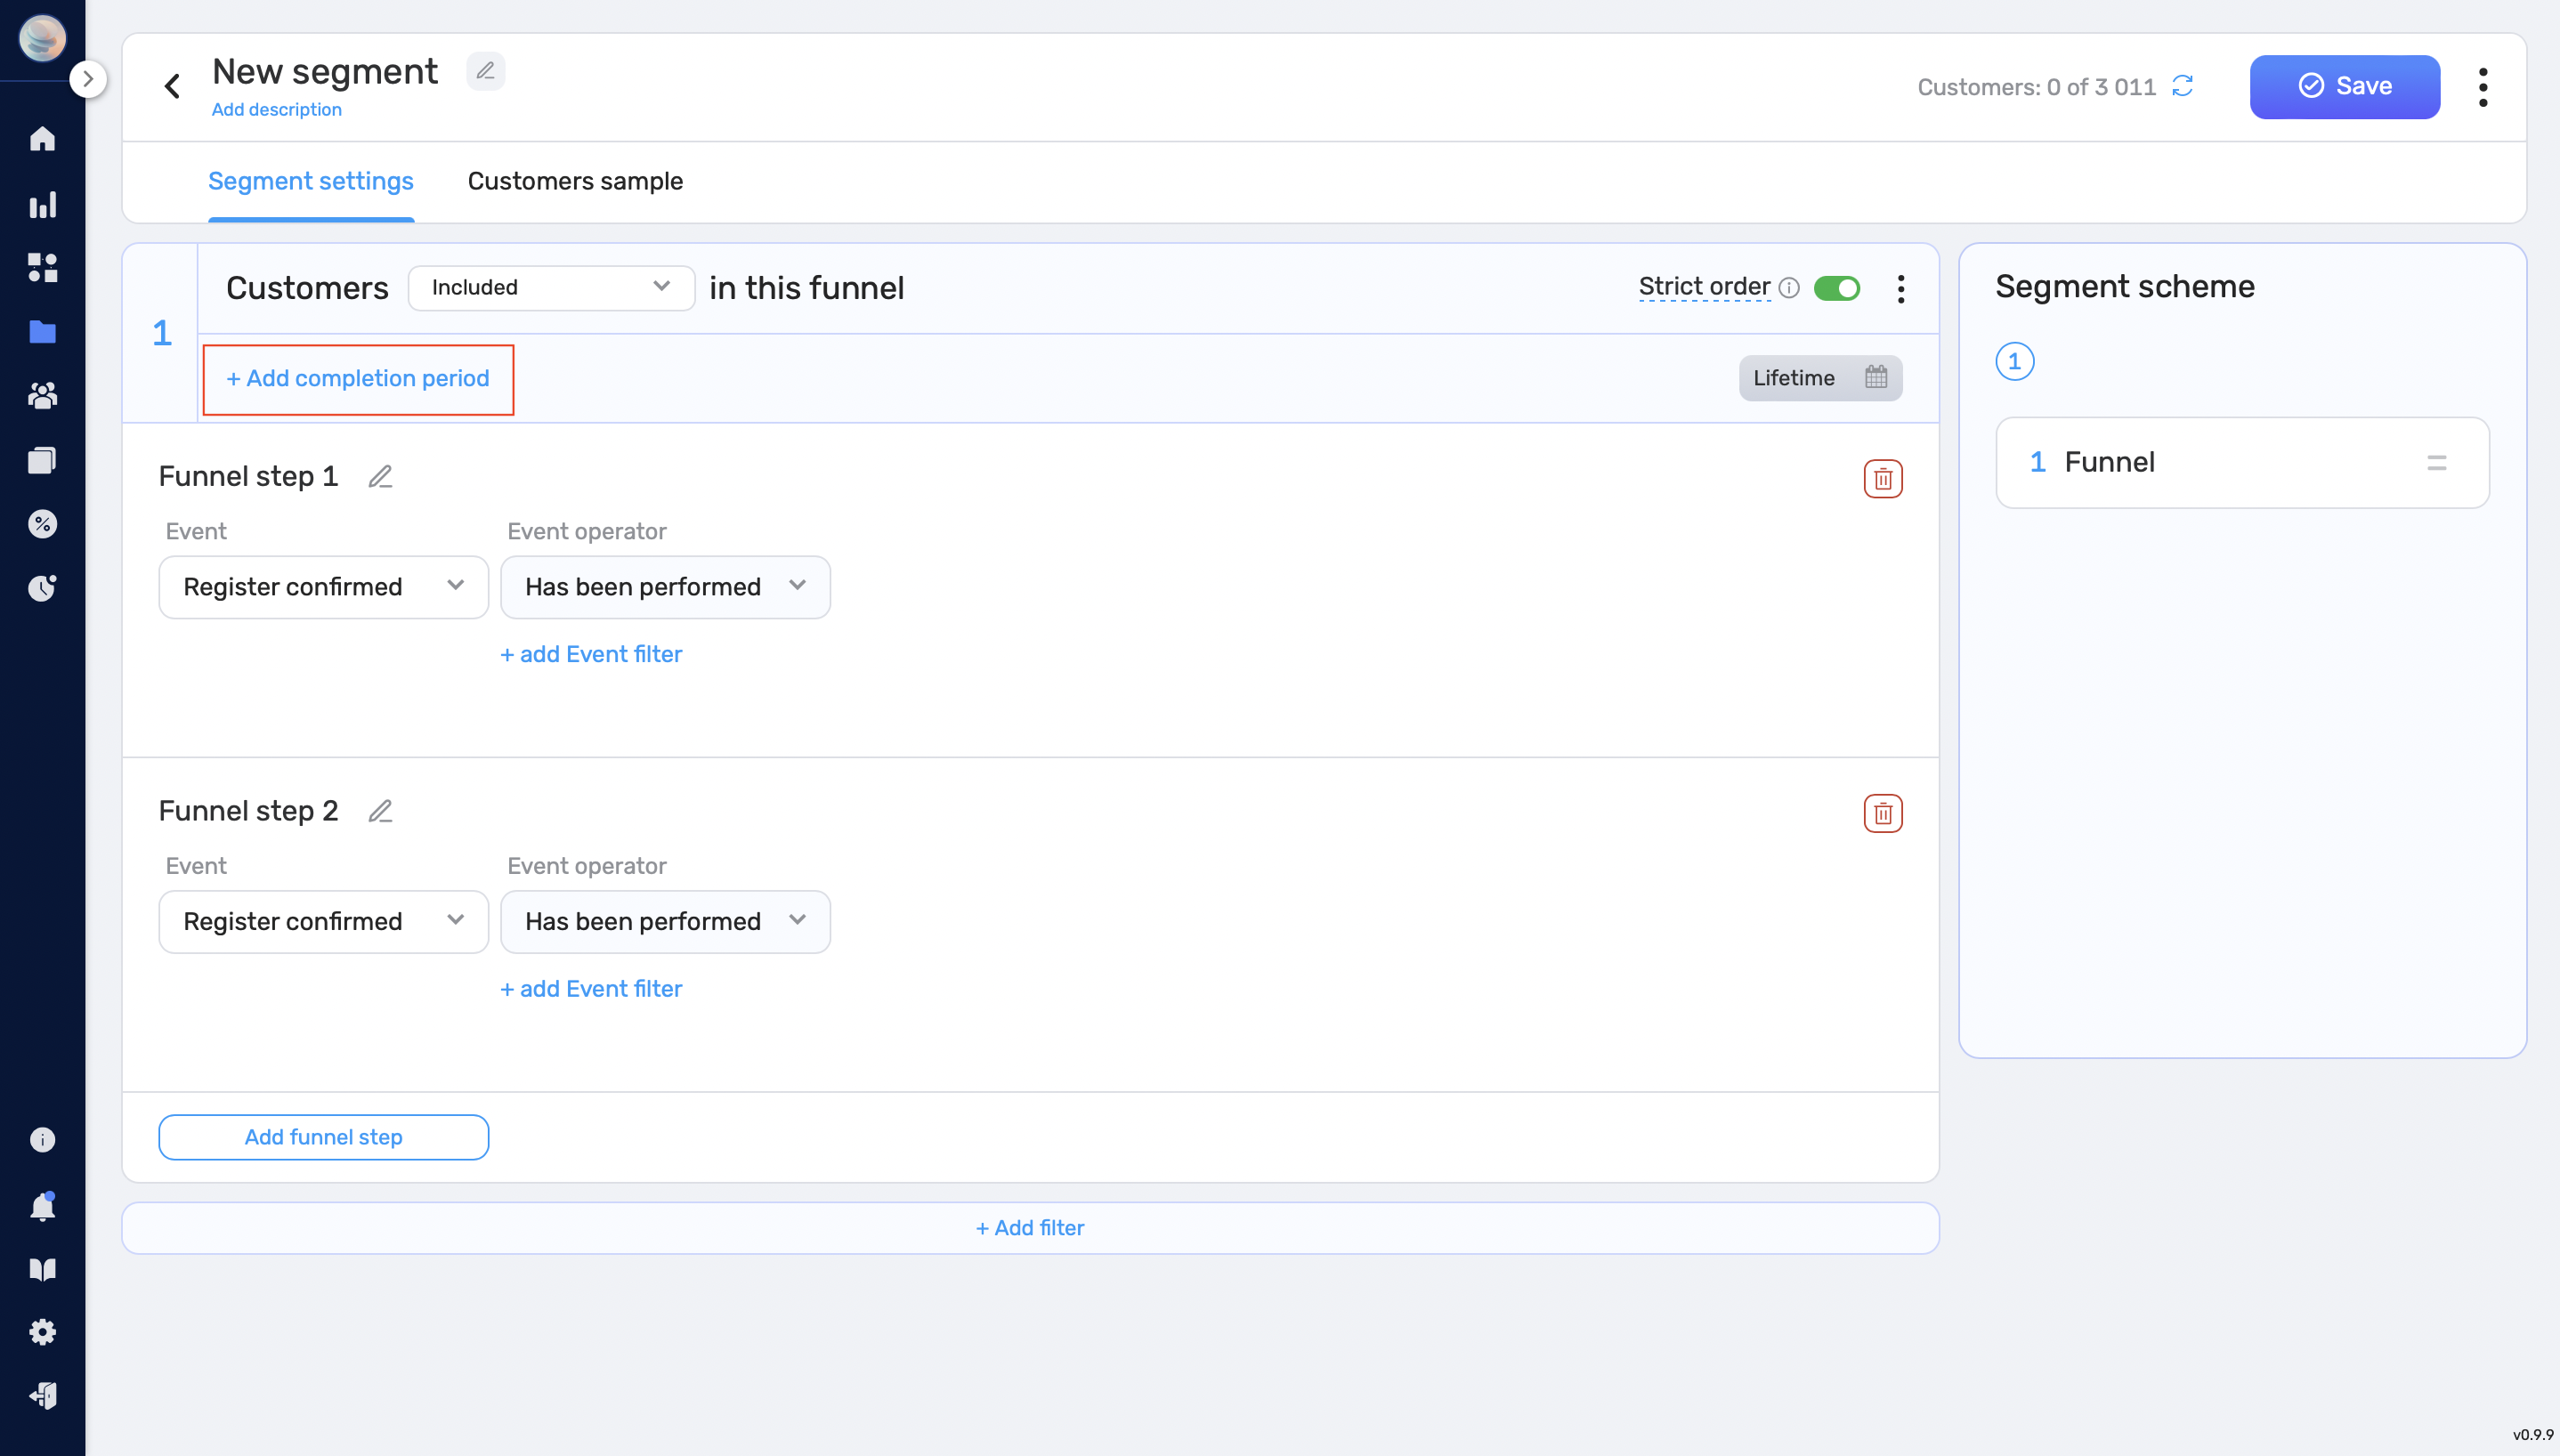
- You can set a completion period by pressing the “+add completion period” button. This allows you to analyze the funnel by specifying a time frame within which a user should ideally exit the funnel after performing the last step. Note: if you create a funnel based on an array, you need to specify the array field, representing the date and time when the funnel step occurred
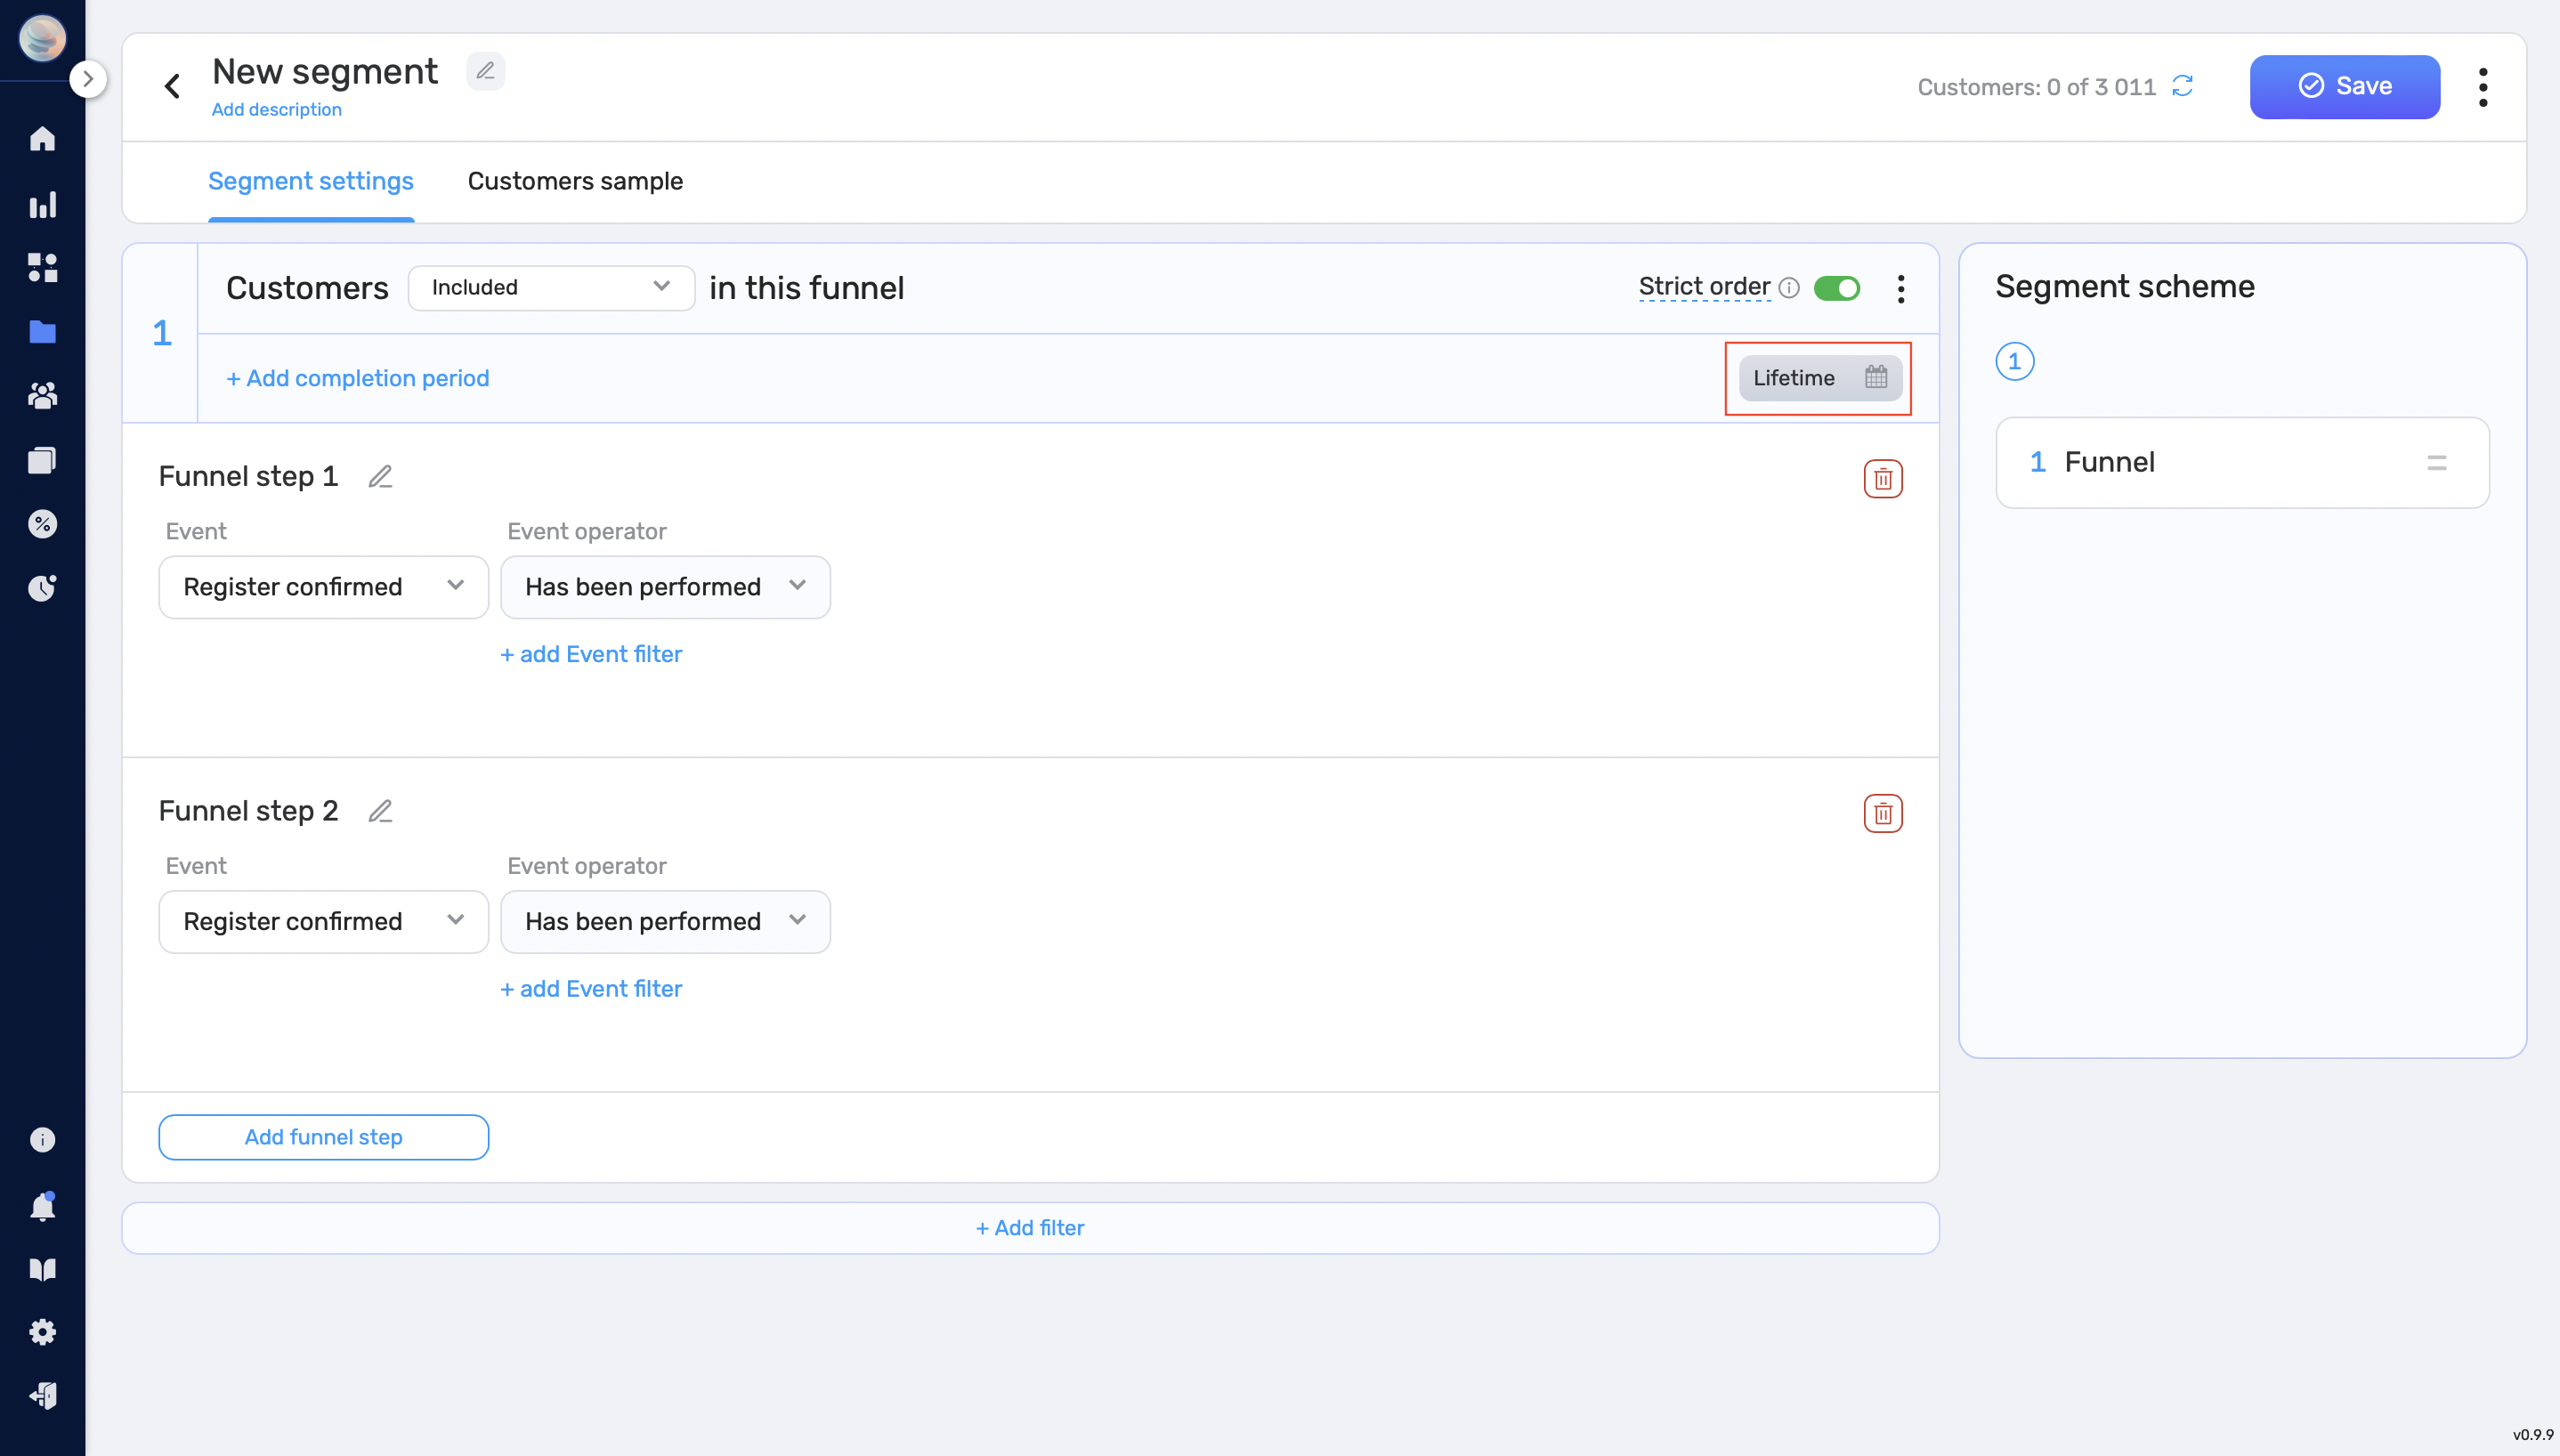
- To set the desired time period within which the first step of the funnel has occurred, press the “Calendar” button. Note:if you create a funnel based on an array, you need to specify the array field, representing the date and time when the funnel step occurred.
- If you want to require that users complete the steps of the funnel in strict order, you can enable the strict order toggle. With this option enabled, users will not be able to perform other actions (events) between funnel steps.
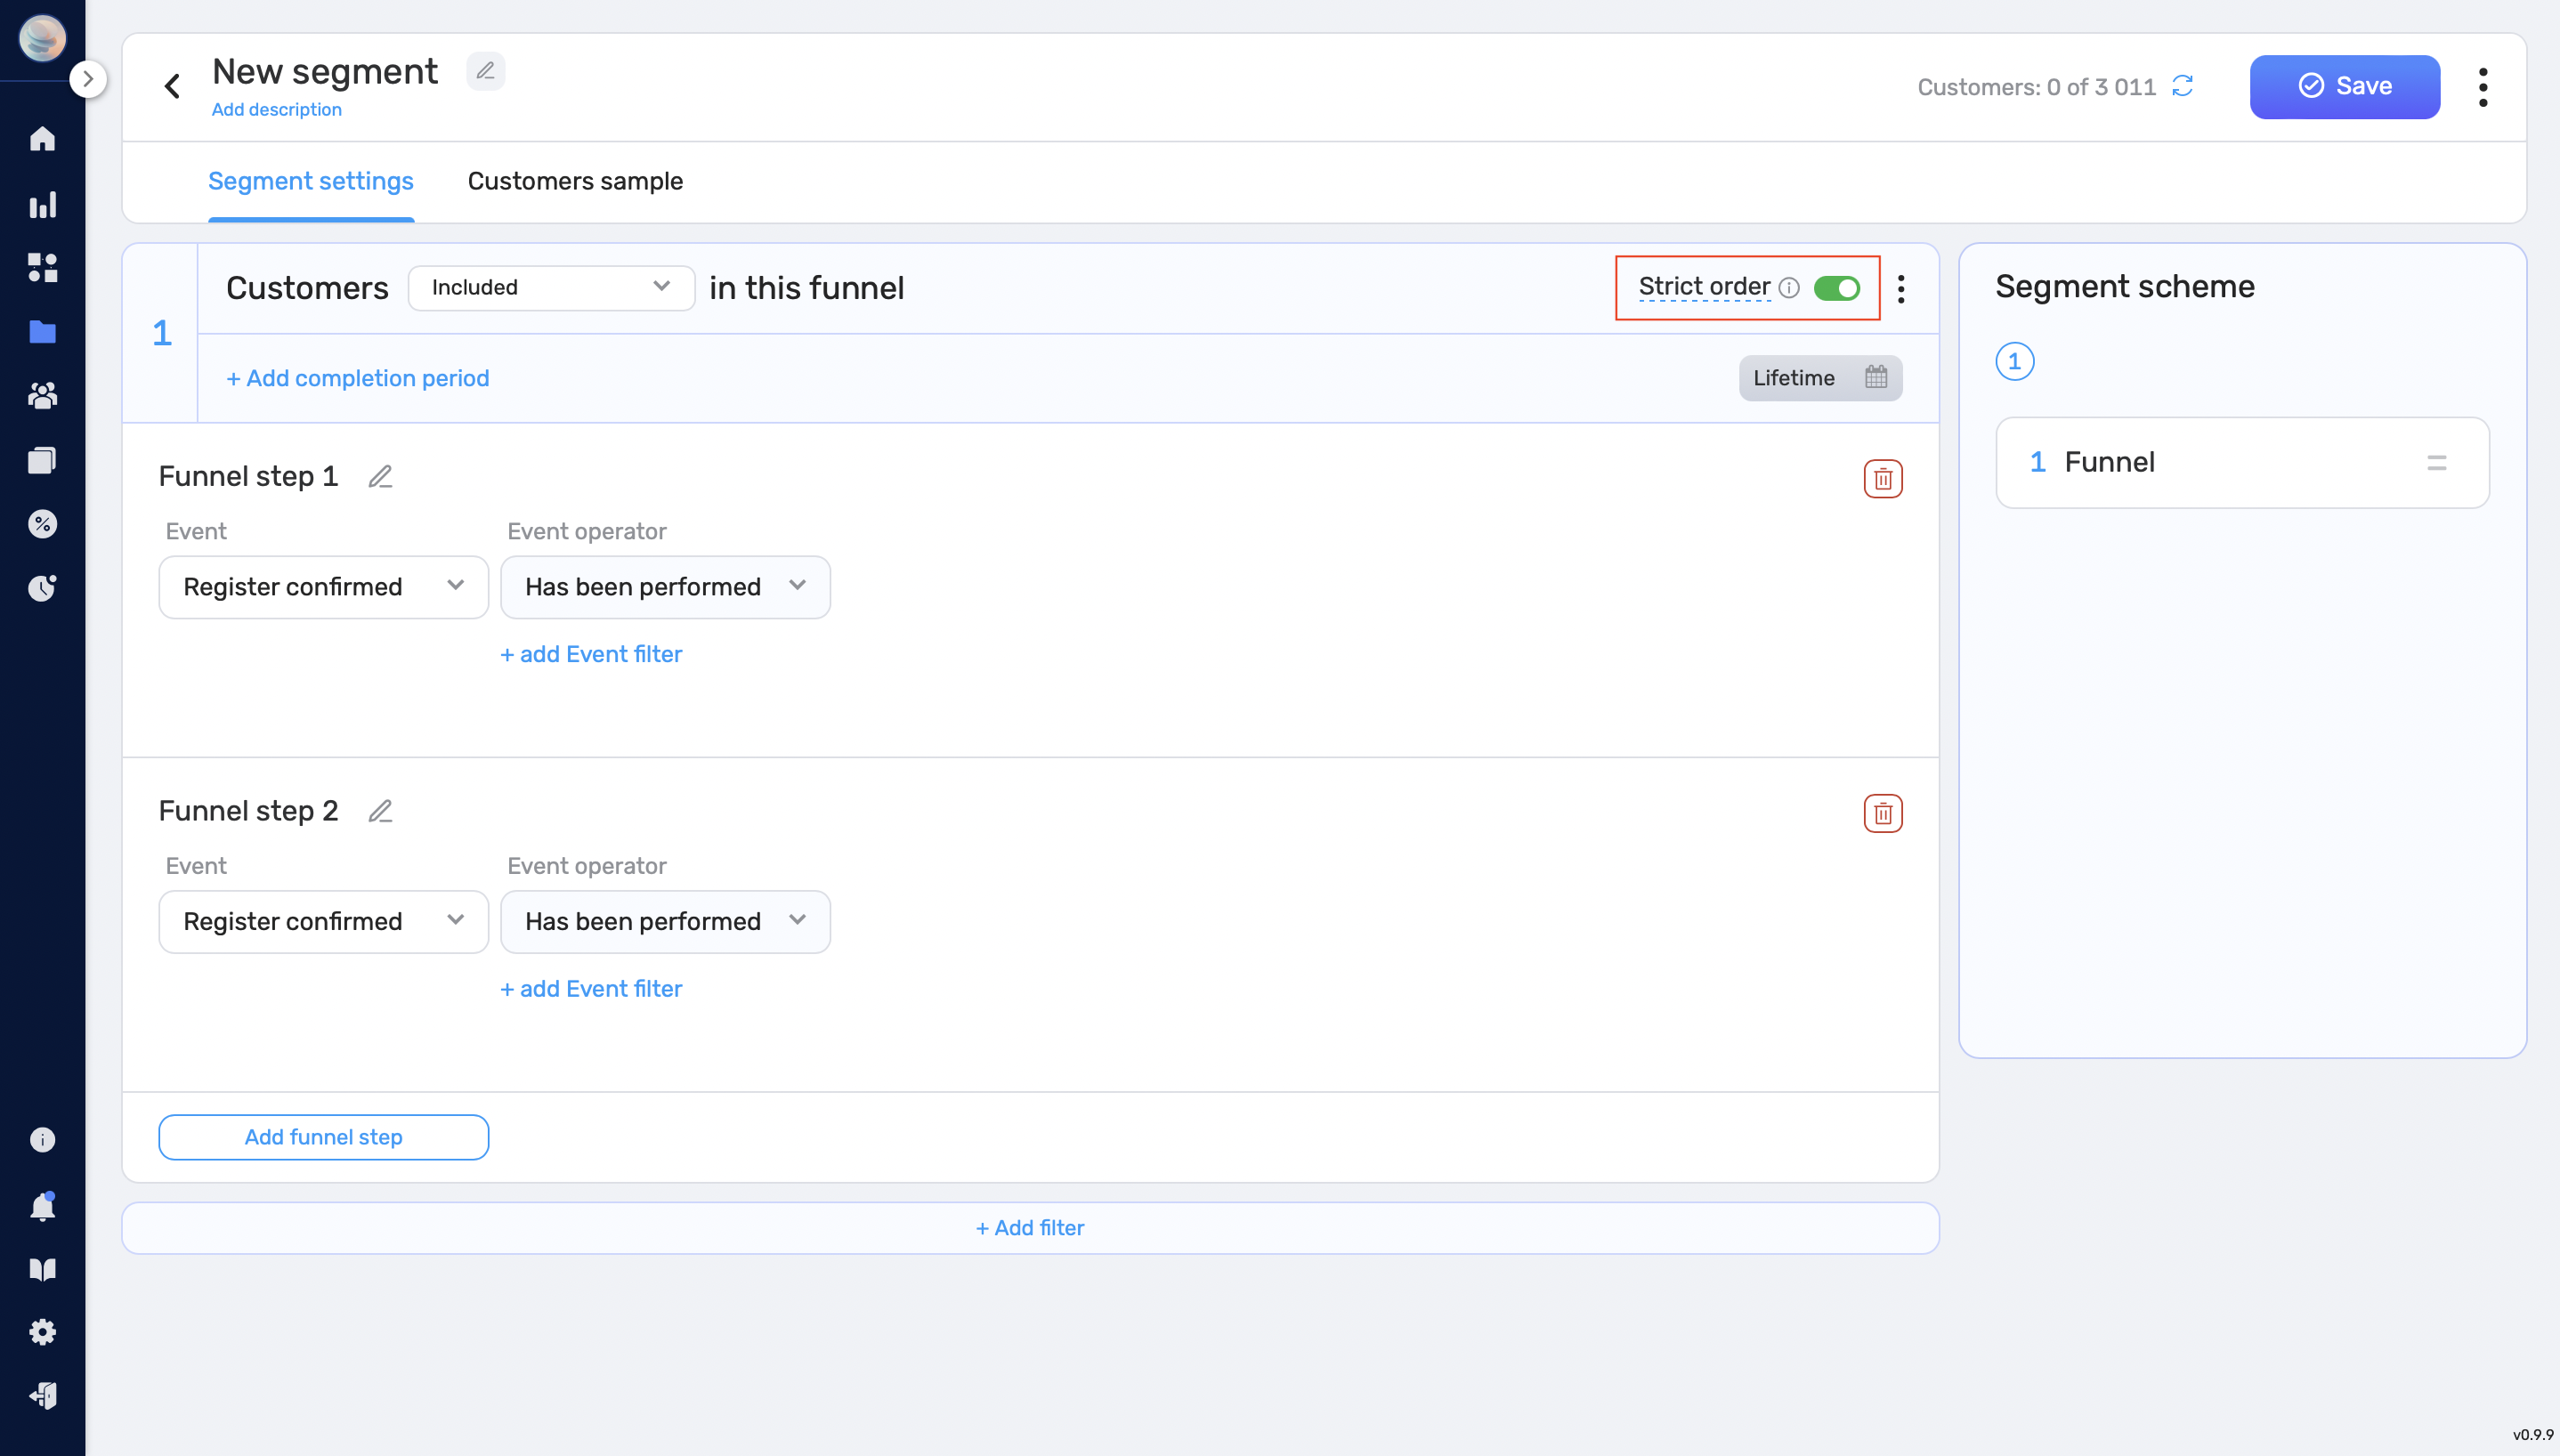
- To save the created funnel, press the “Save” button in the top right corner.
Example #
Here is an example of how you might use a funnel to analyze the customer journey:
Let’s say you have an e-commerce website and you want to track the conversion rate for users who add items to their cart and eventually make a purchase. Here is how you might set up the funnel:
- The first step of the funnel would be an event query for the Add to Cart event.
- The second step would be an event query for the Purchase event.
- You could set the completion period to be within one week of the Add to Cart event.
By analyzing this funnel, you can see how many users who added items to their cart eventually made a purchase within a week. This can help you identify any bottlenecks or points of friction in the customer journey that may be causing users to abandon their cart before making a purchase.


