Introduction #
Welcome to the Retainly Account Management guide. Here, you’ll learn how to edit personal information, add new users to your workspace, and create custom roles.
Editing Personal Information #
To change your personal information, follow these steps:
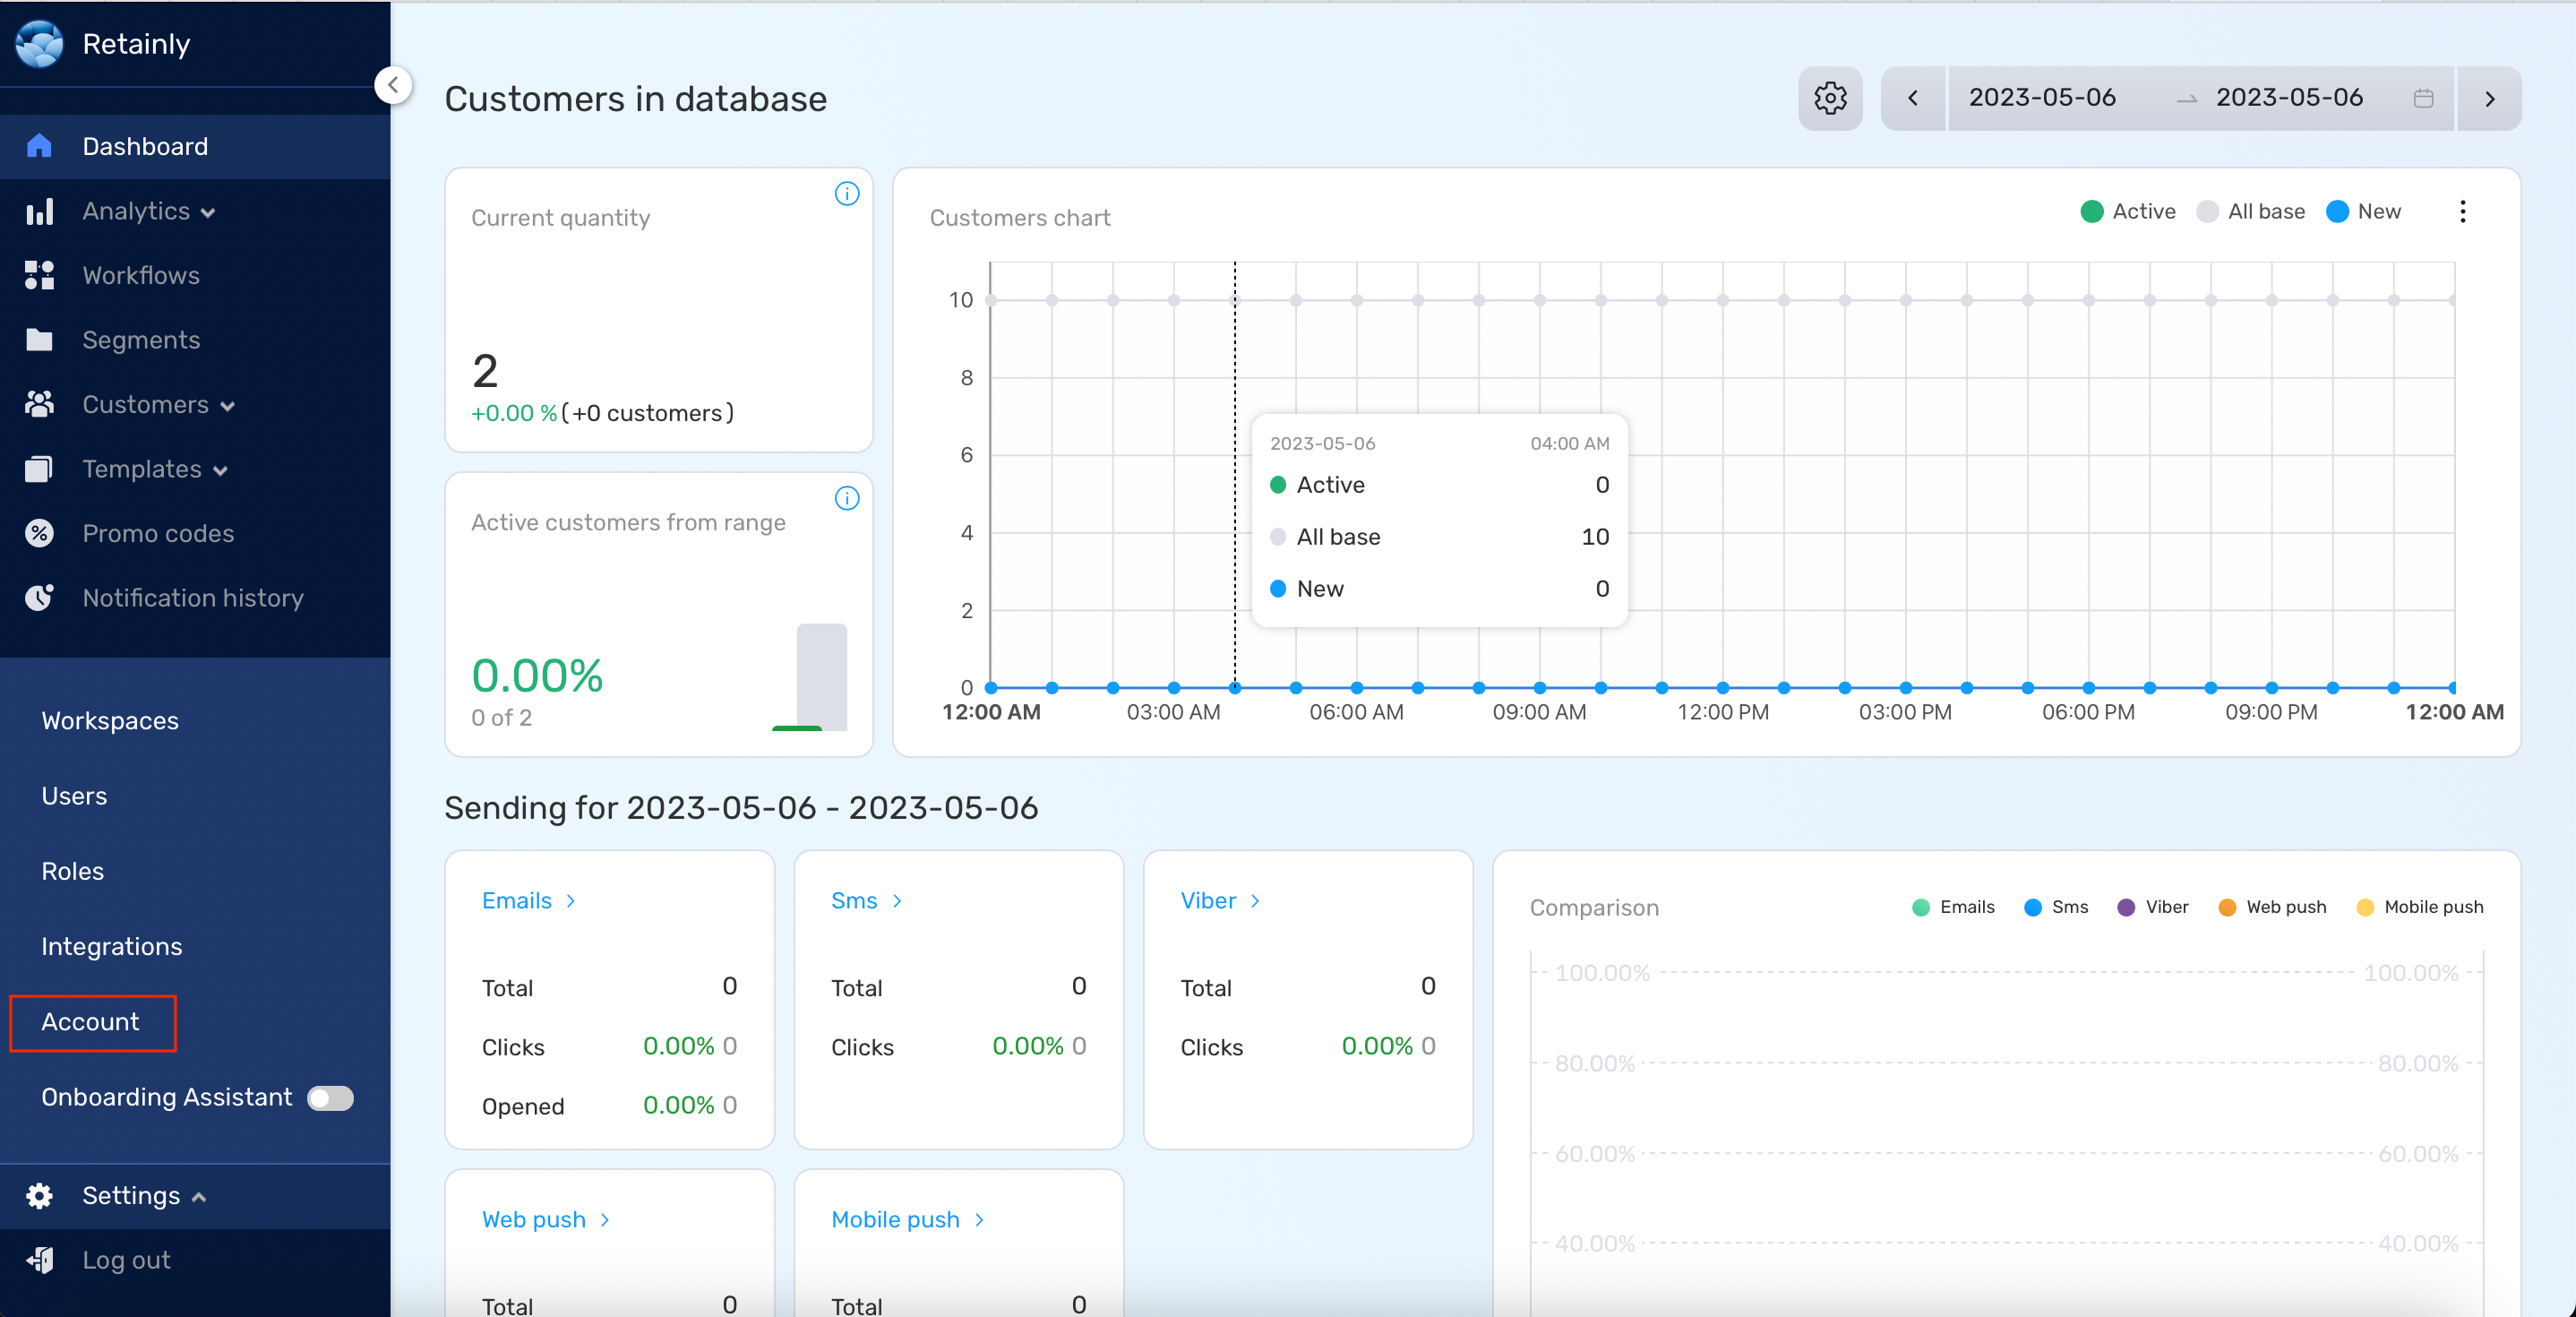
- Navigate to Settings > Account from the Side menu.
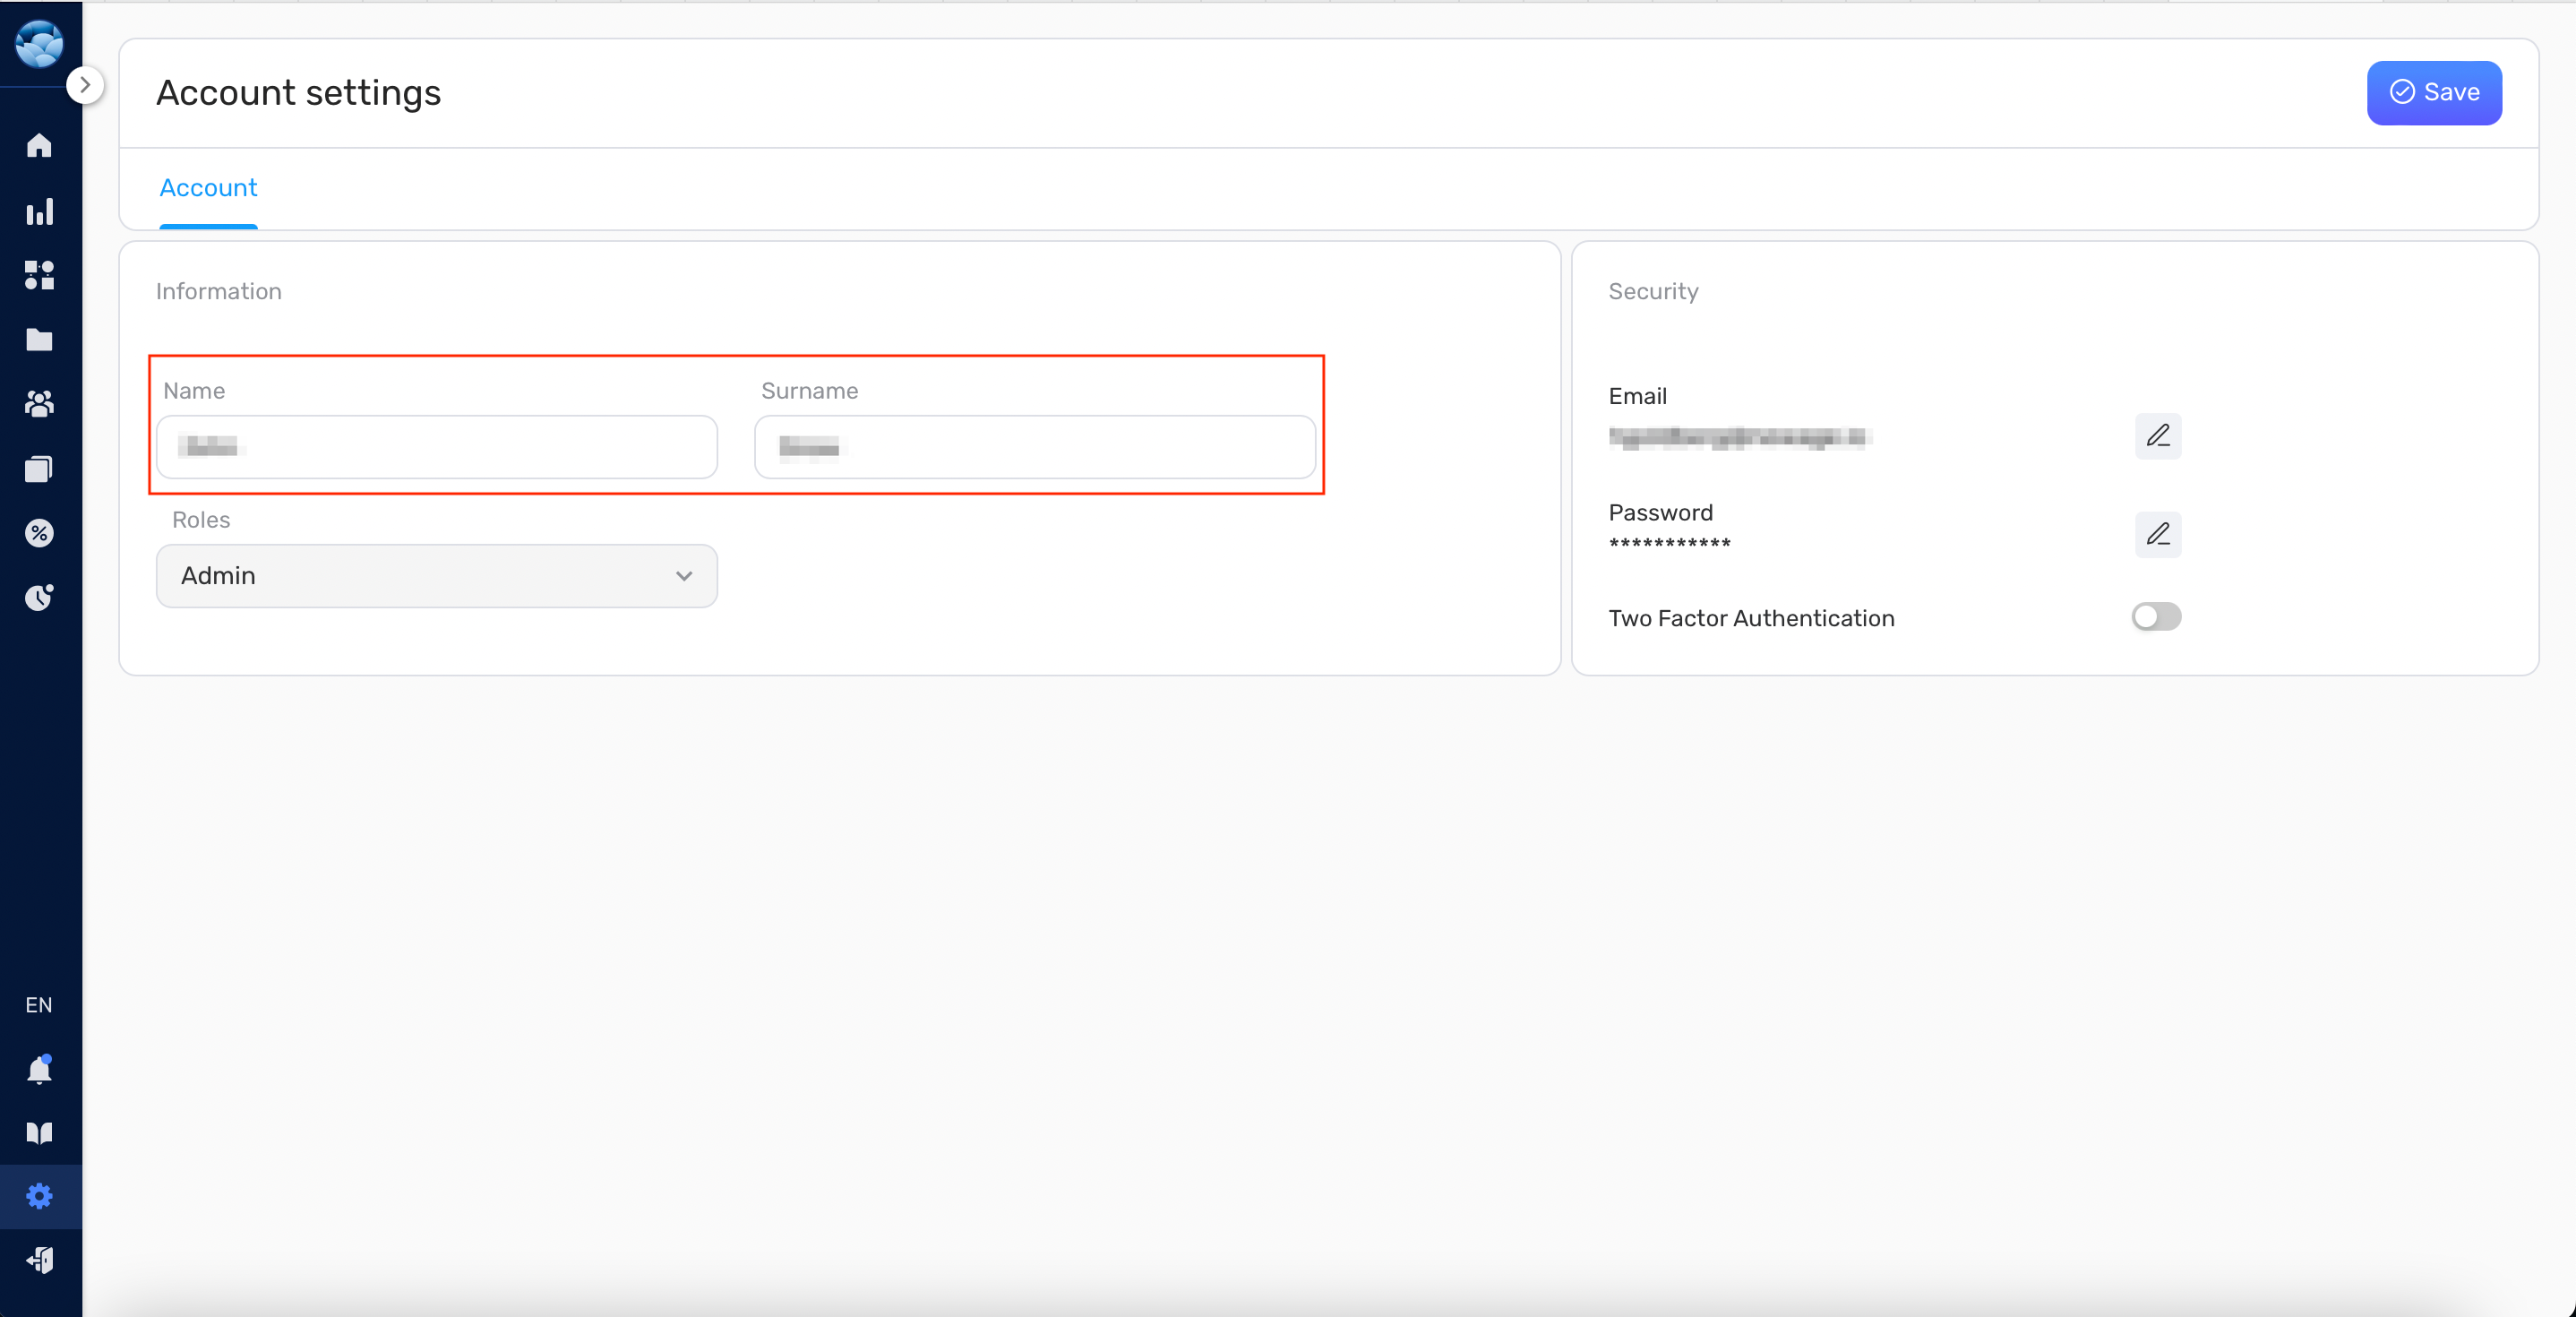
- Click on your name or surname to modify them as needed.
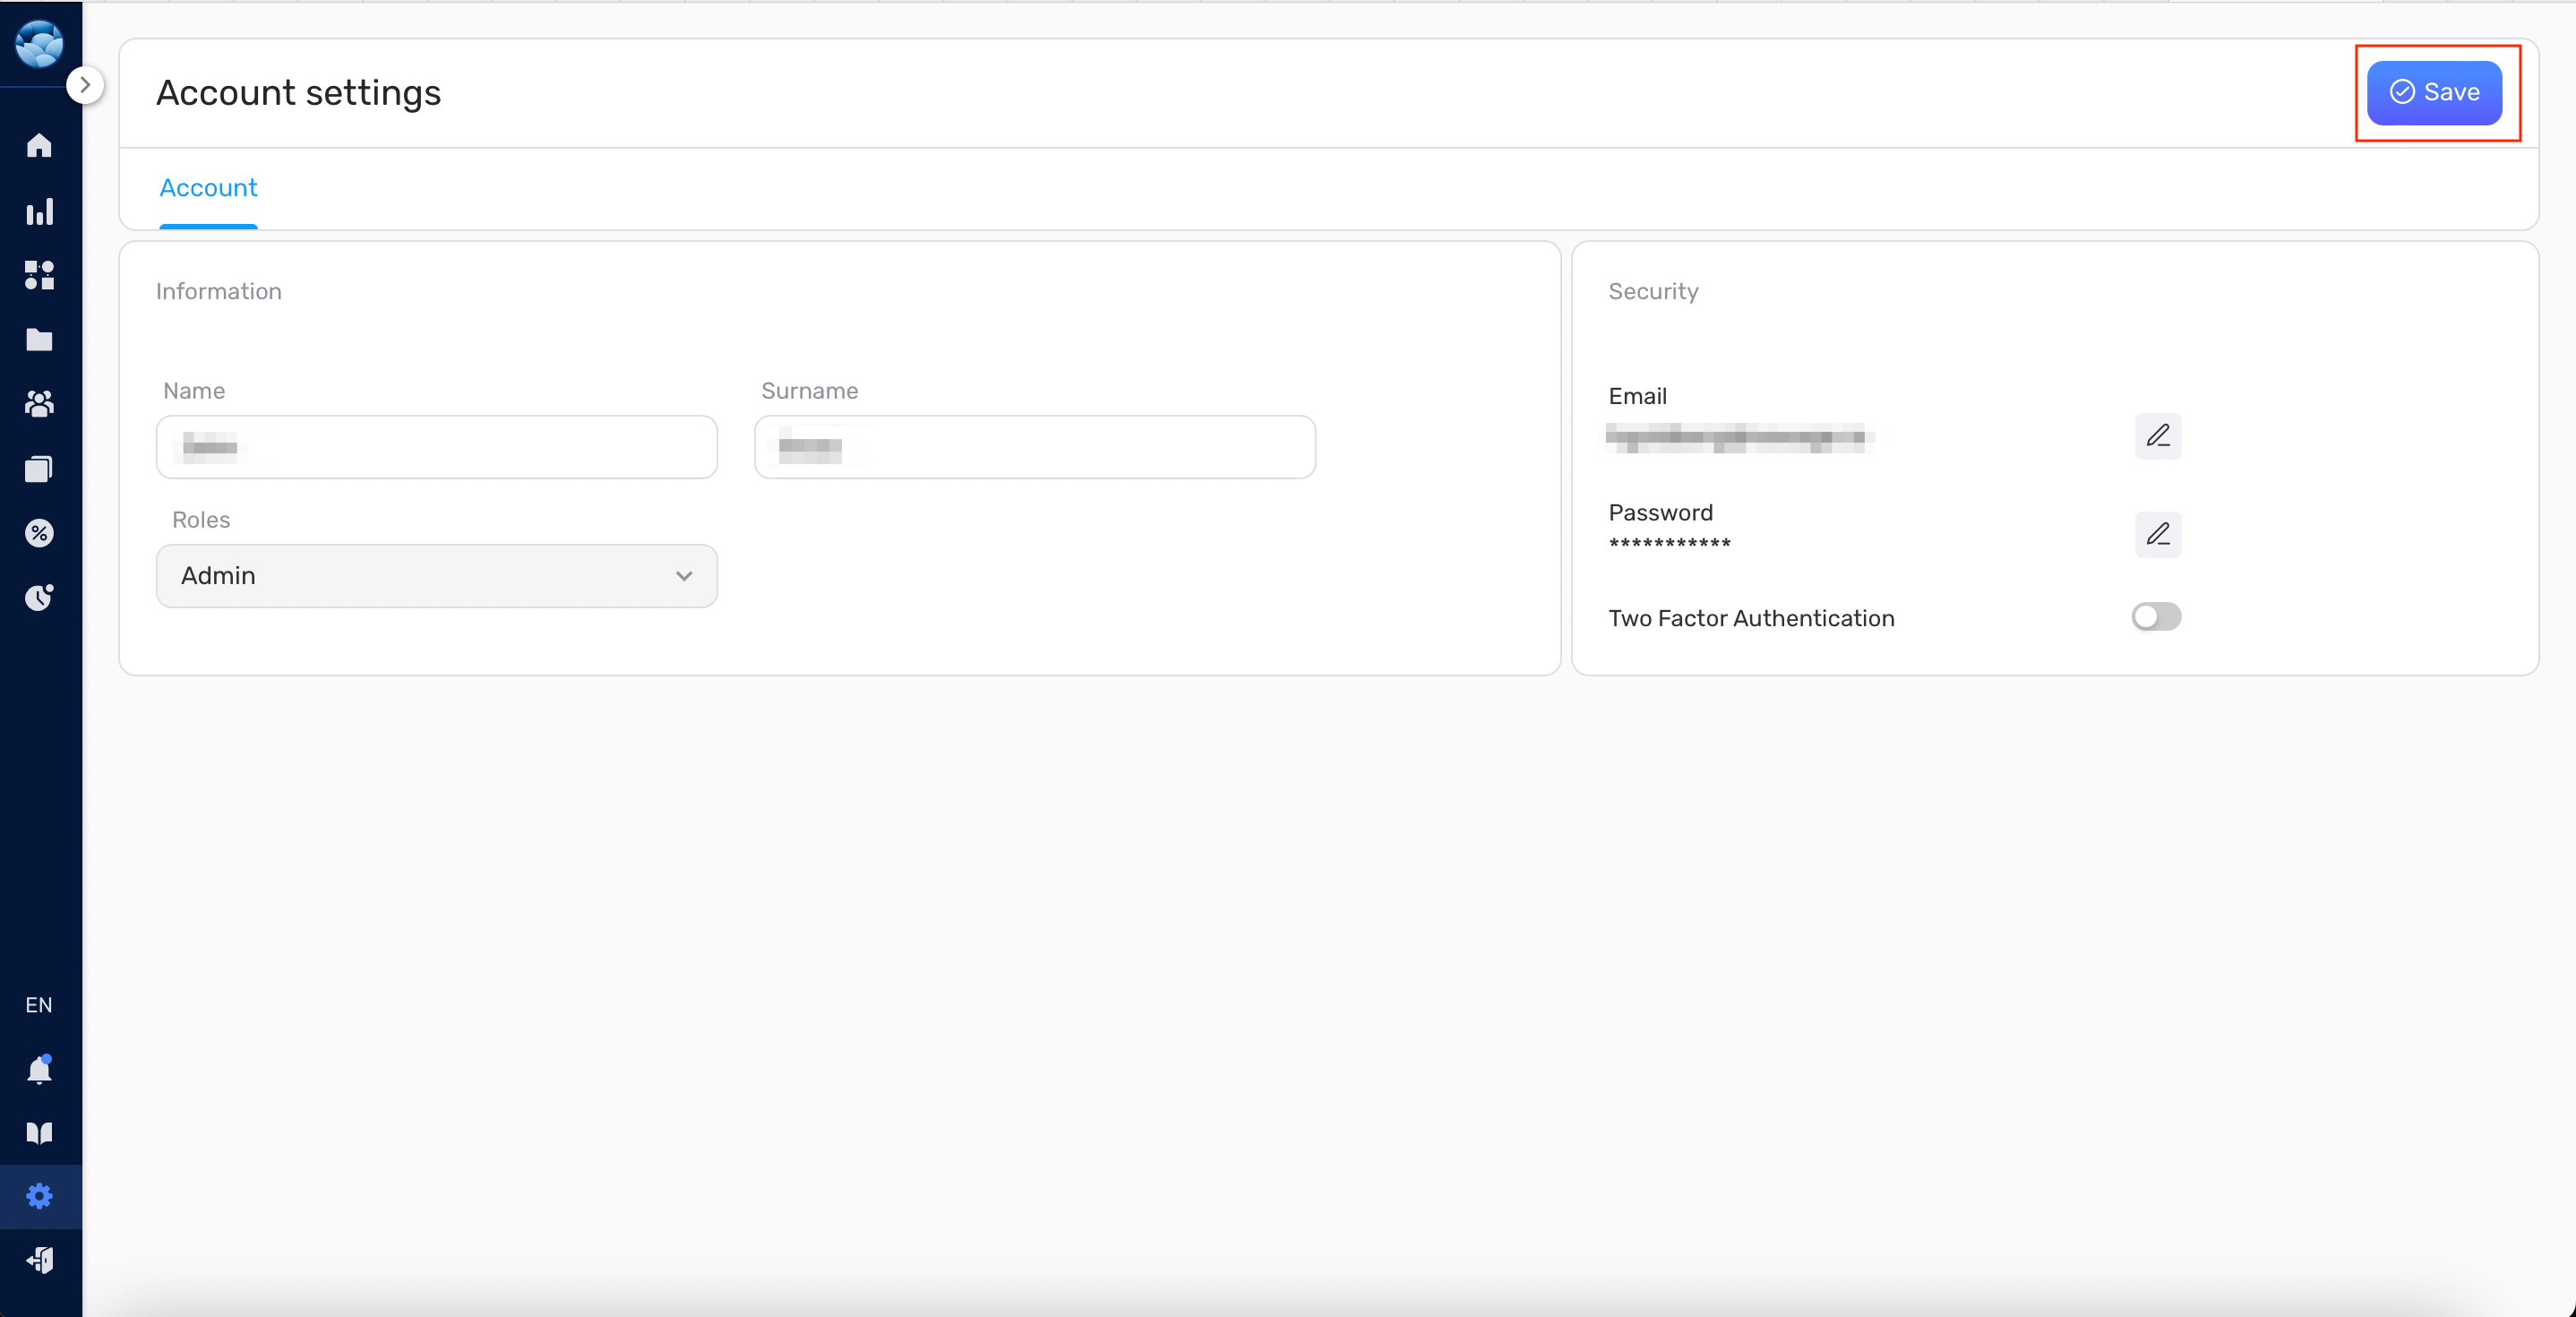
- After making changes, click the Save button.
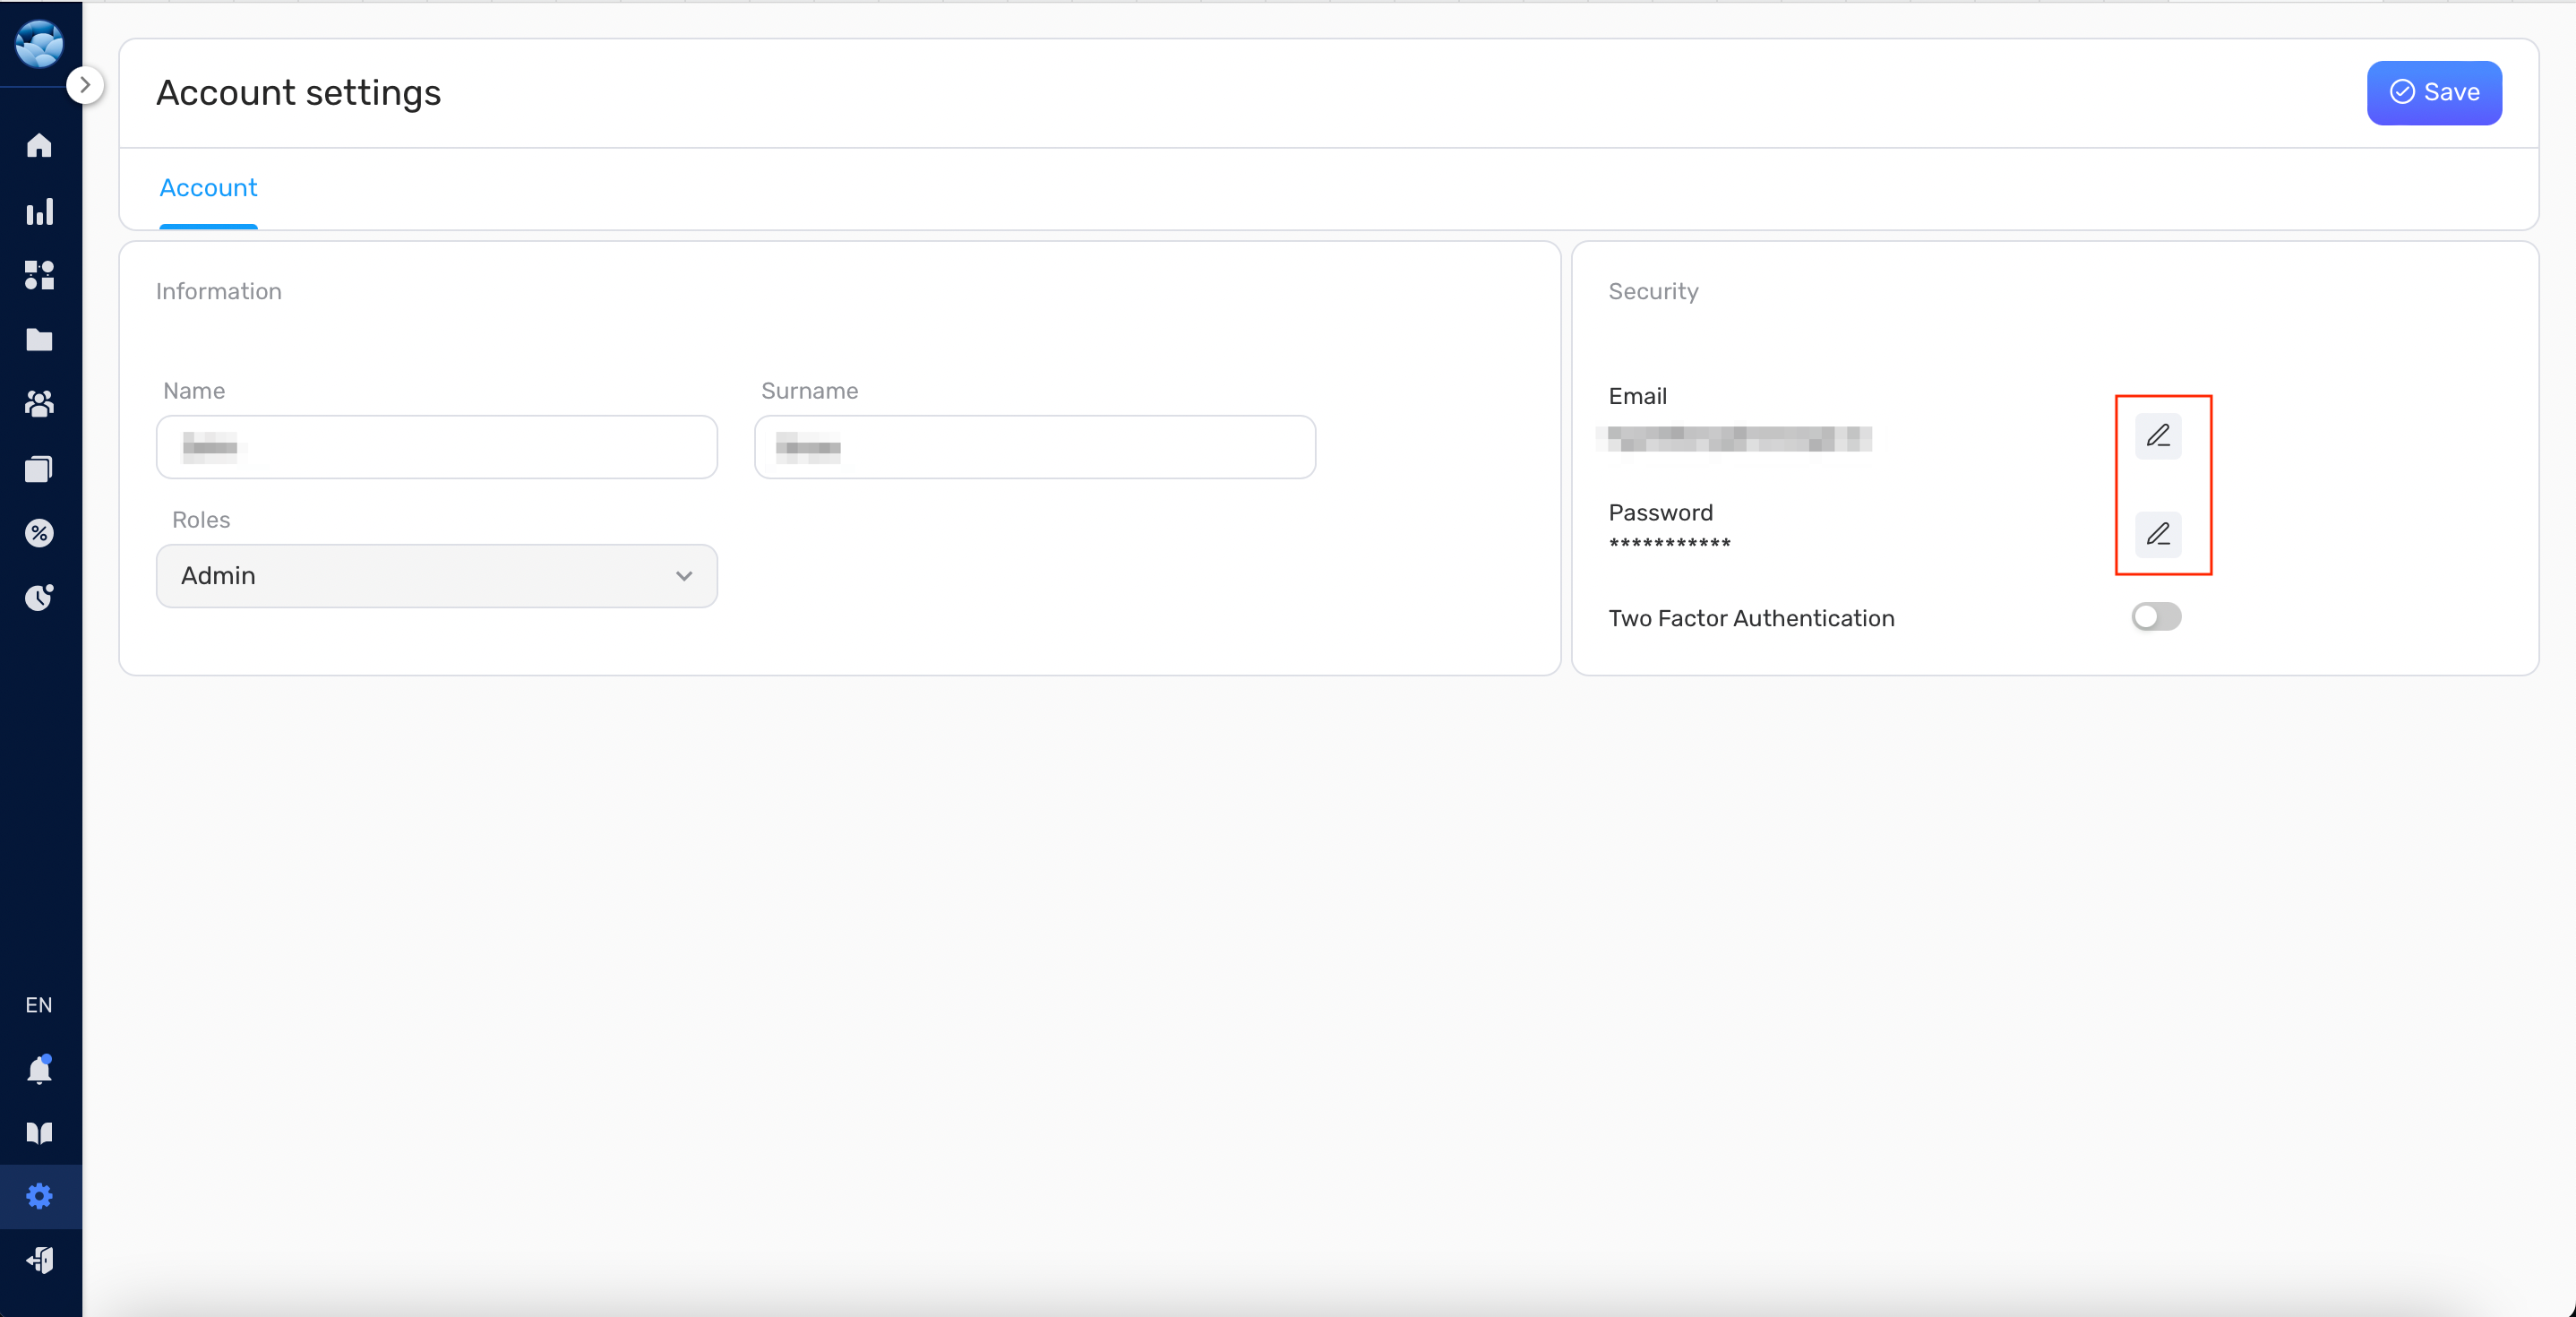
- To change your email, click on the edit pencil icon near the corresponding field.
- To change your password, click on the edit pencil icon near the corresponding field.
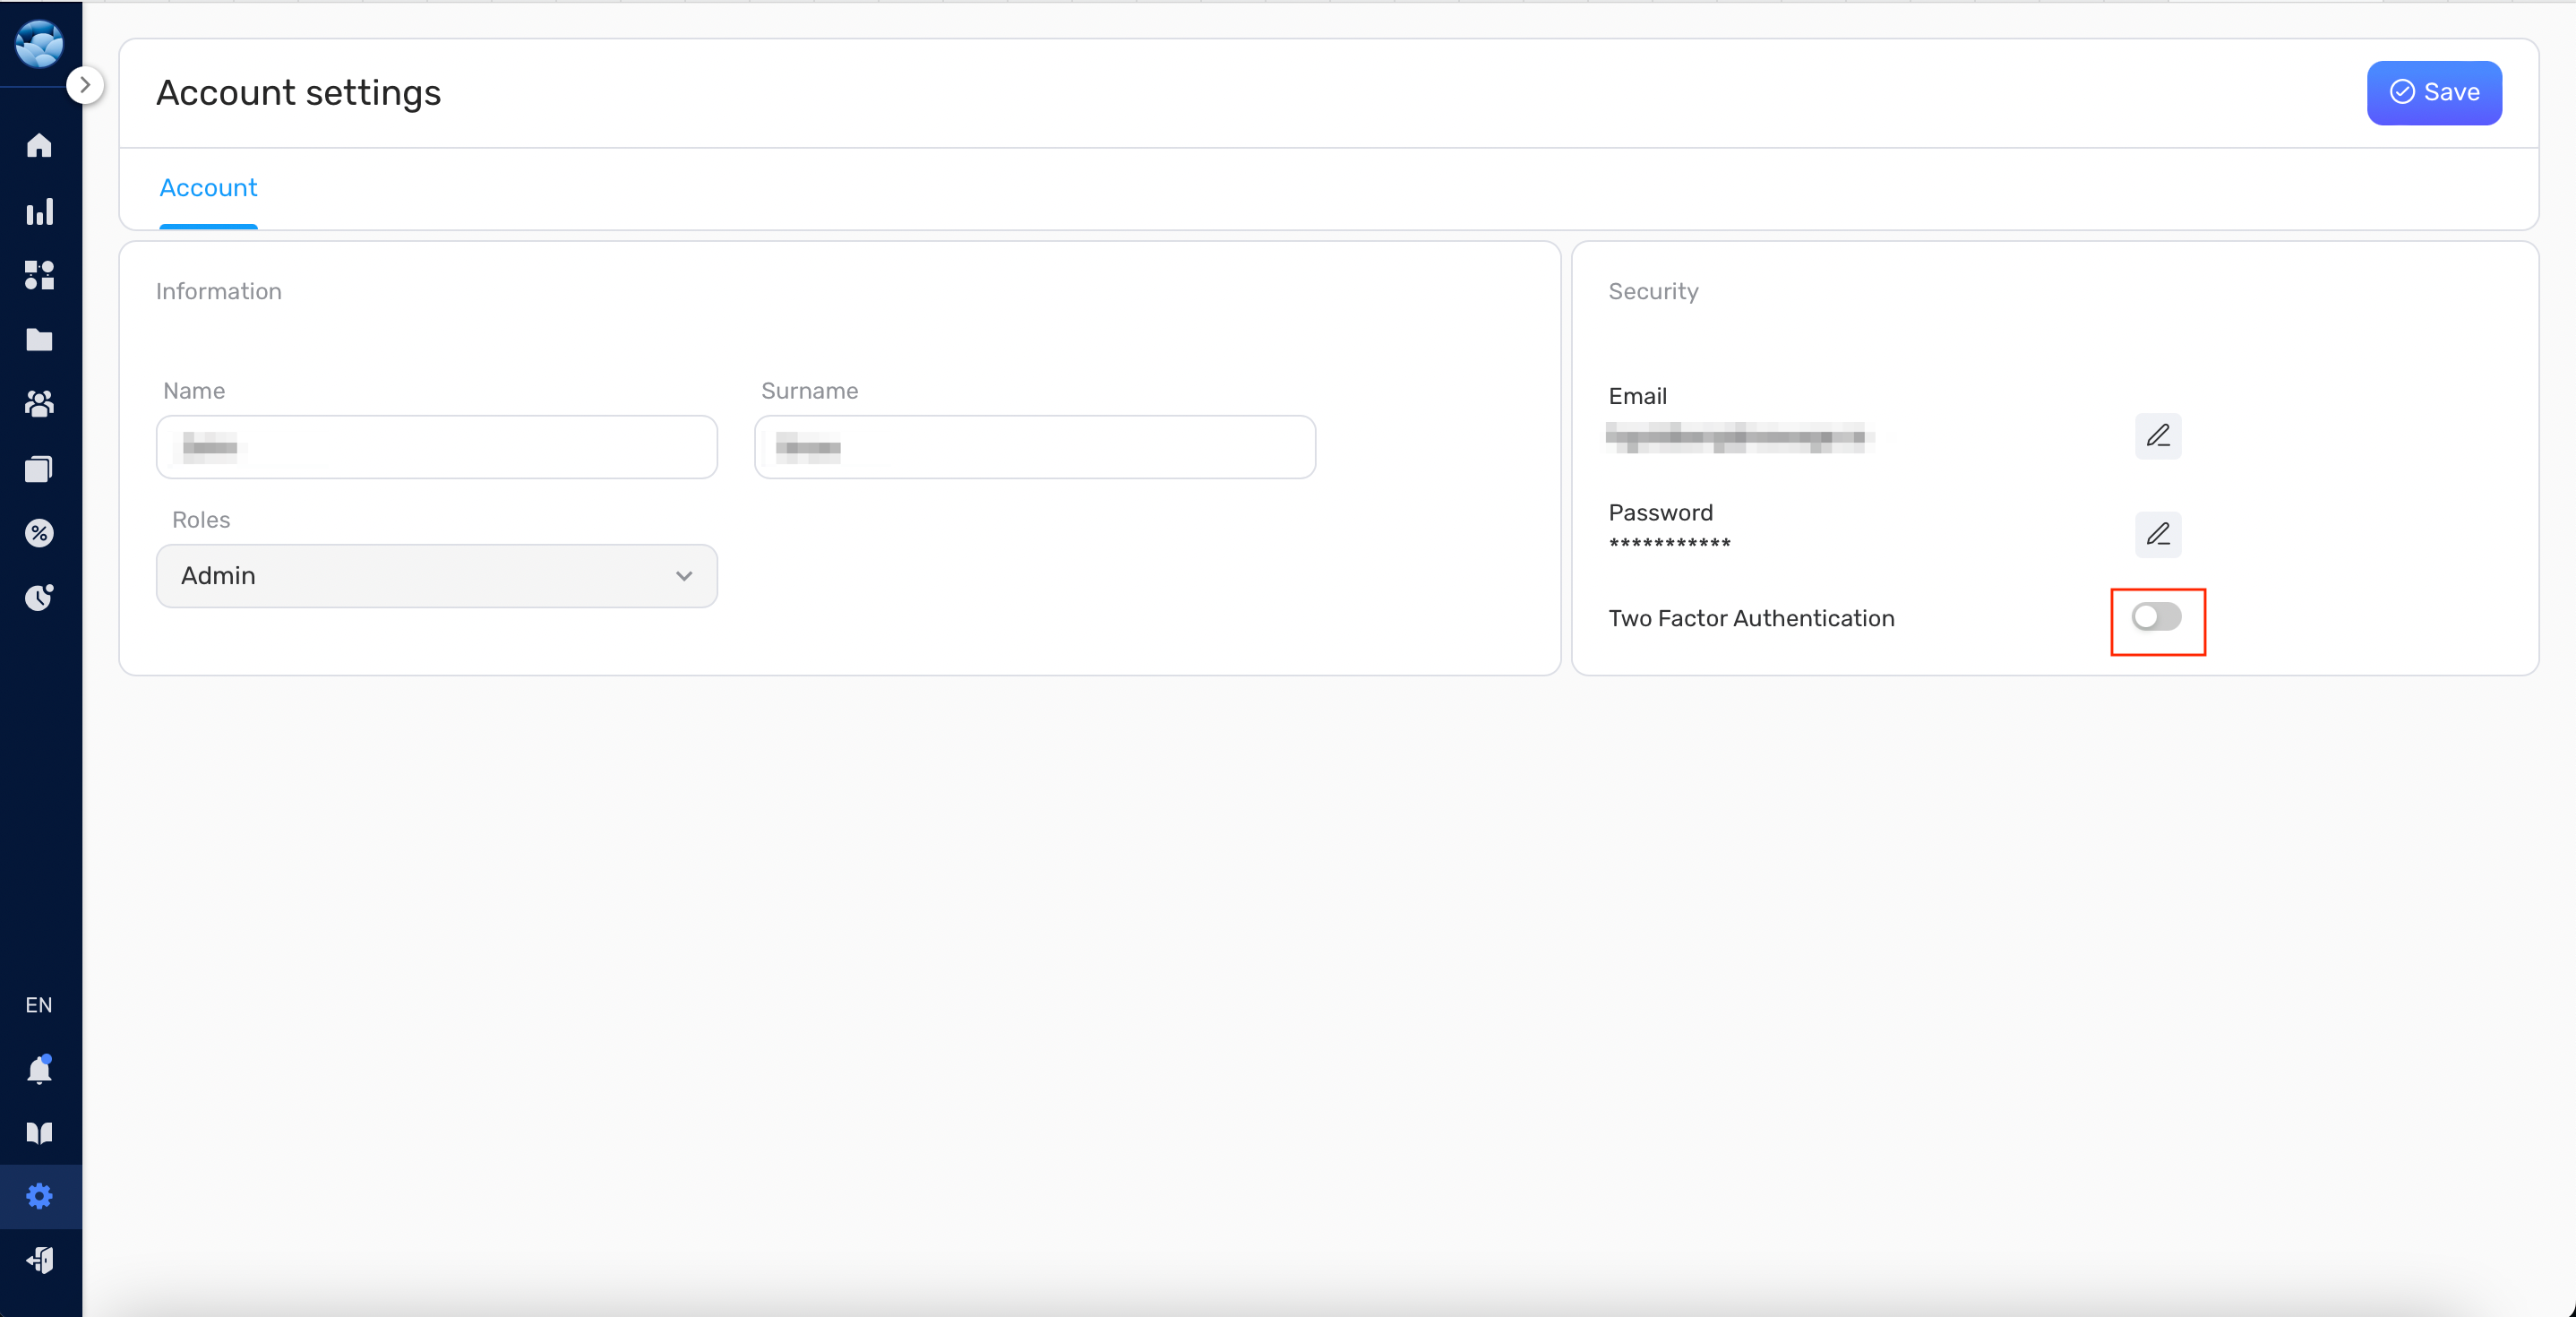
For added security, Retainly supports 2-factor authentication. To enable it:
- Click Enable near “Two-factor authentication”.
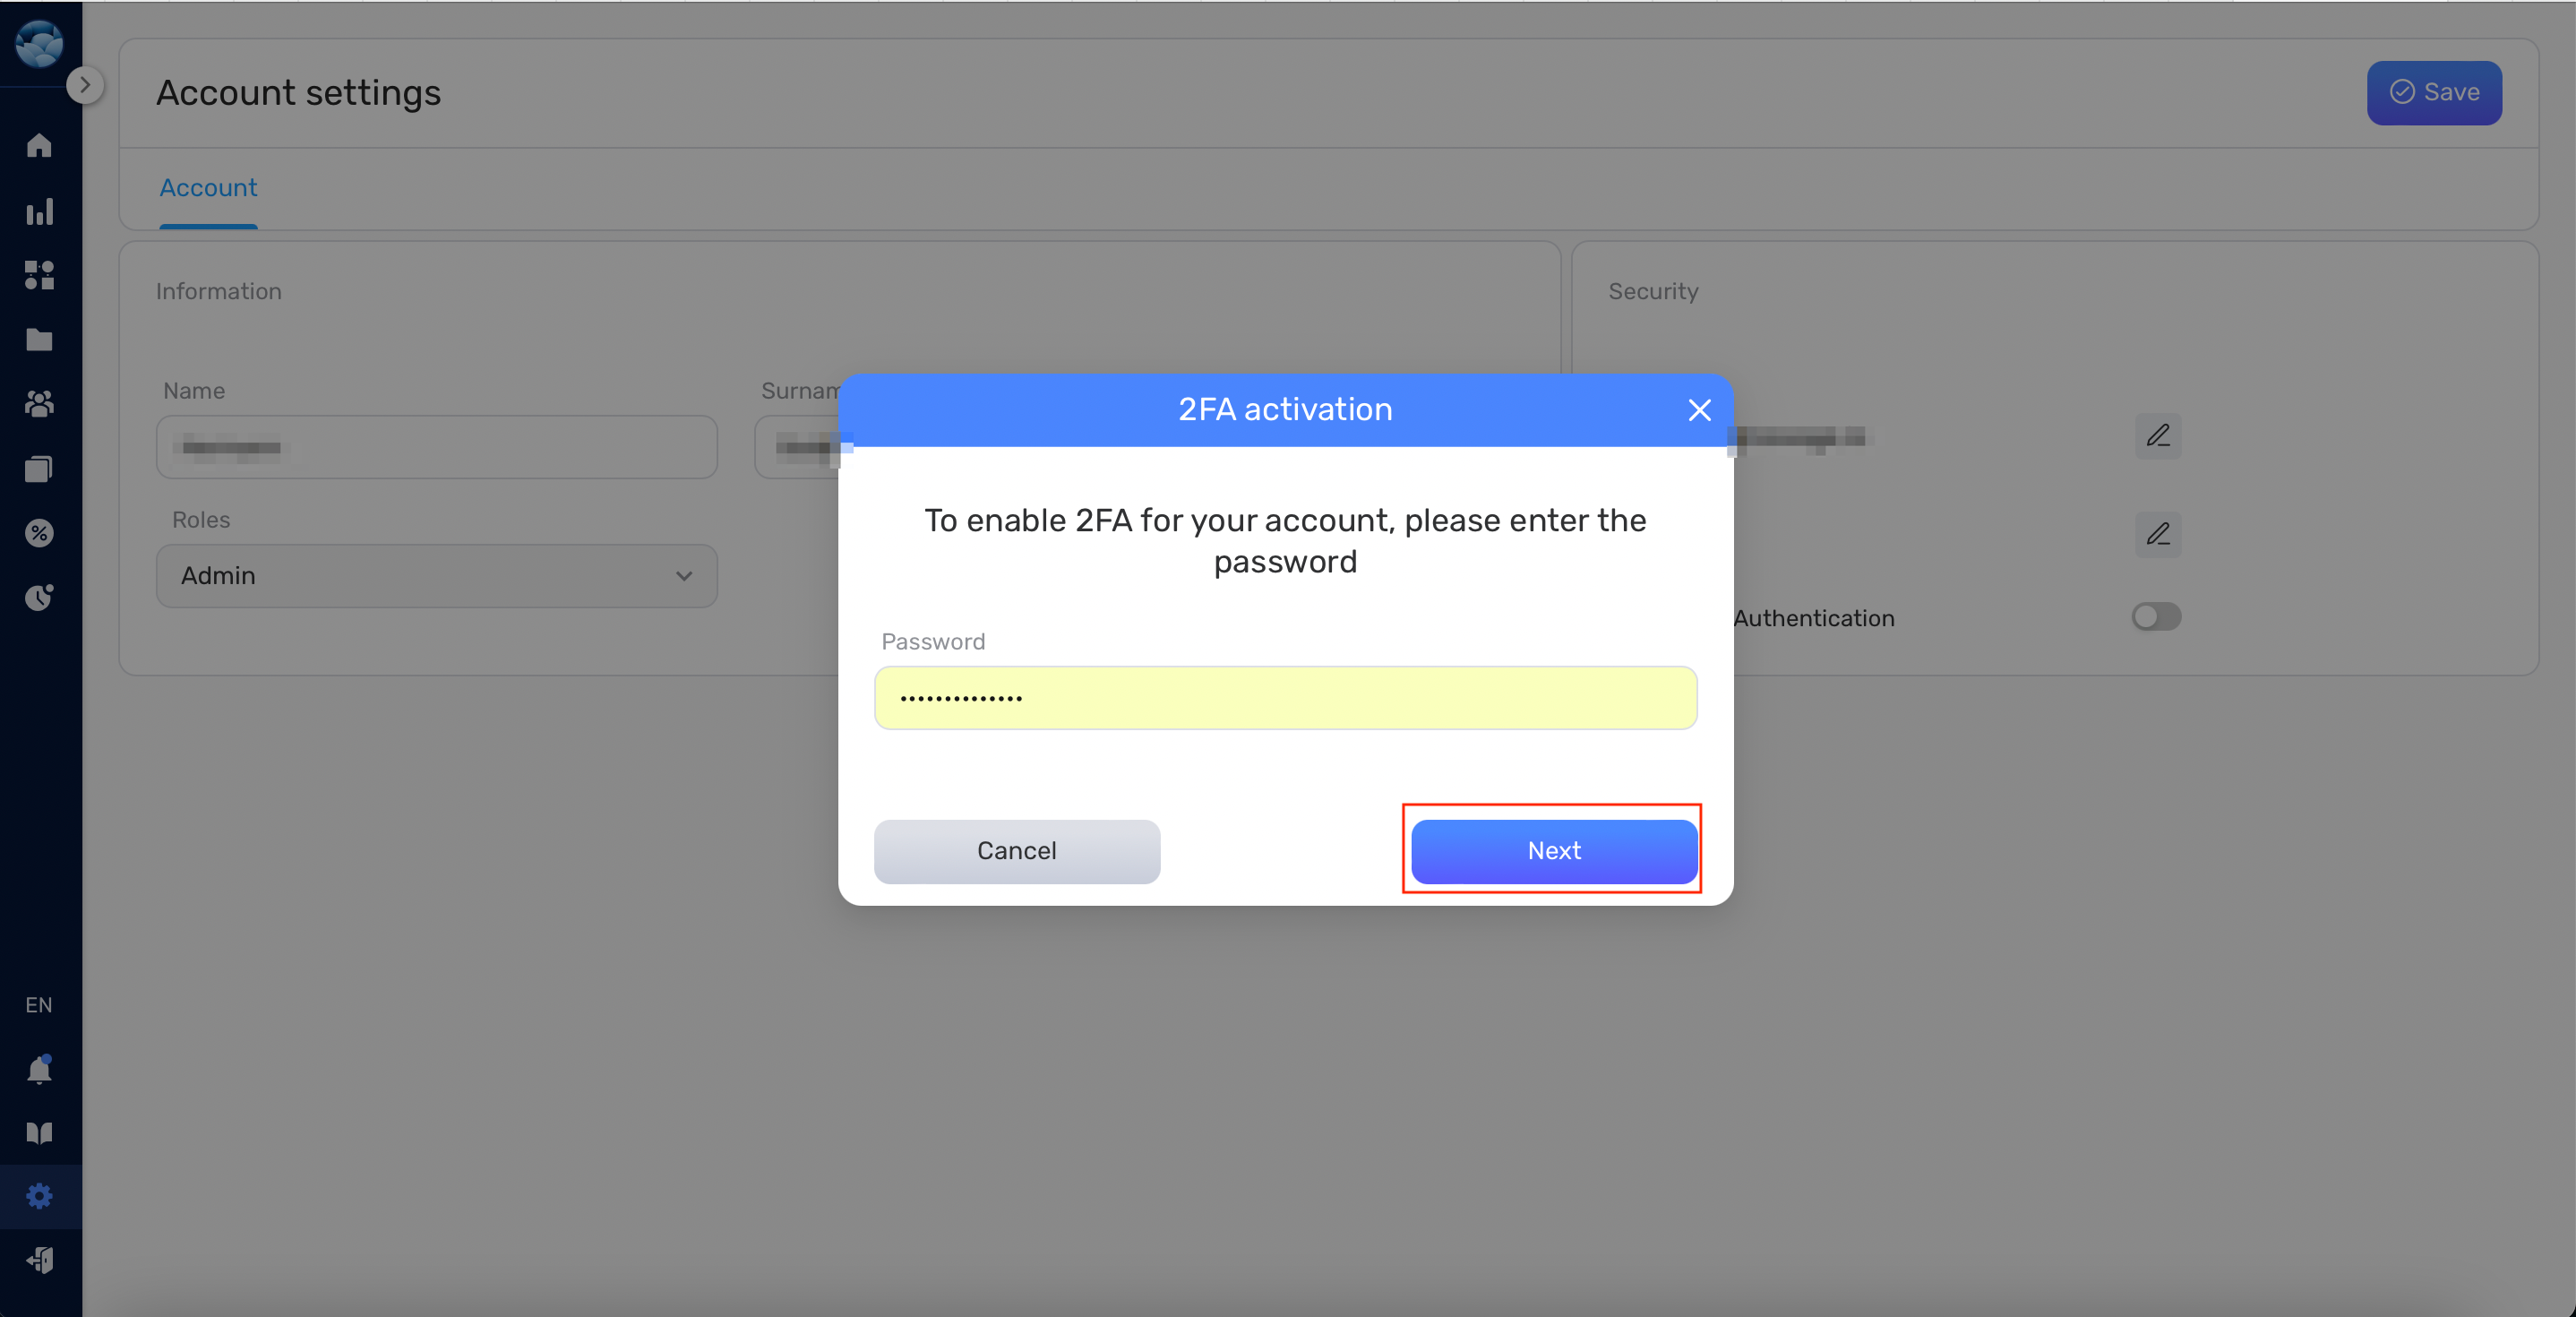
- Input your password and click Next.
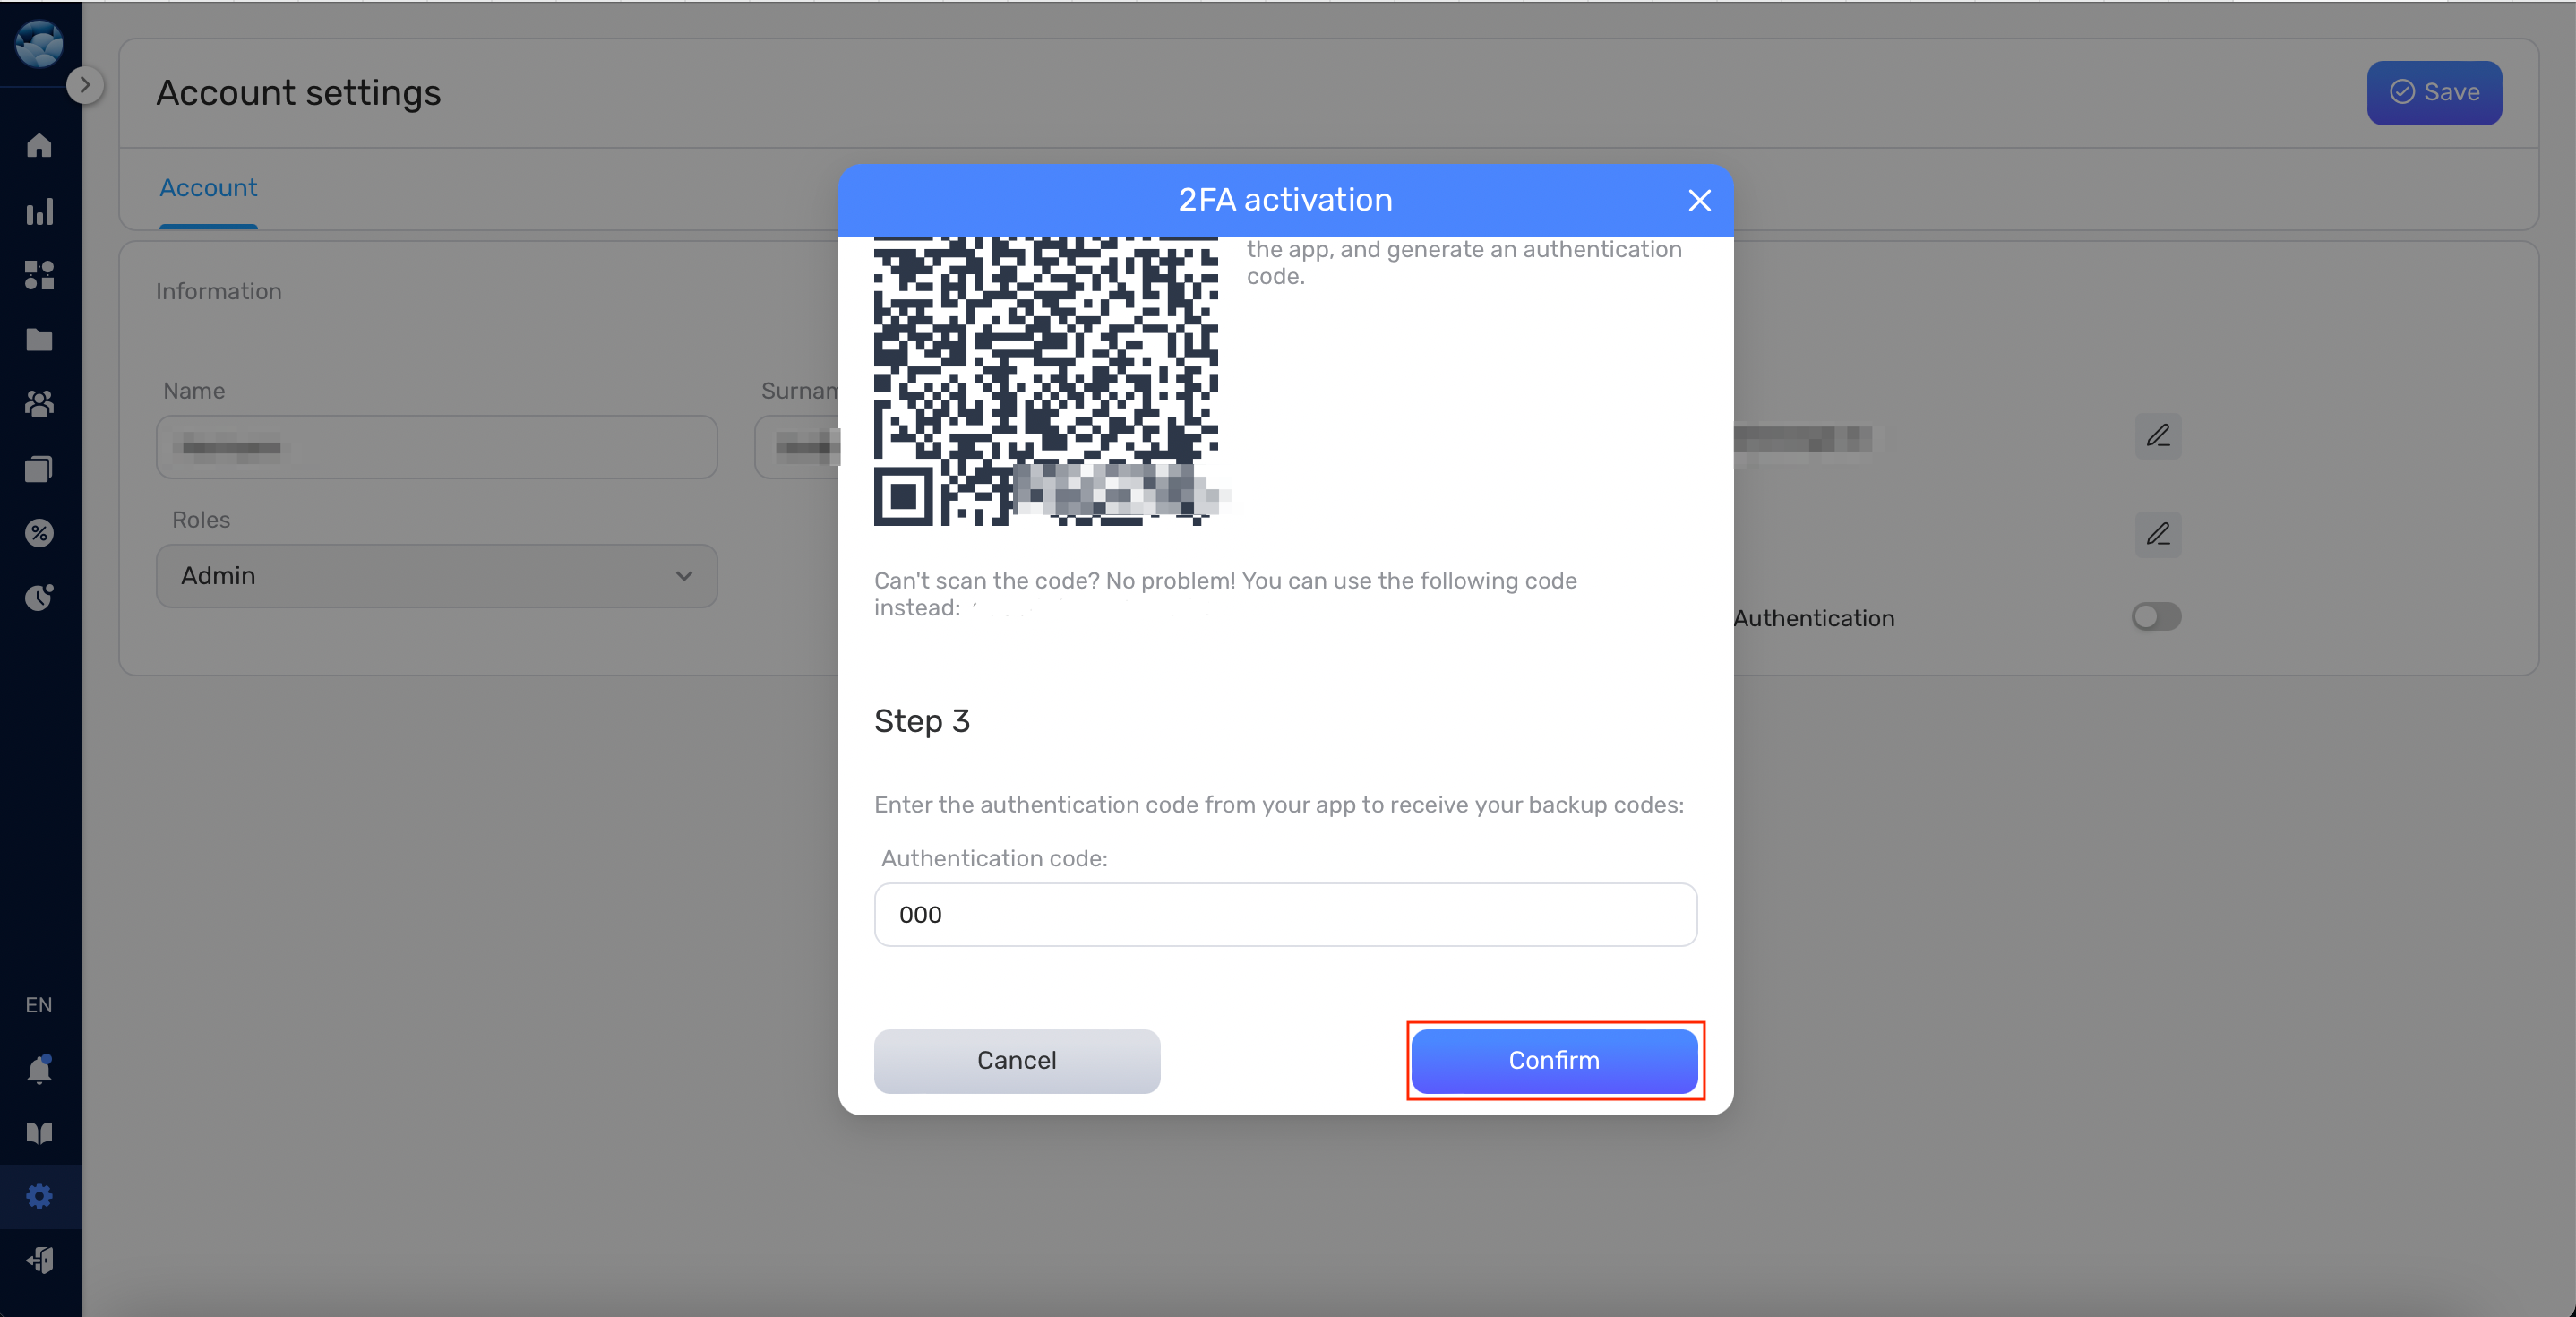
- Follow the instructions displayed on the screen, then click Confirm.
- You will be presented with the recovery codes list, that can be used in case you lose access to your mobile device
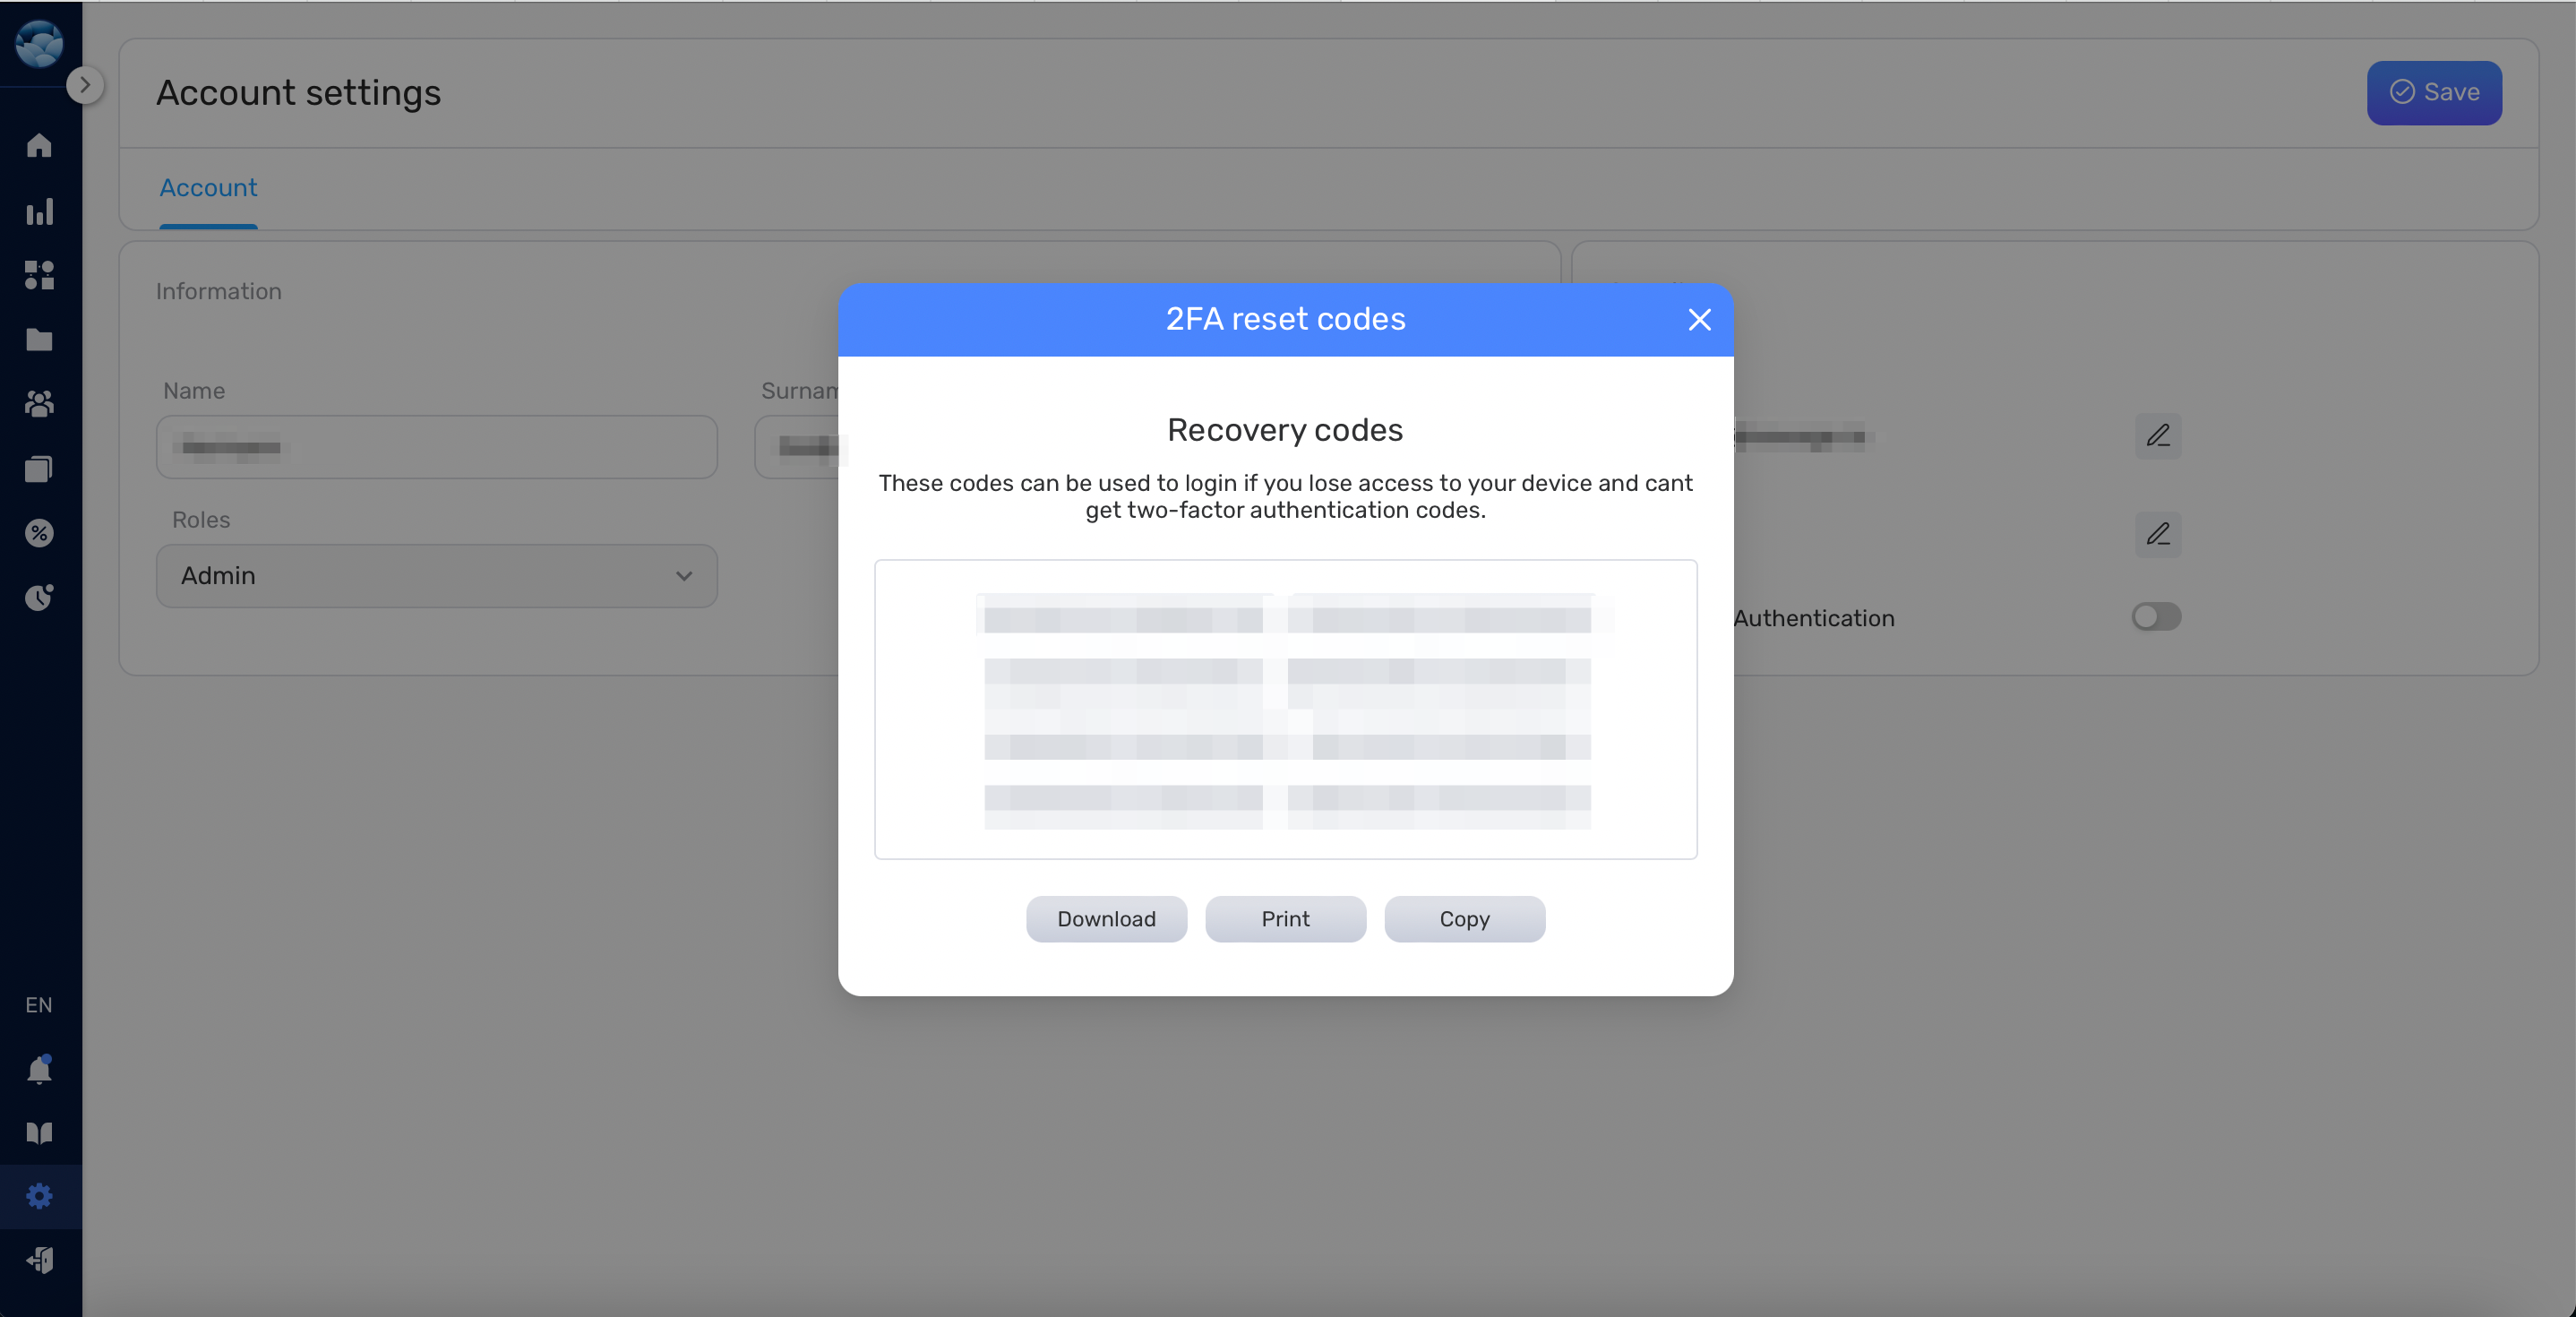
Congratulations, your 2FA is now enabled, securing your account further!
Adding New Users to Your Workspace #
To add a new user to your workspace:
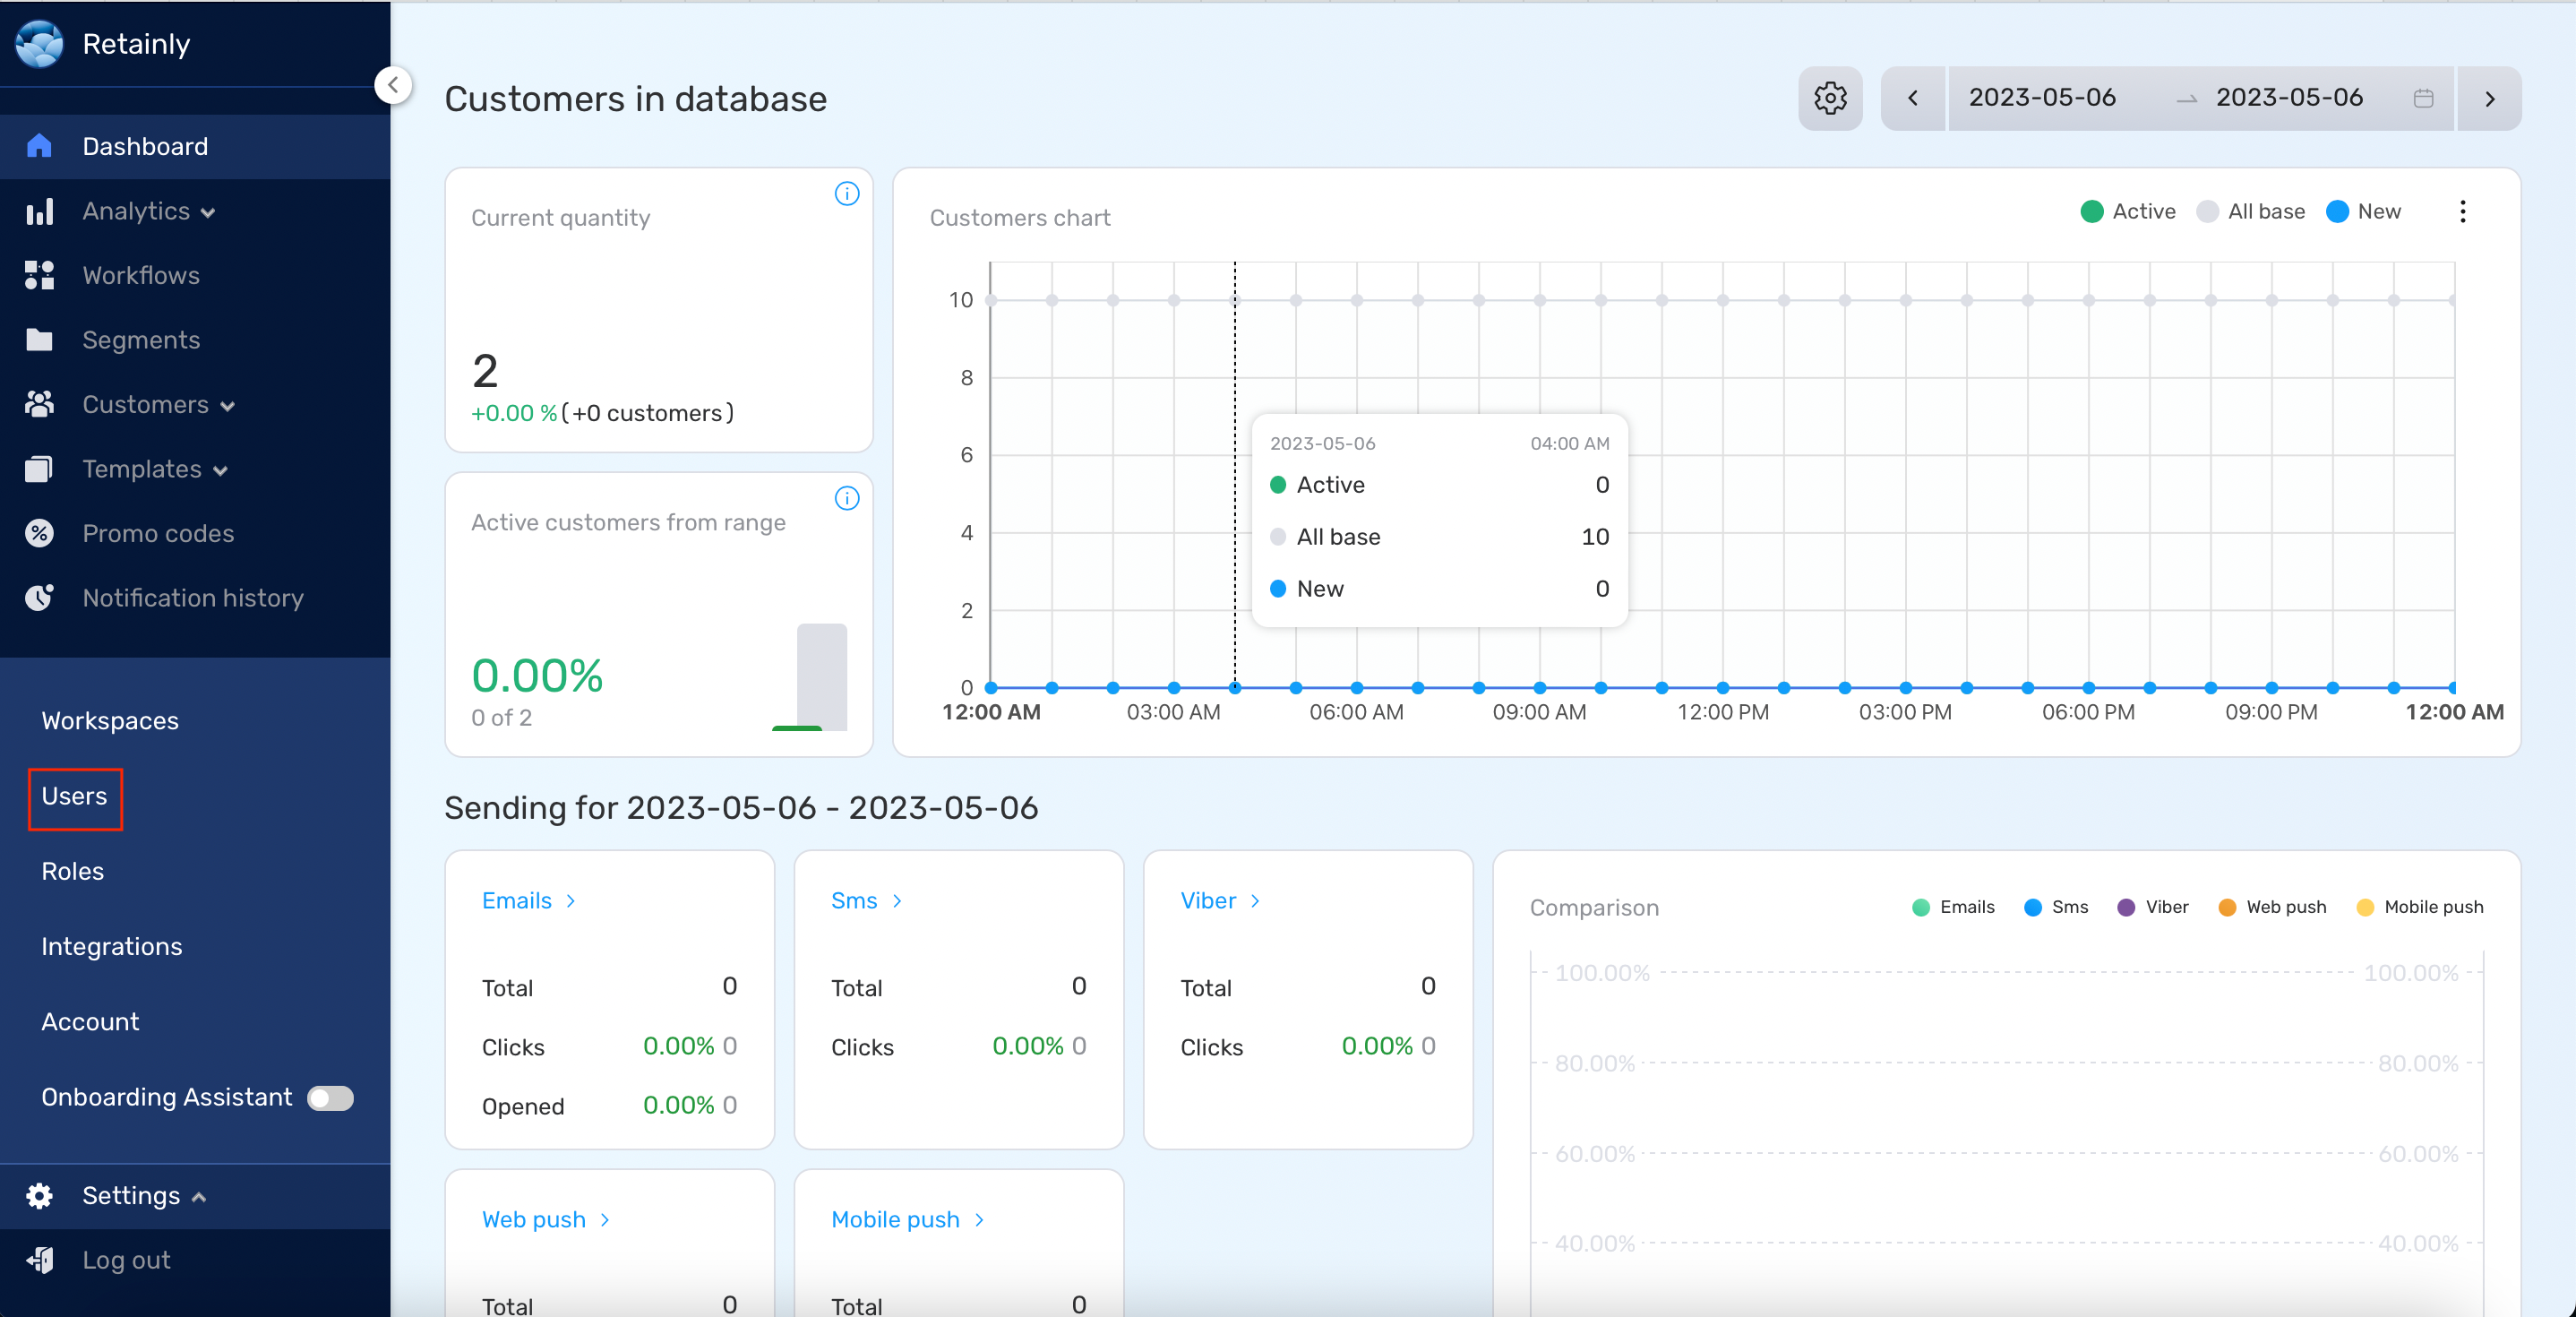
- Go to Settings > Users from the Side menu.
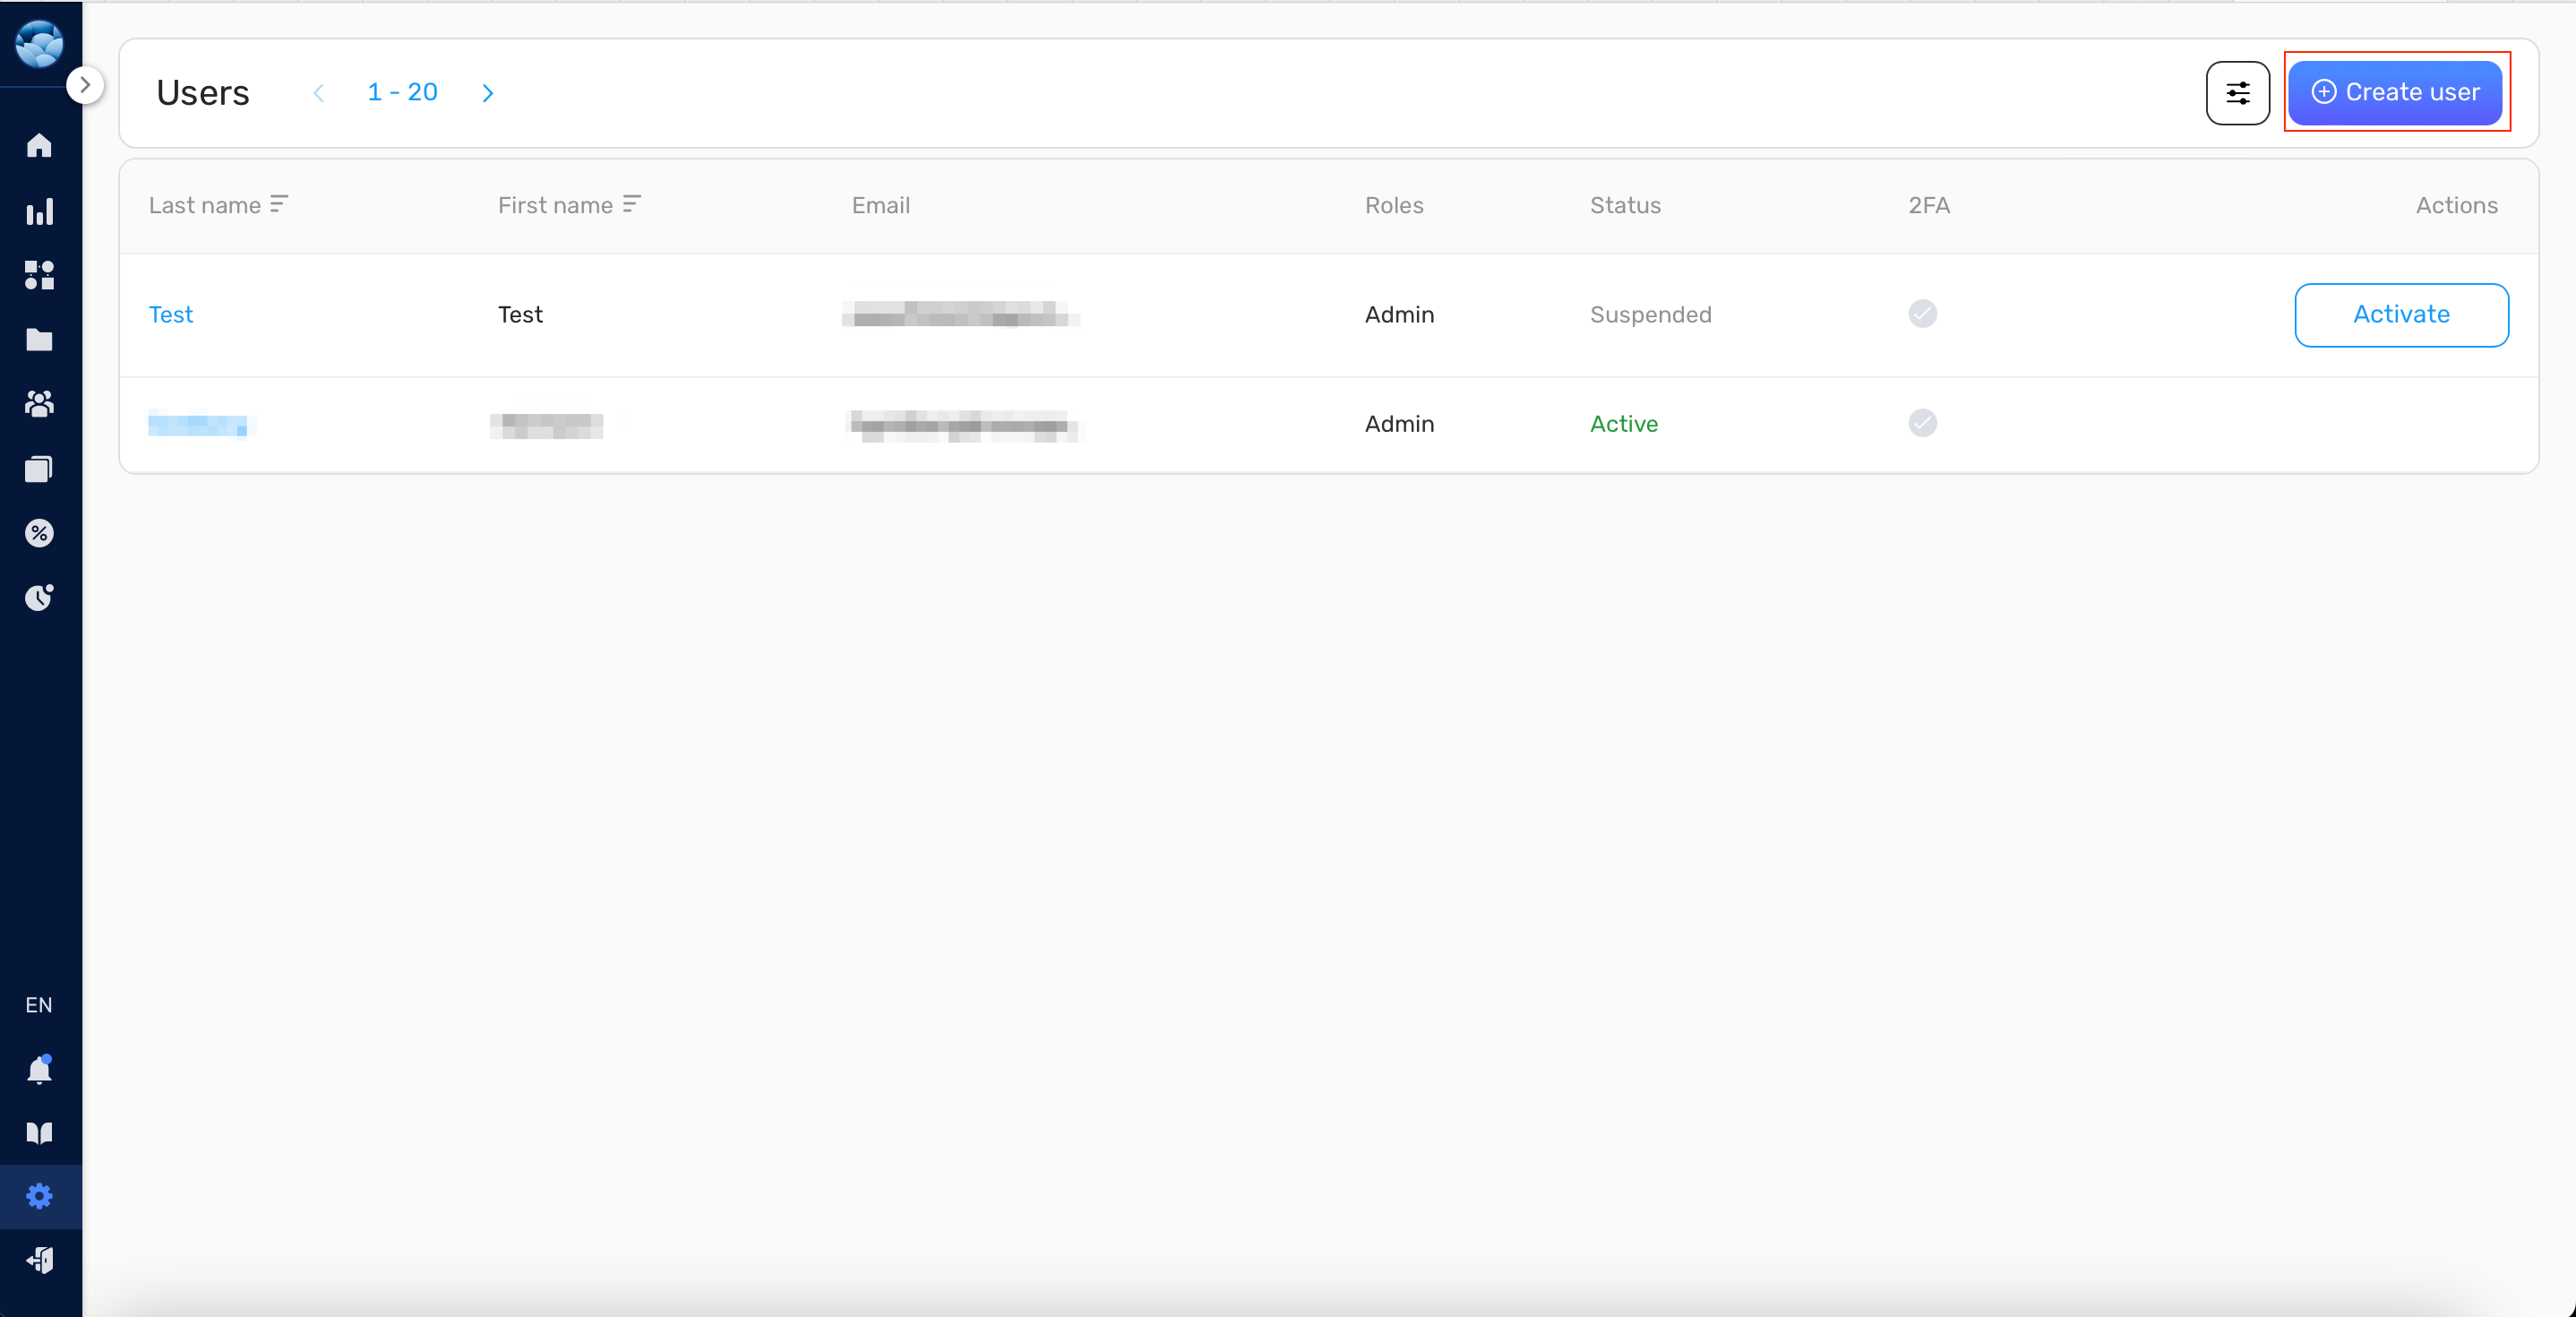
- Click on the Create user button.
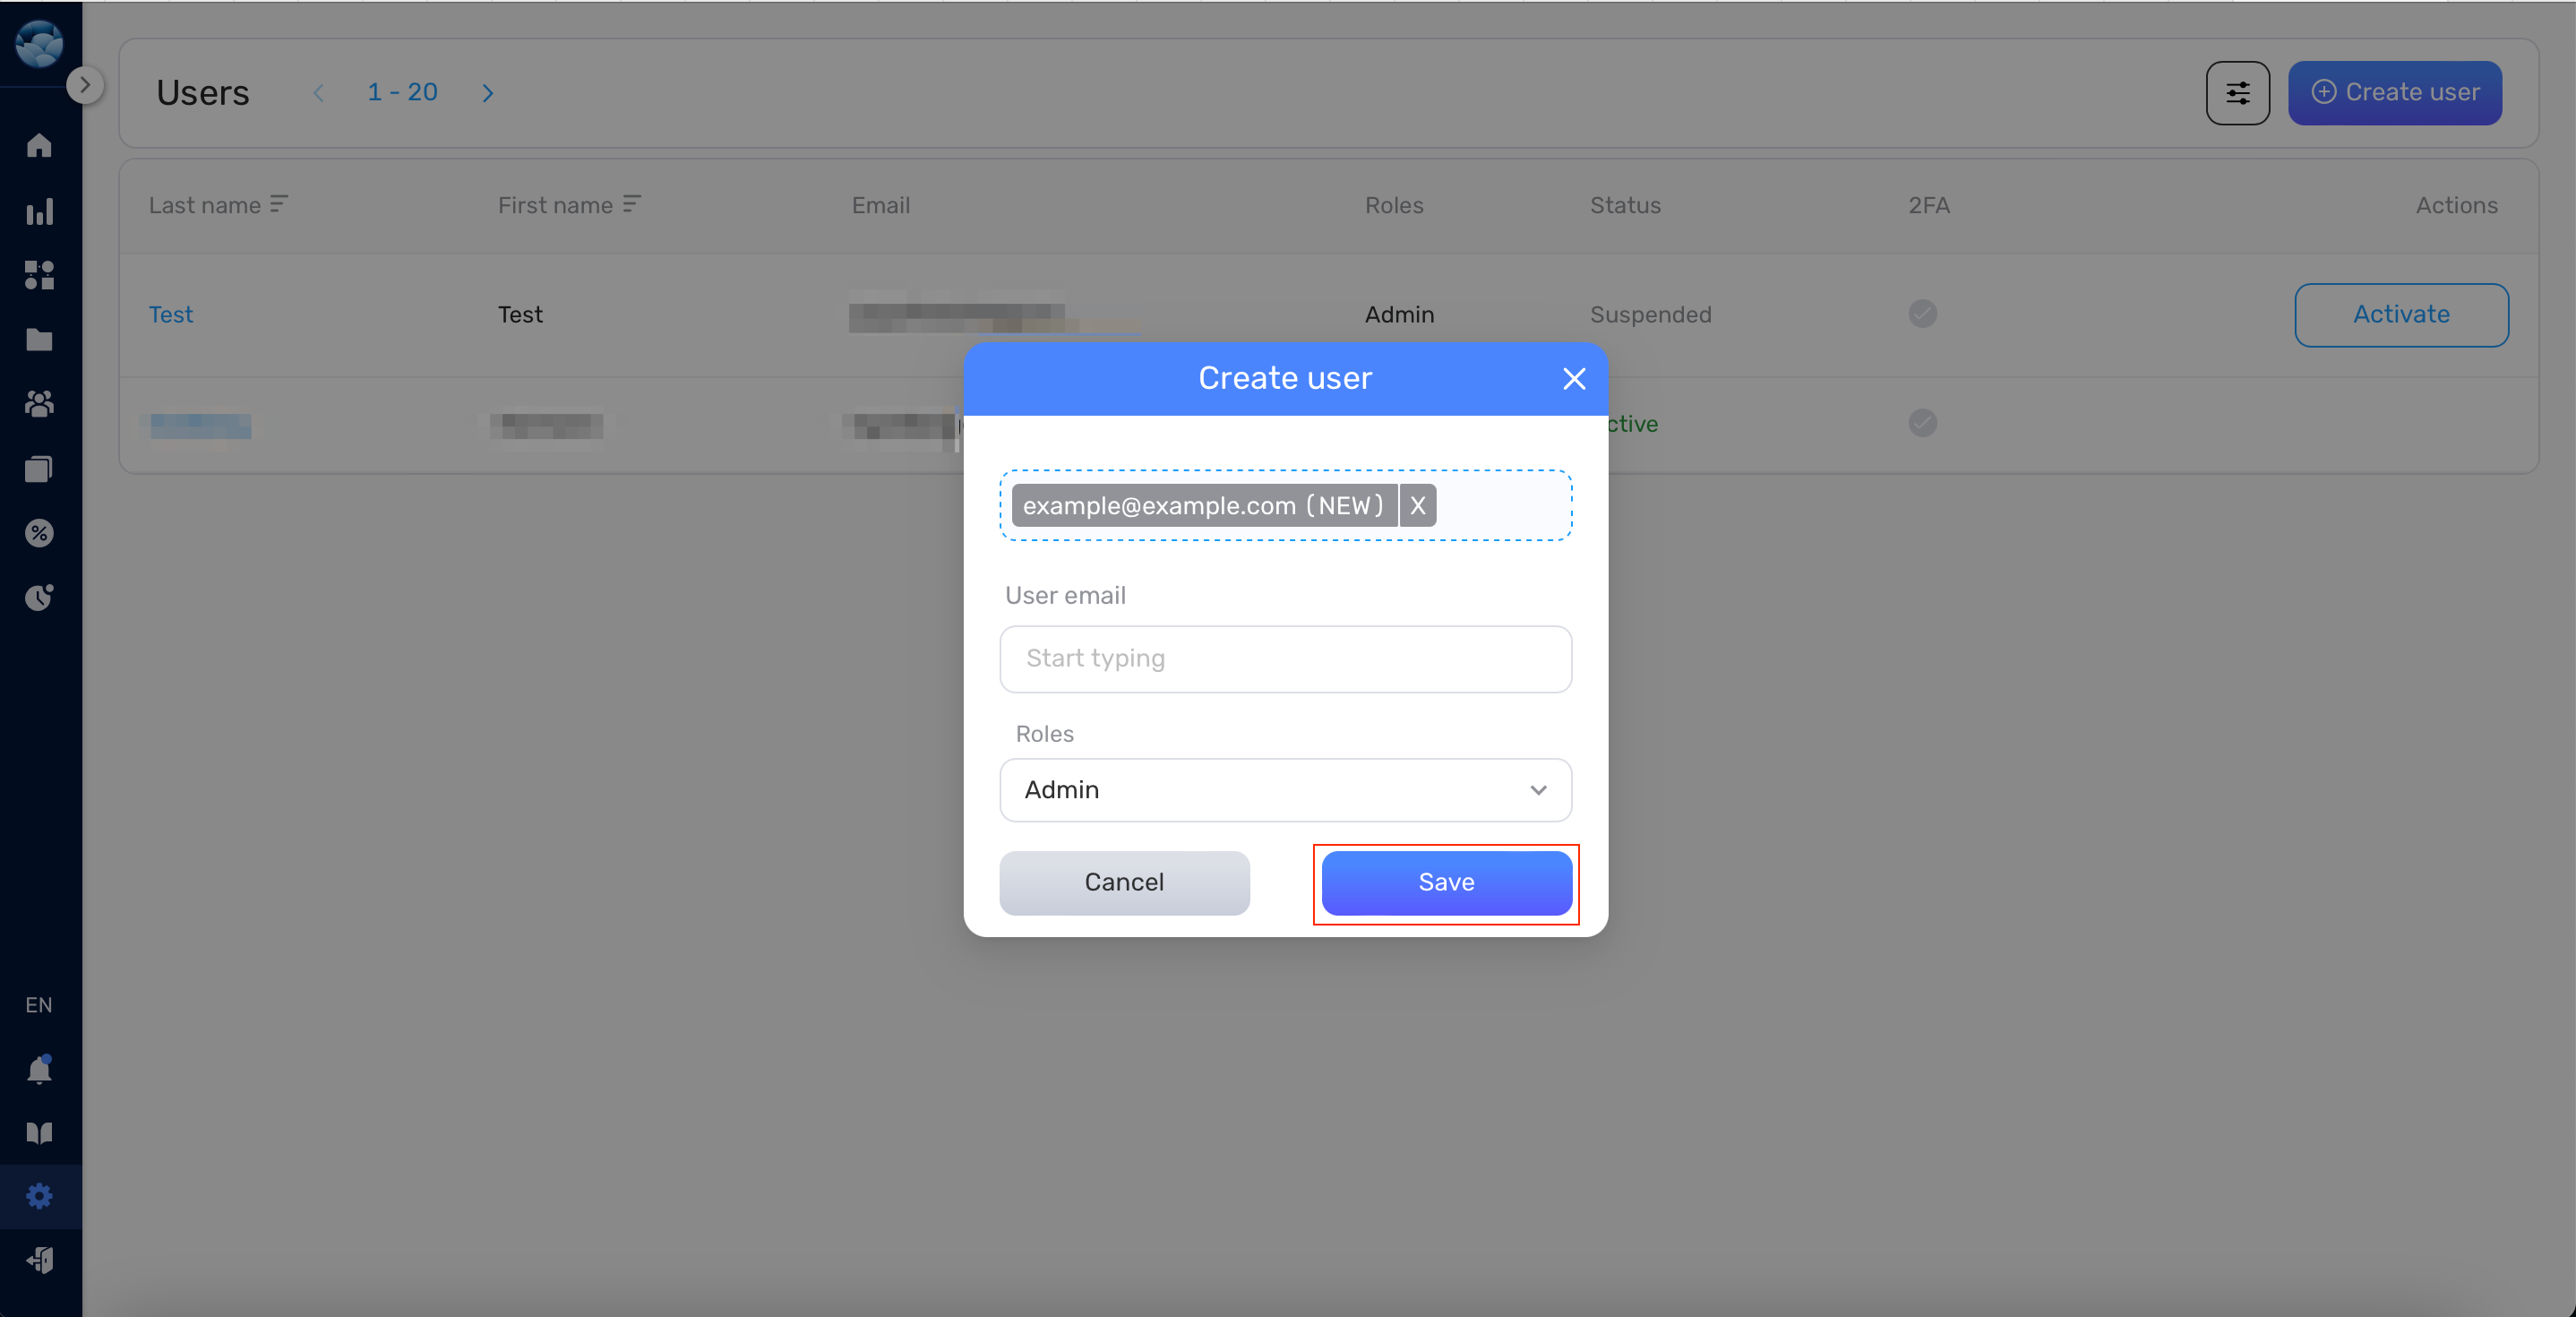
- Enter the email address of the user you wish to add.
- Assign them a role from the list of existing roles. If you need to create a new role, click +Create role button. To now more about roles refer to the “Creating a New Role” section.

- Click Save. The new user will be added to your workspace and will receive an email with a registration link if they are new to Retainly.
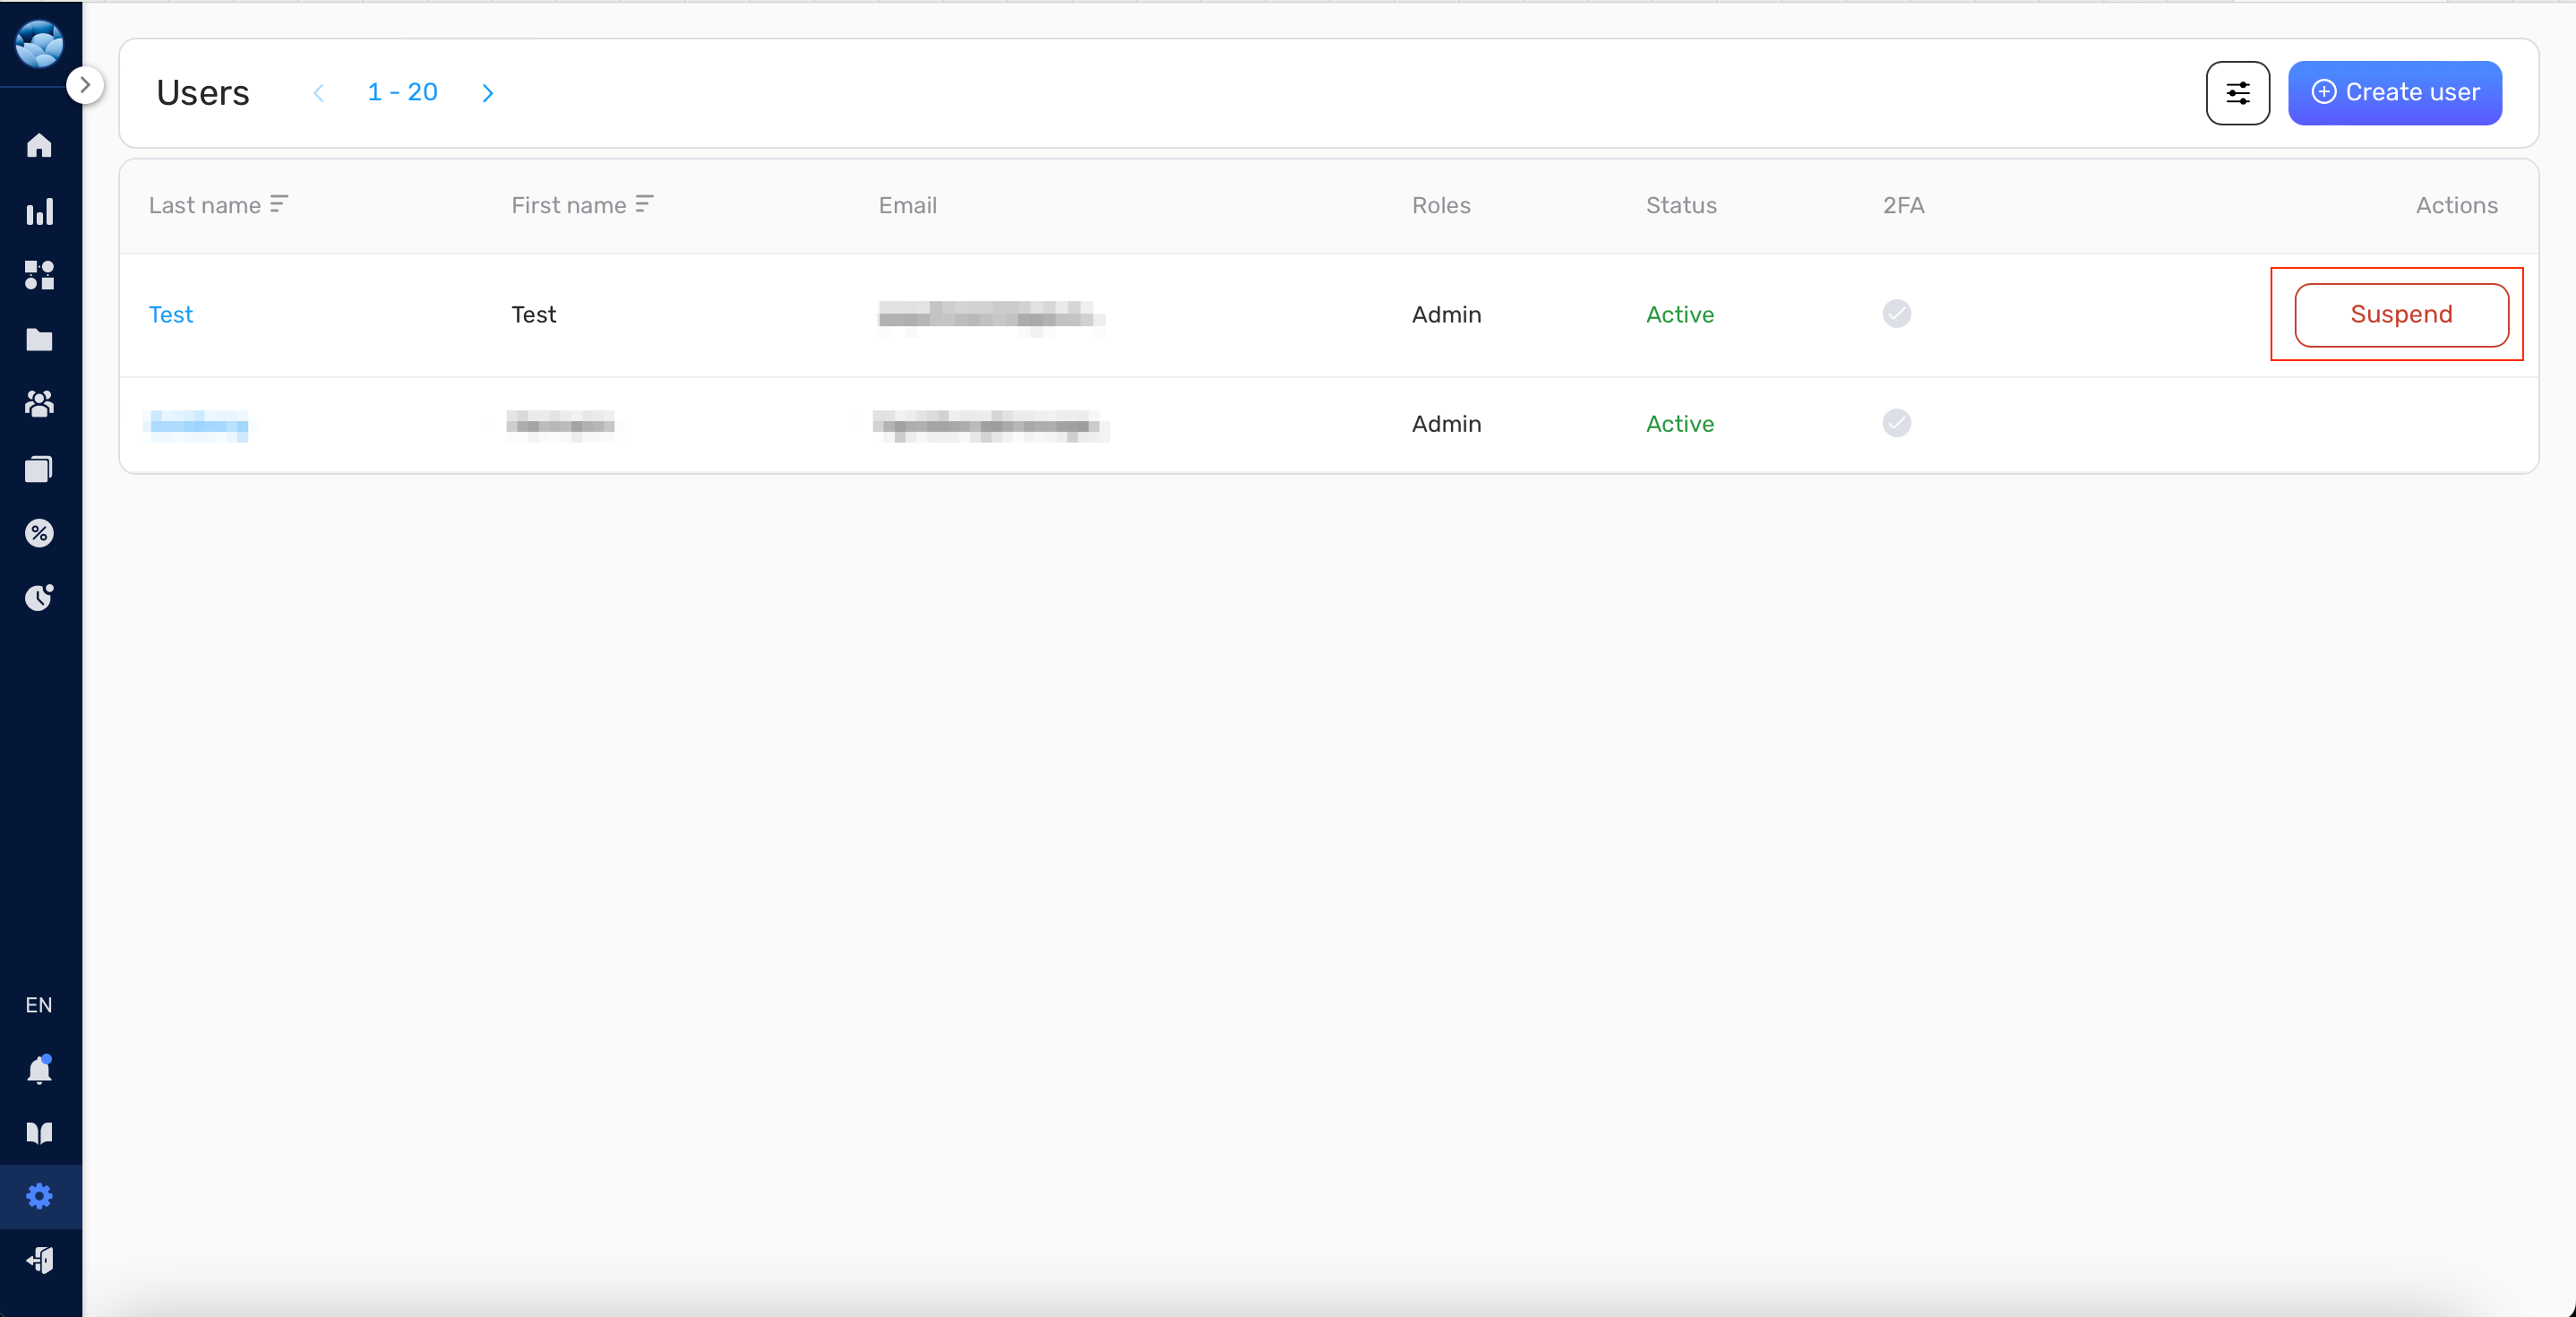
If you need to suspend a user’s access, click the Suspend button next to their name.
Creating a New Role #
A role defines a user’s permissions within your workspace. Retainly provides three default roles:
- Admin: This is the highest-level role with comprehensive permissions, including user management, adding/removing users from the workspace, and handling integrations.
- User: Users have extensive permissions, similar to Admins, but they do not have access to user management and cannot create new integrations.
- Guest: A Guest has limited access to the workspace. They can view your workflows, segments, etc., but they cannot create or delete anything.
If these roles don’t fit your needs, you can create a custom role:
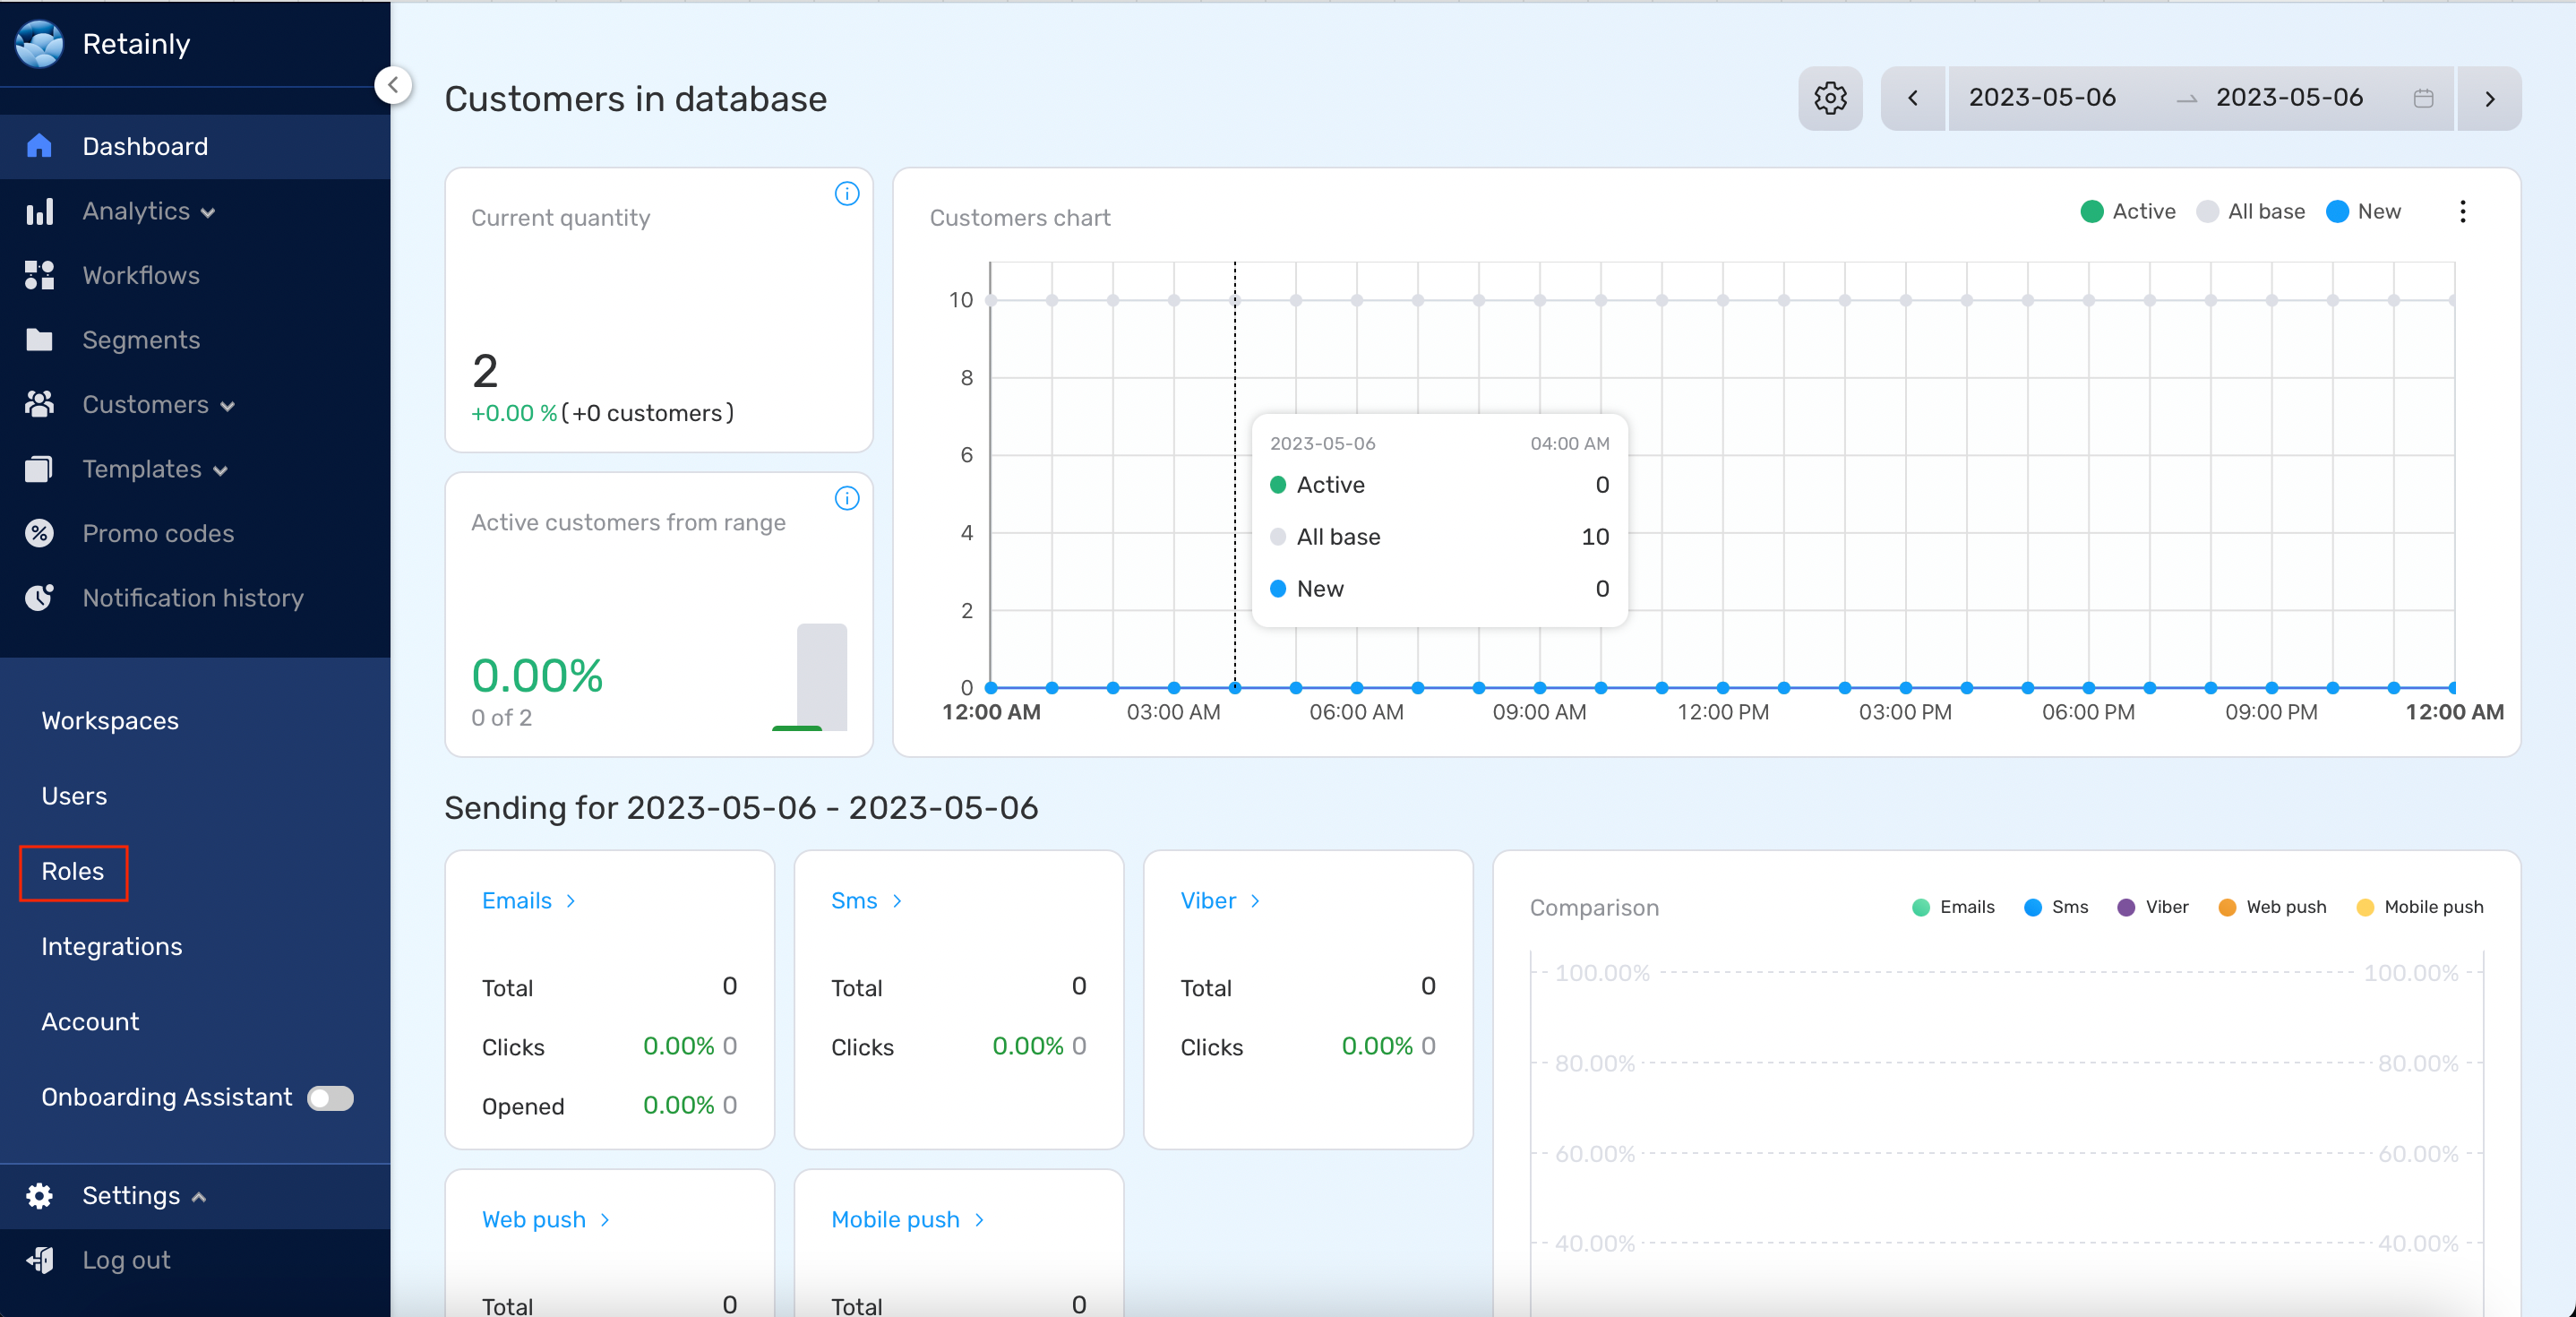
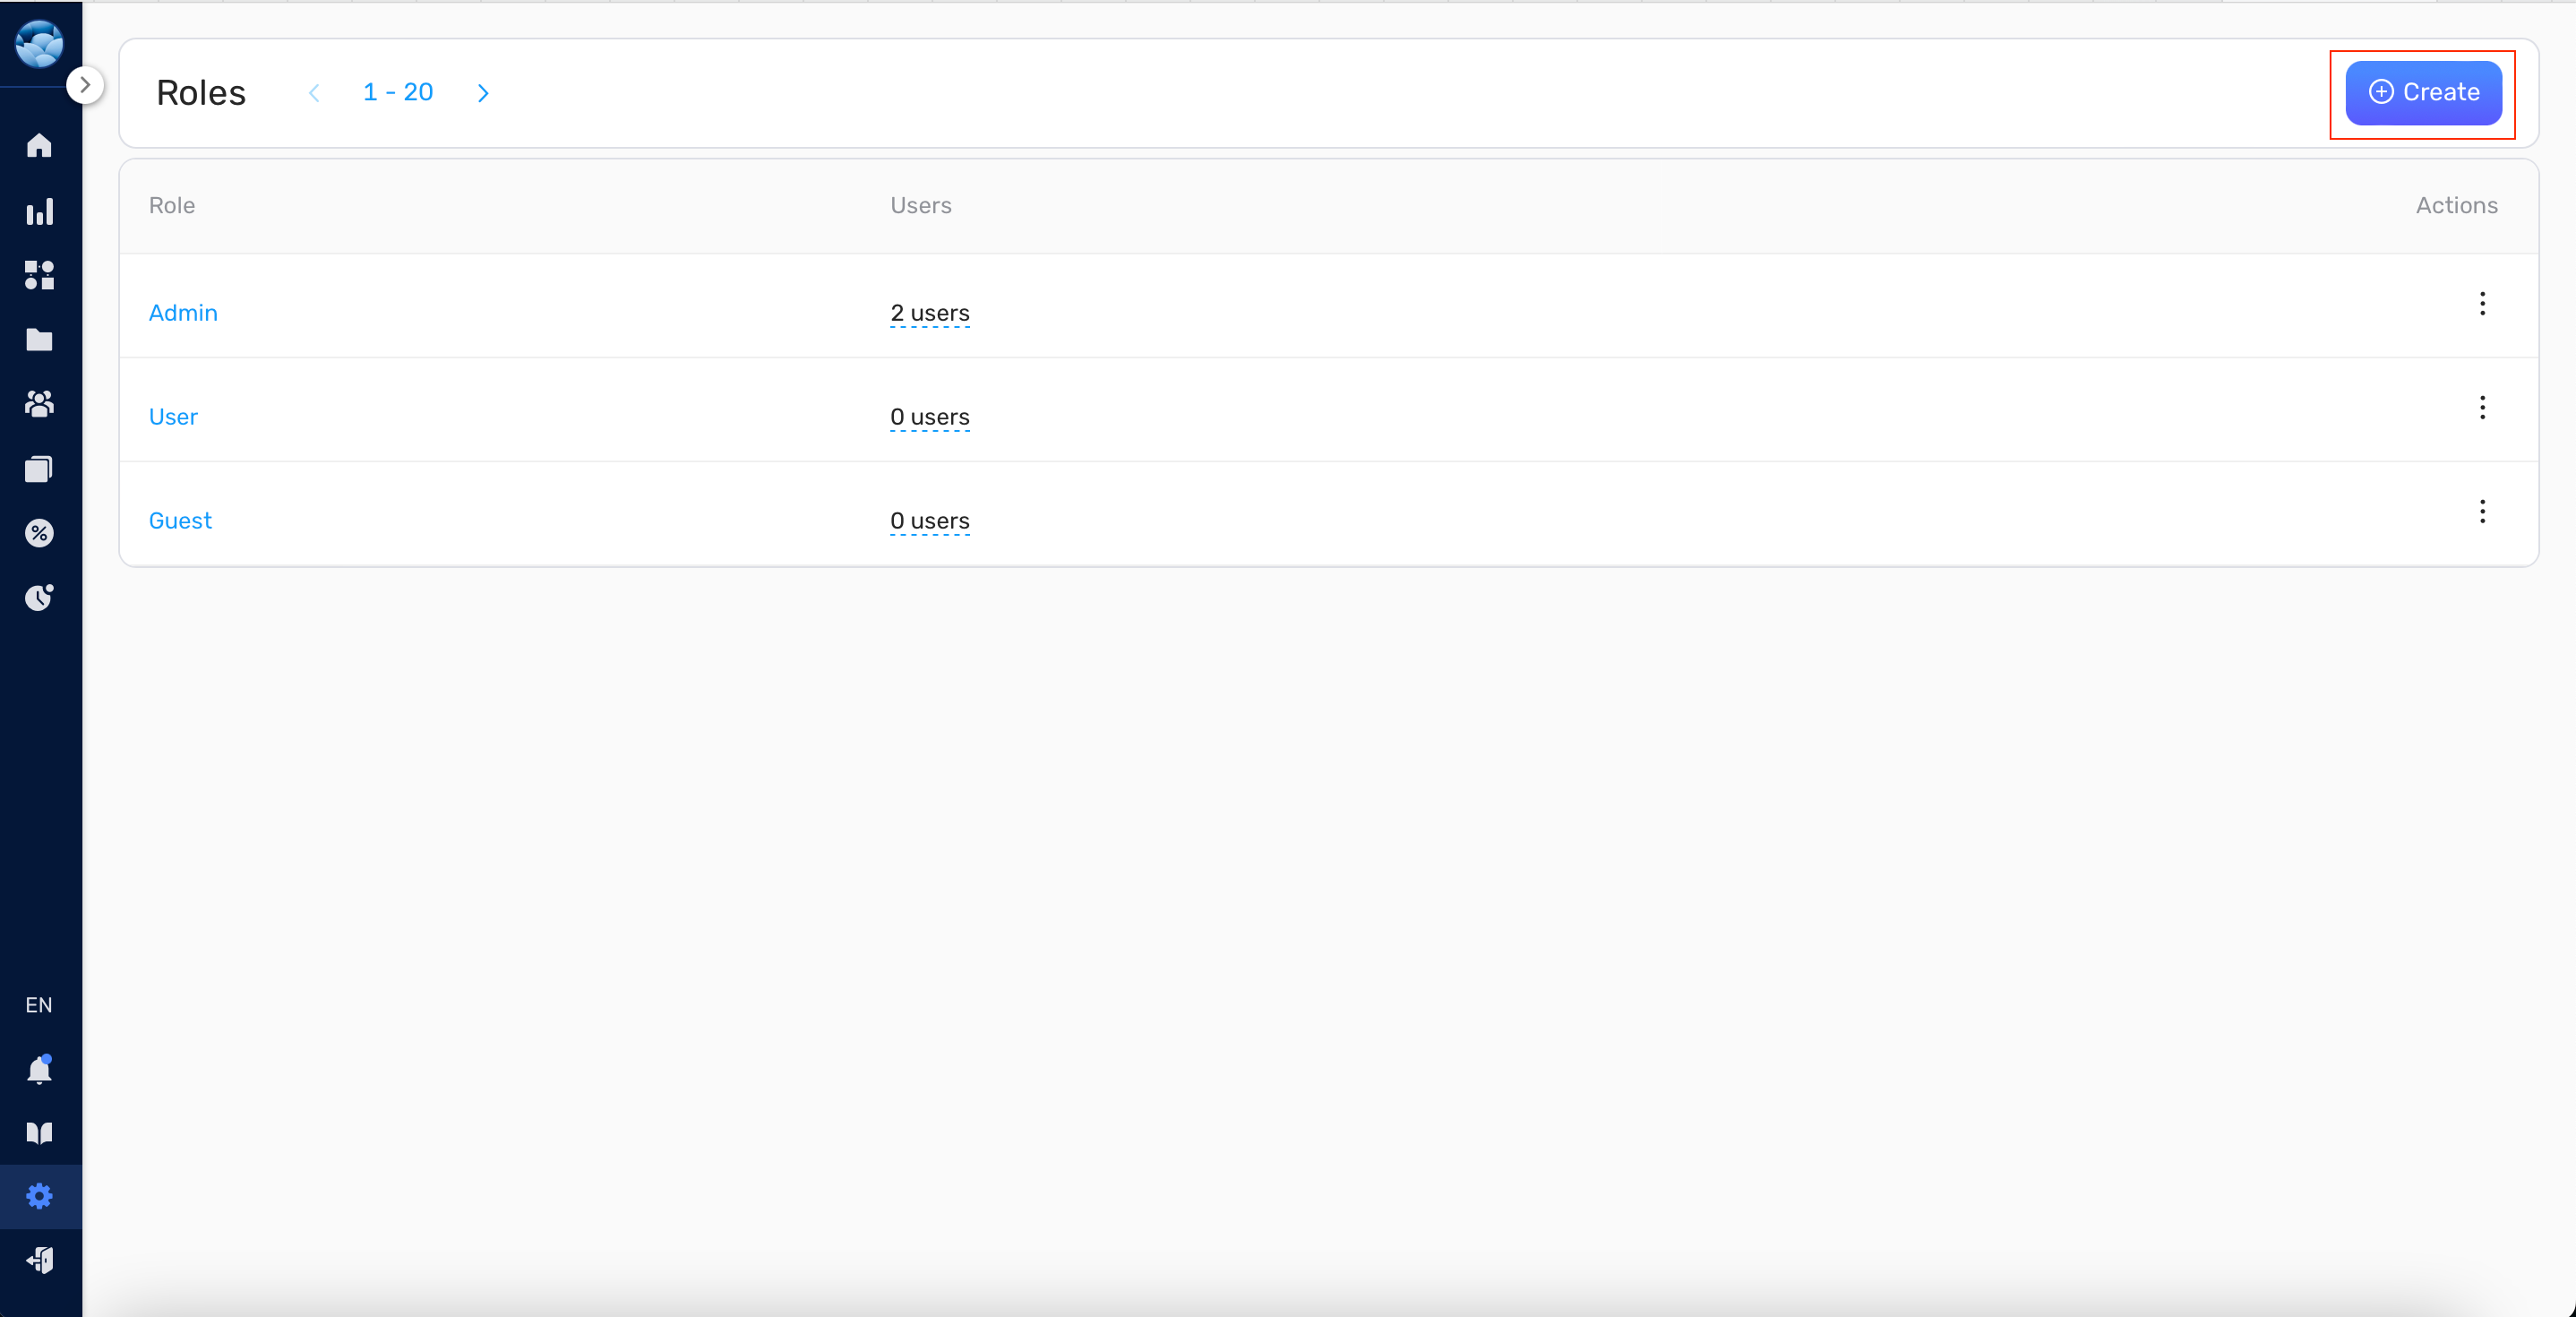
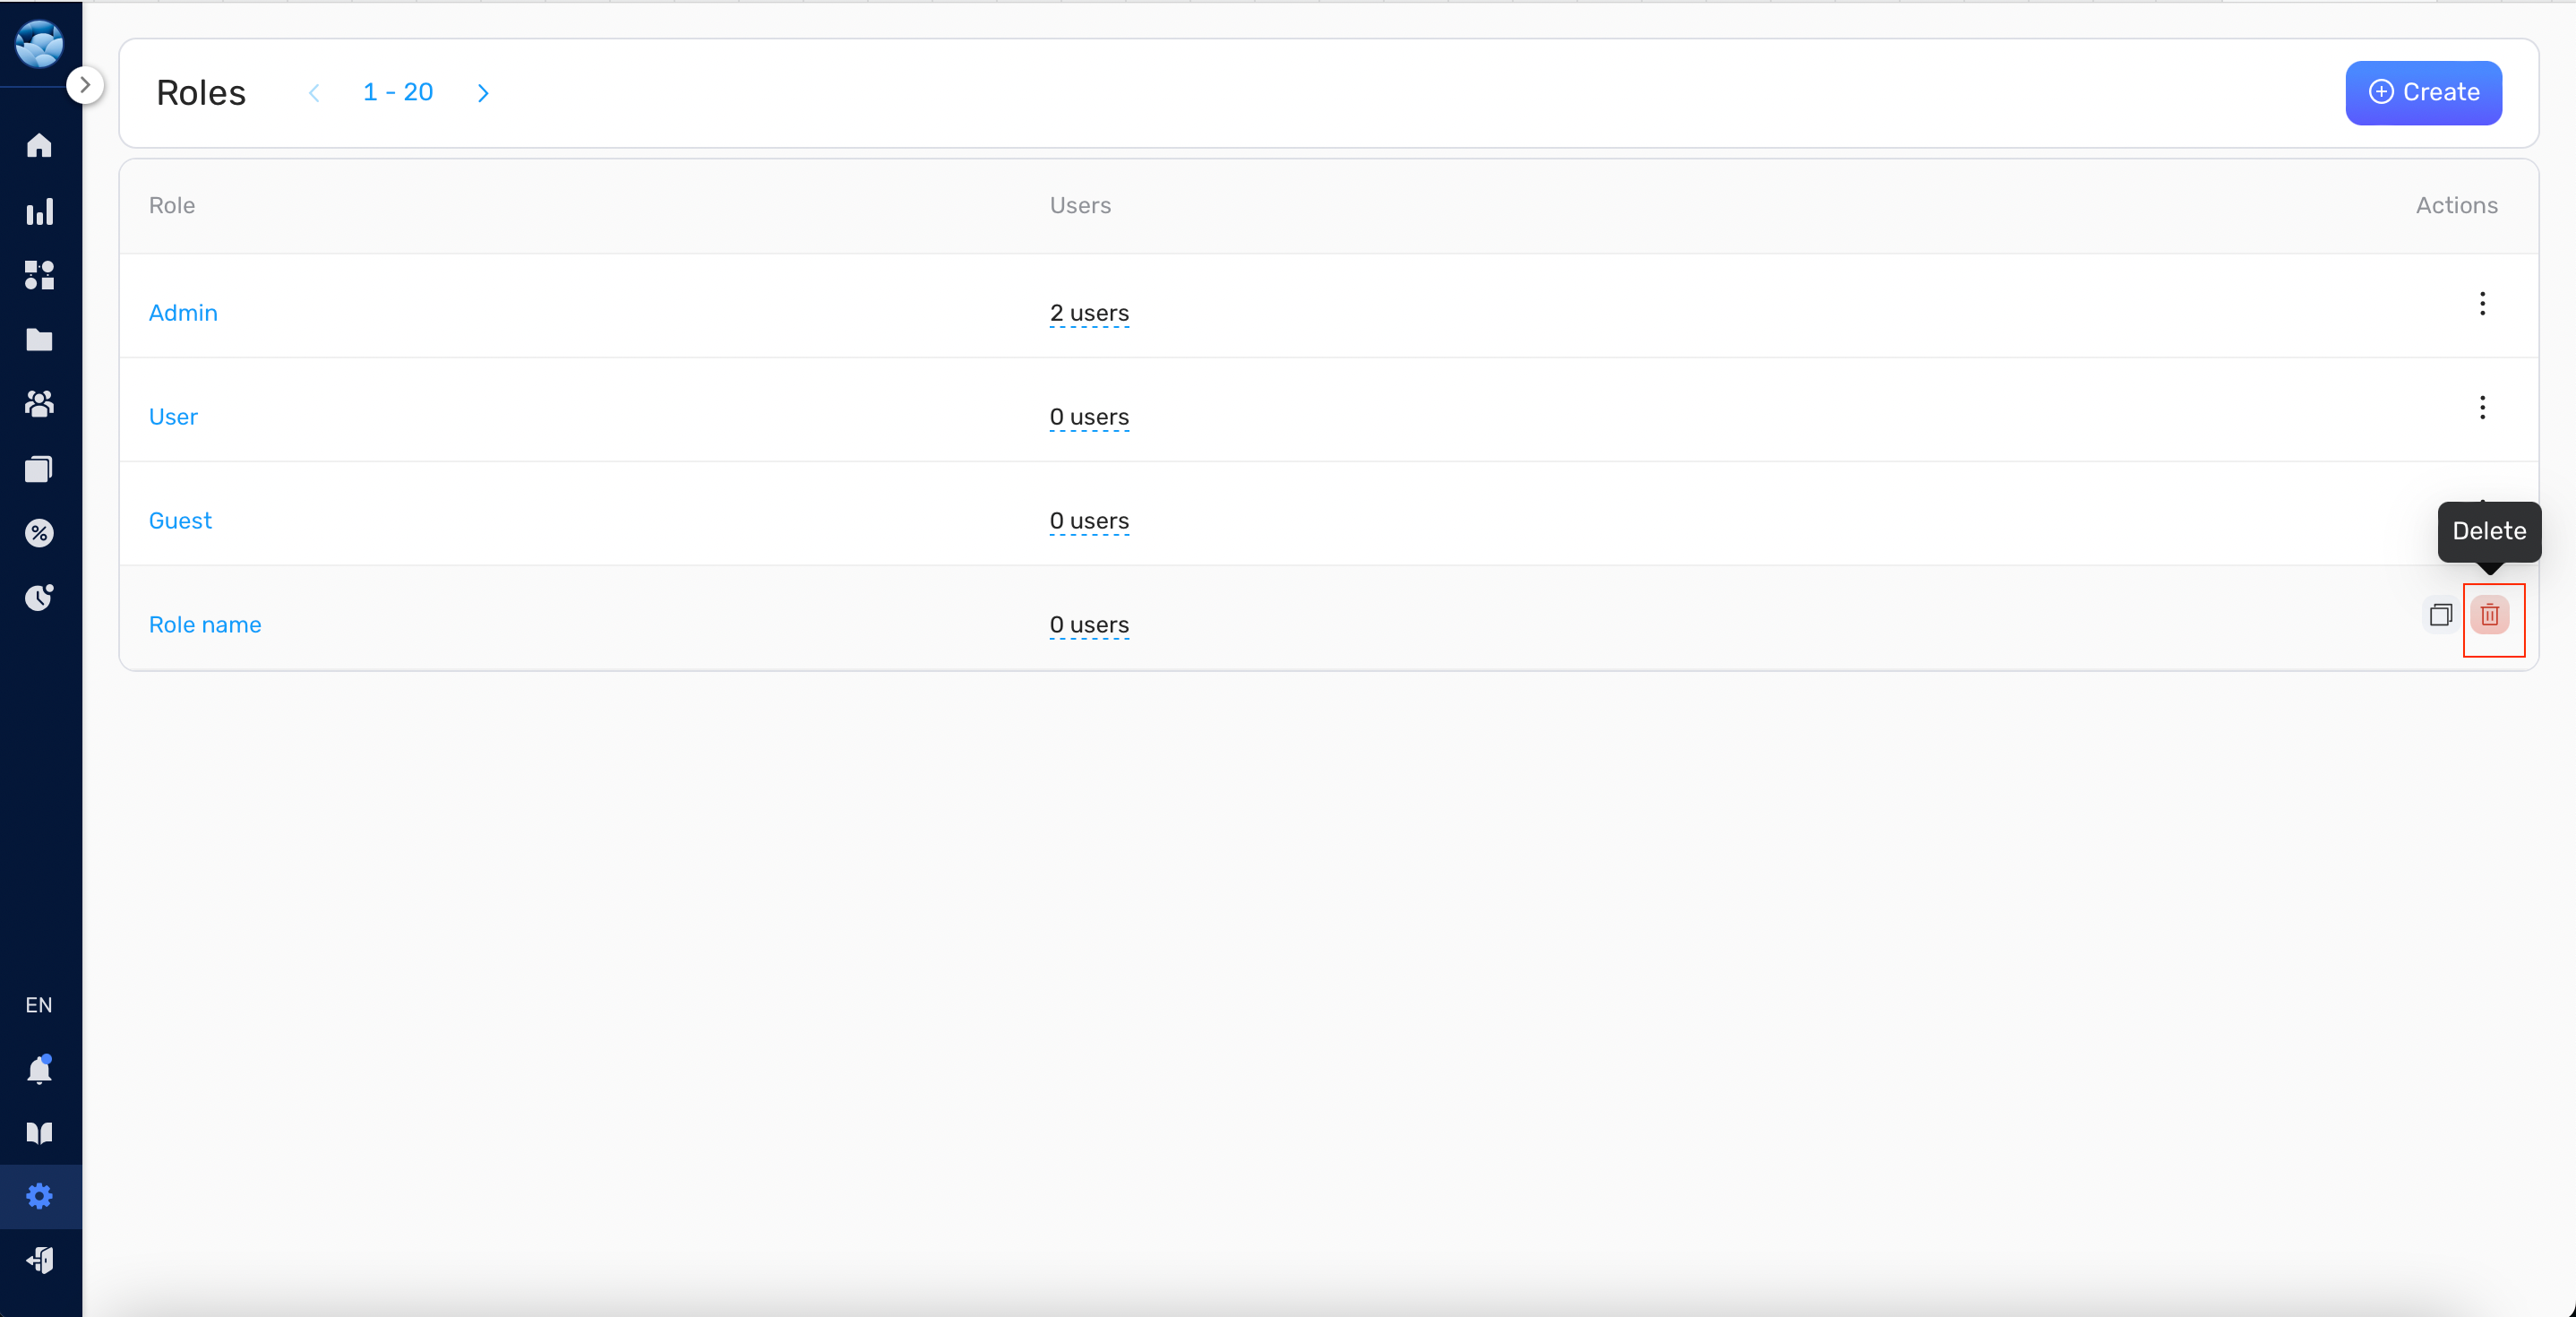
- Navigate to Settings > Roles from the Side menu.
- Click the Create button.
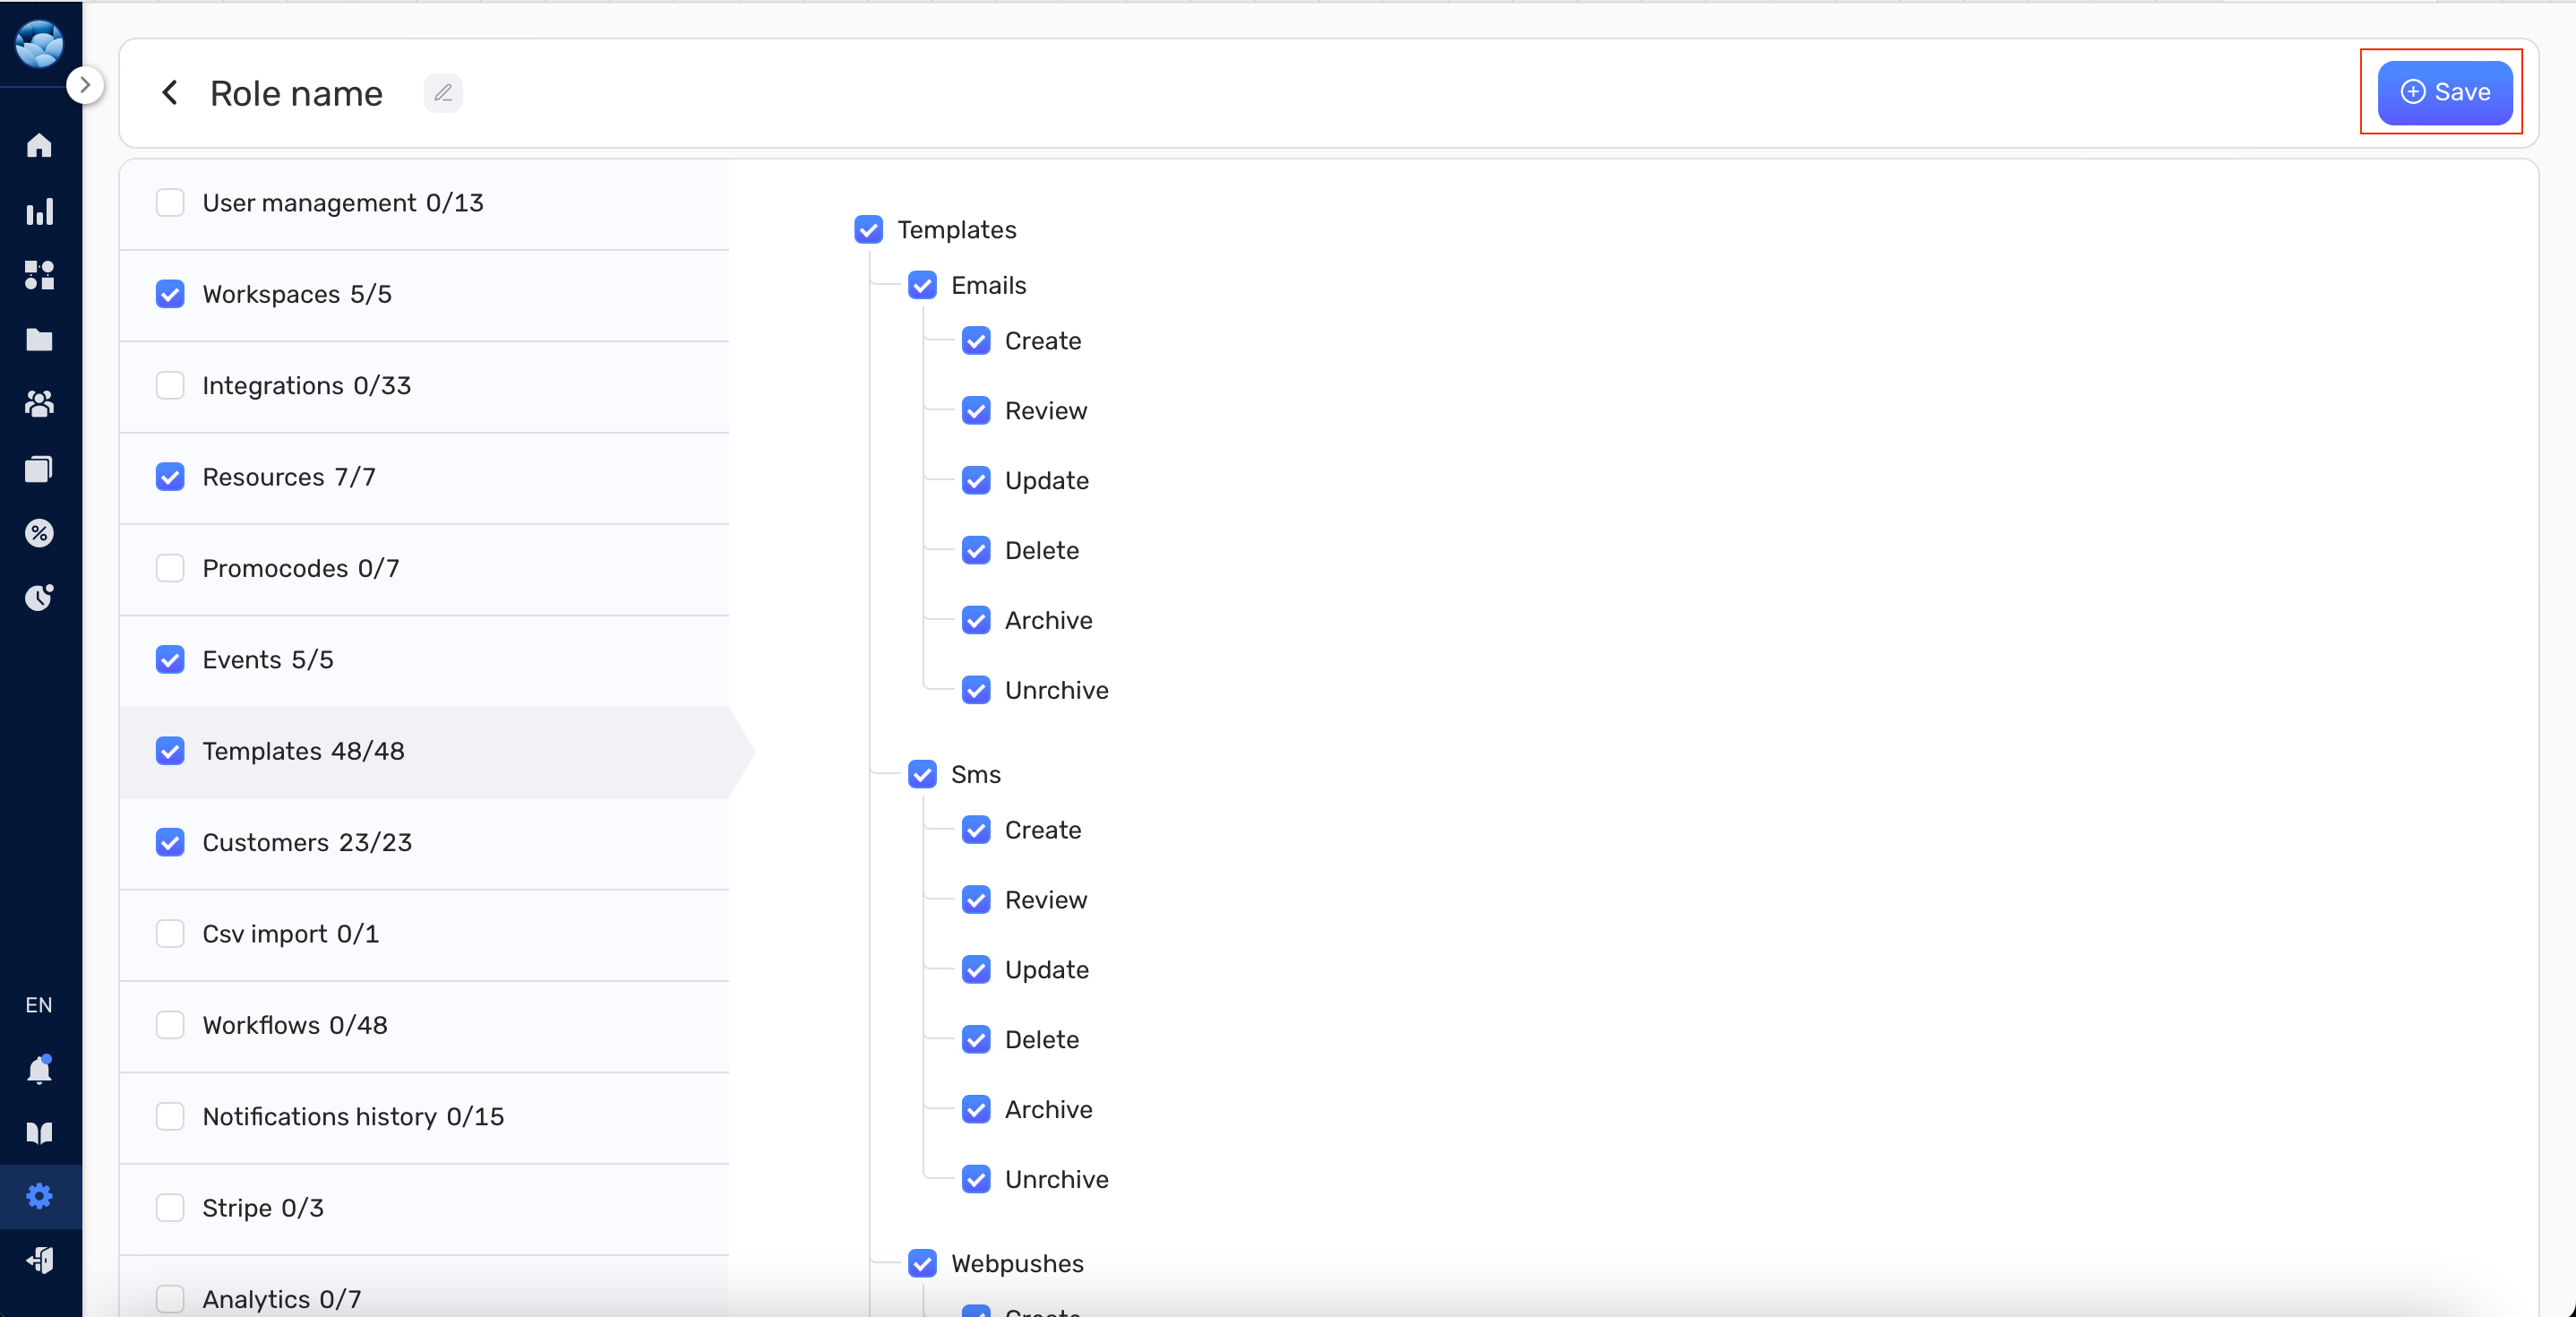
- Enter a name for the new role in the top left corner.
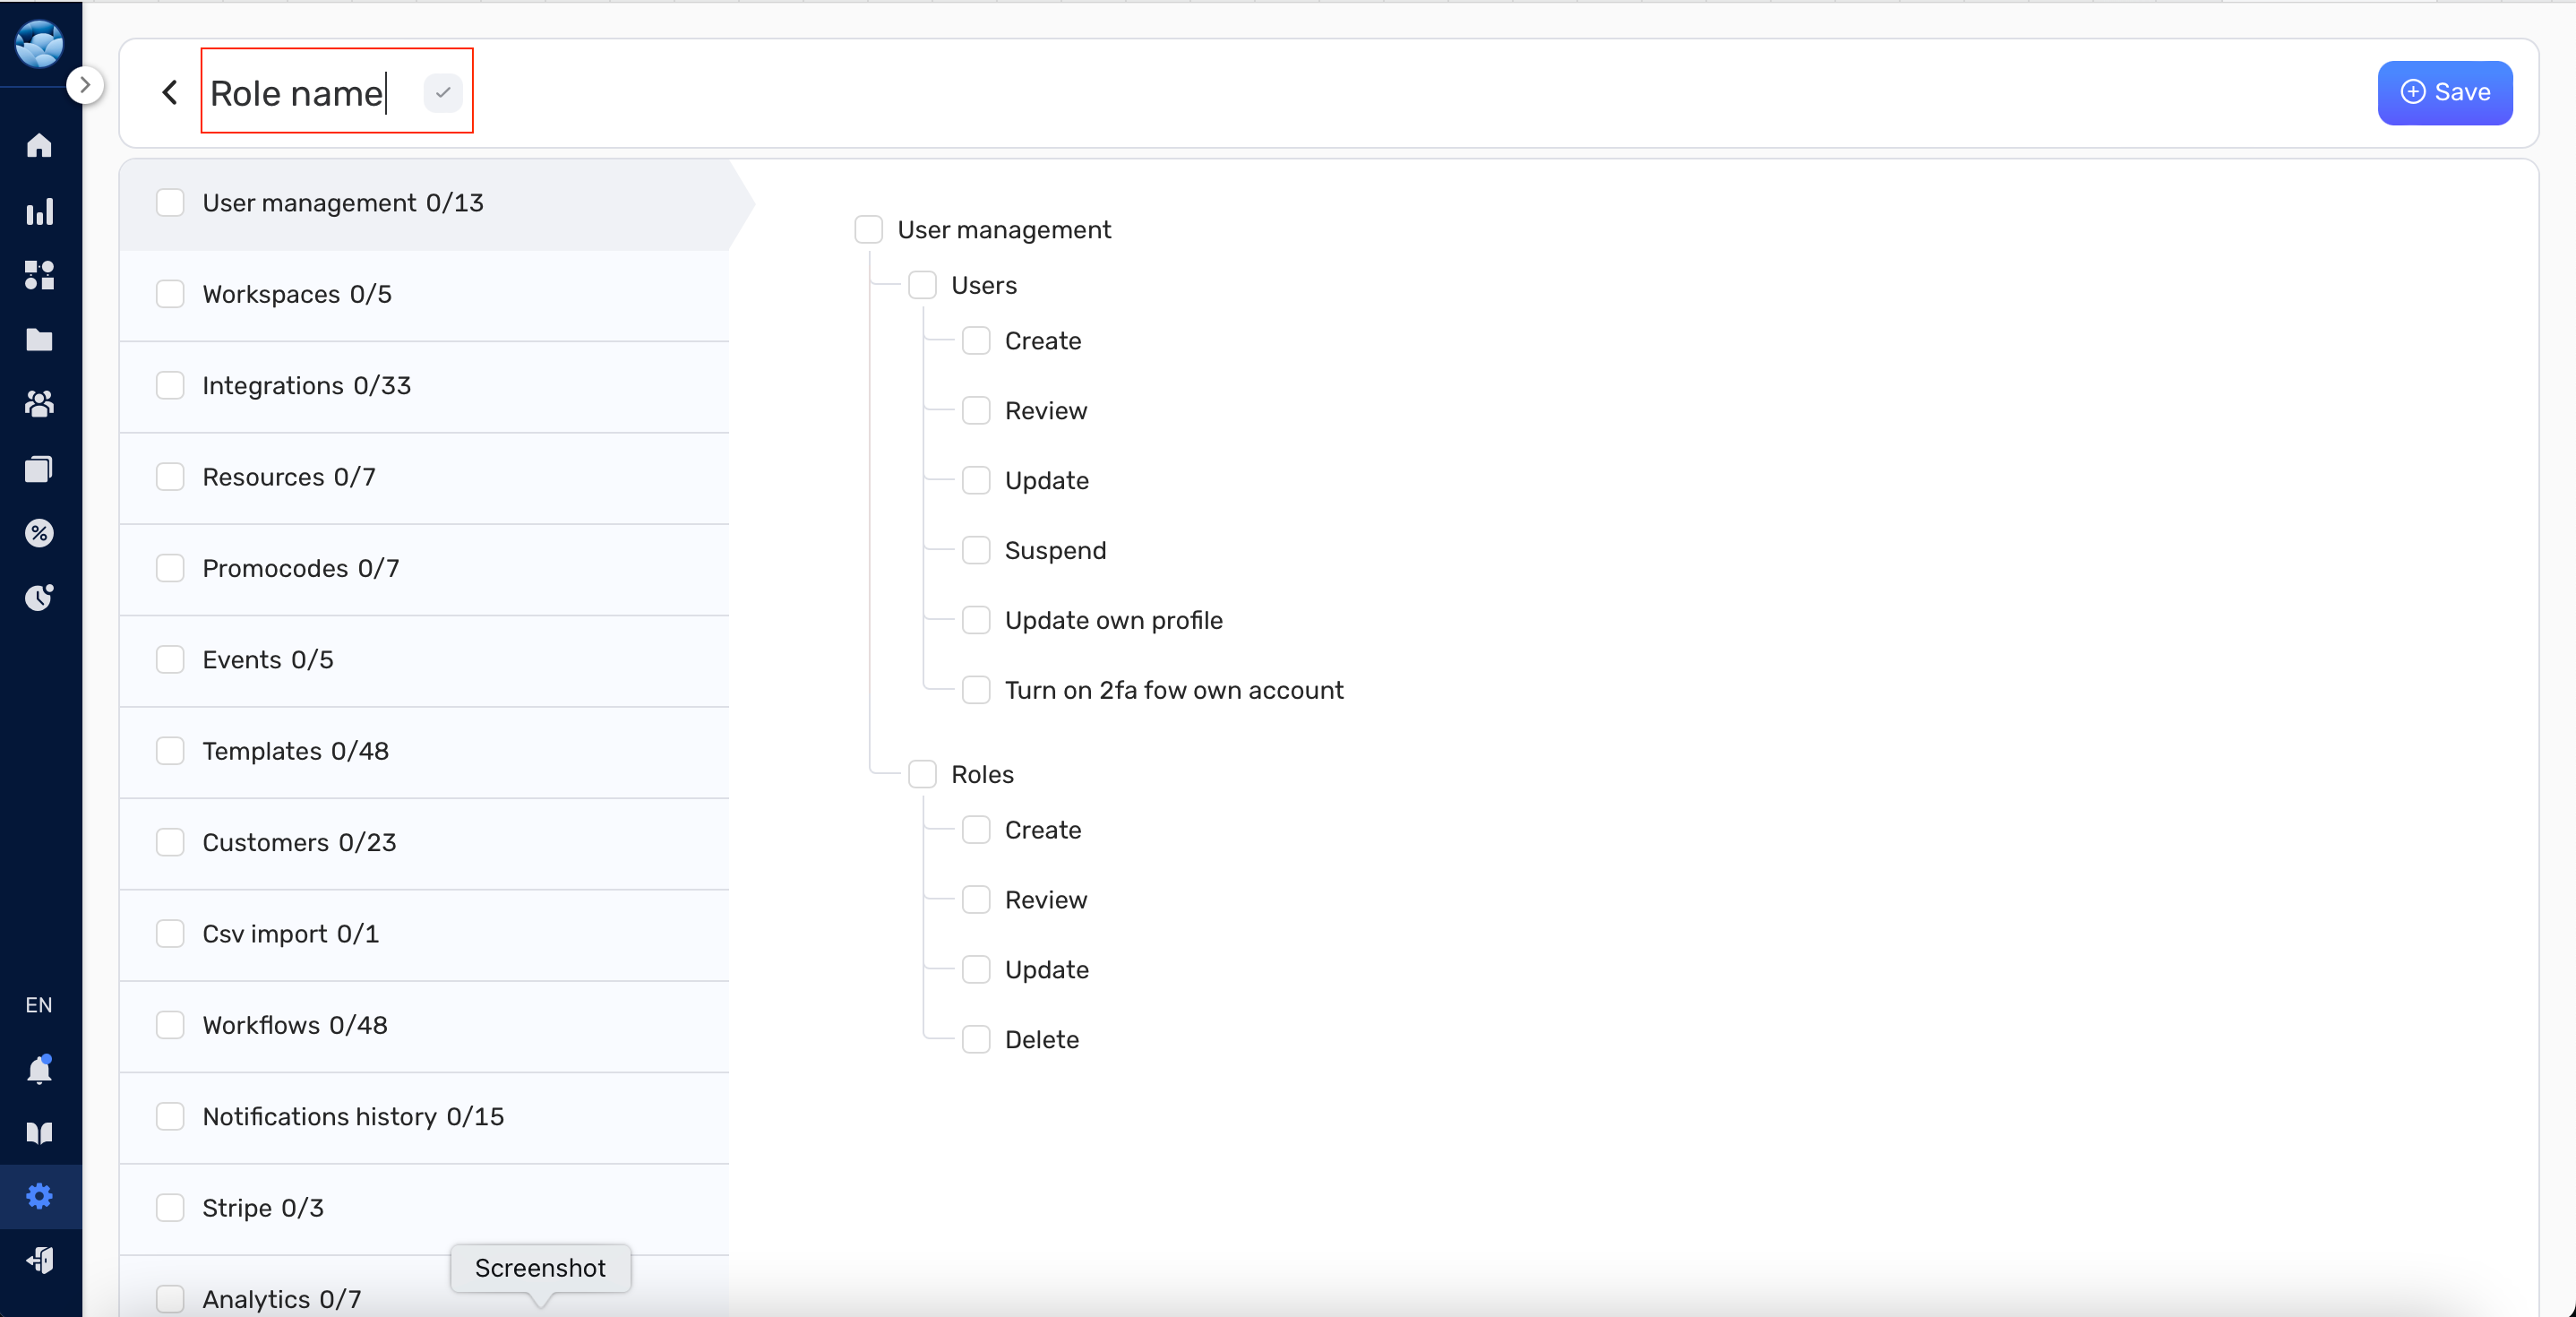
- Select the permissions you want the role to have.
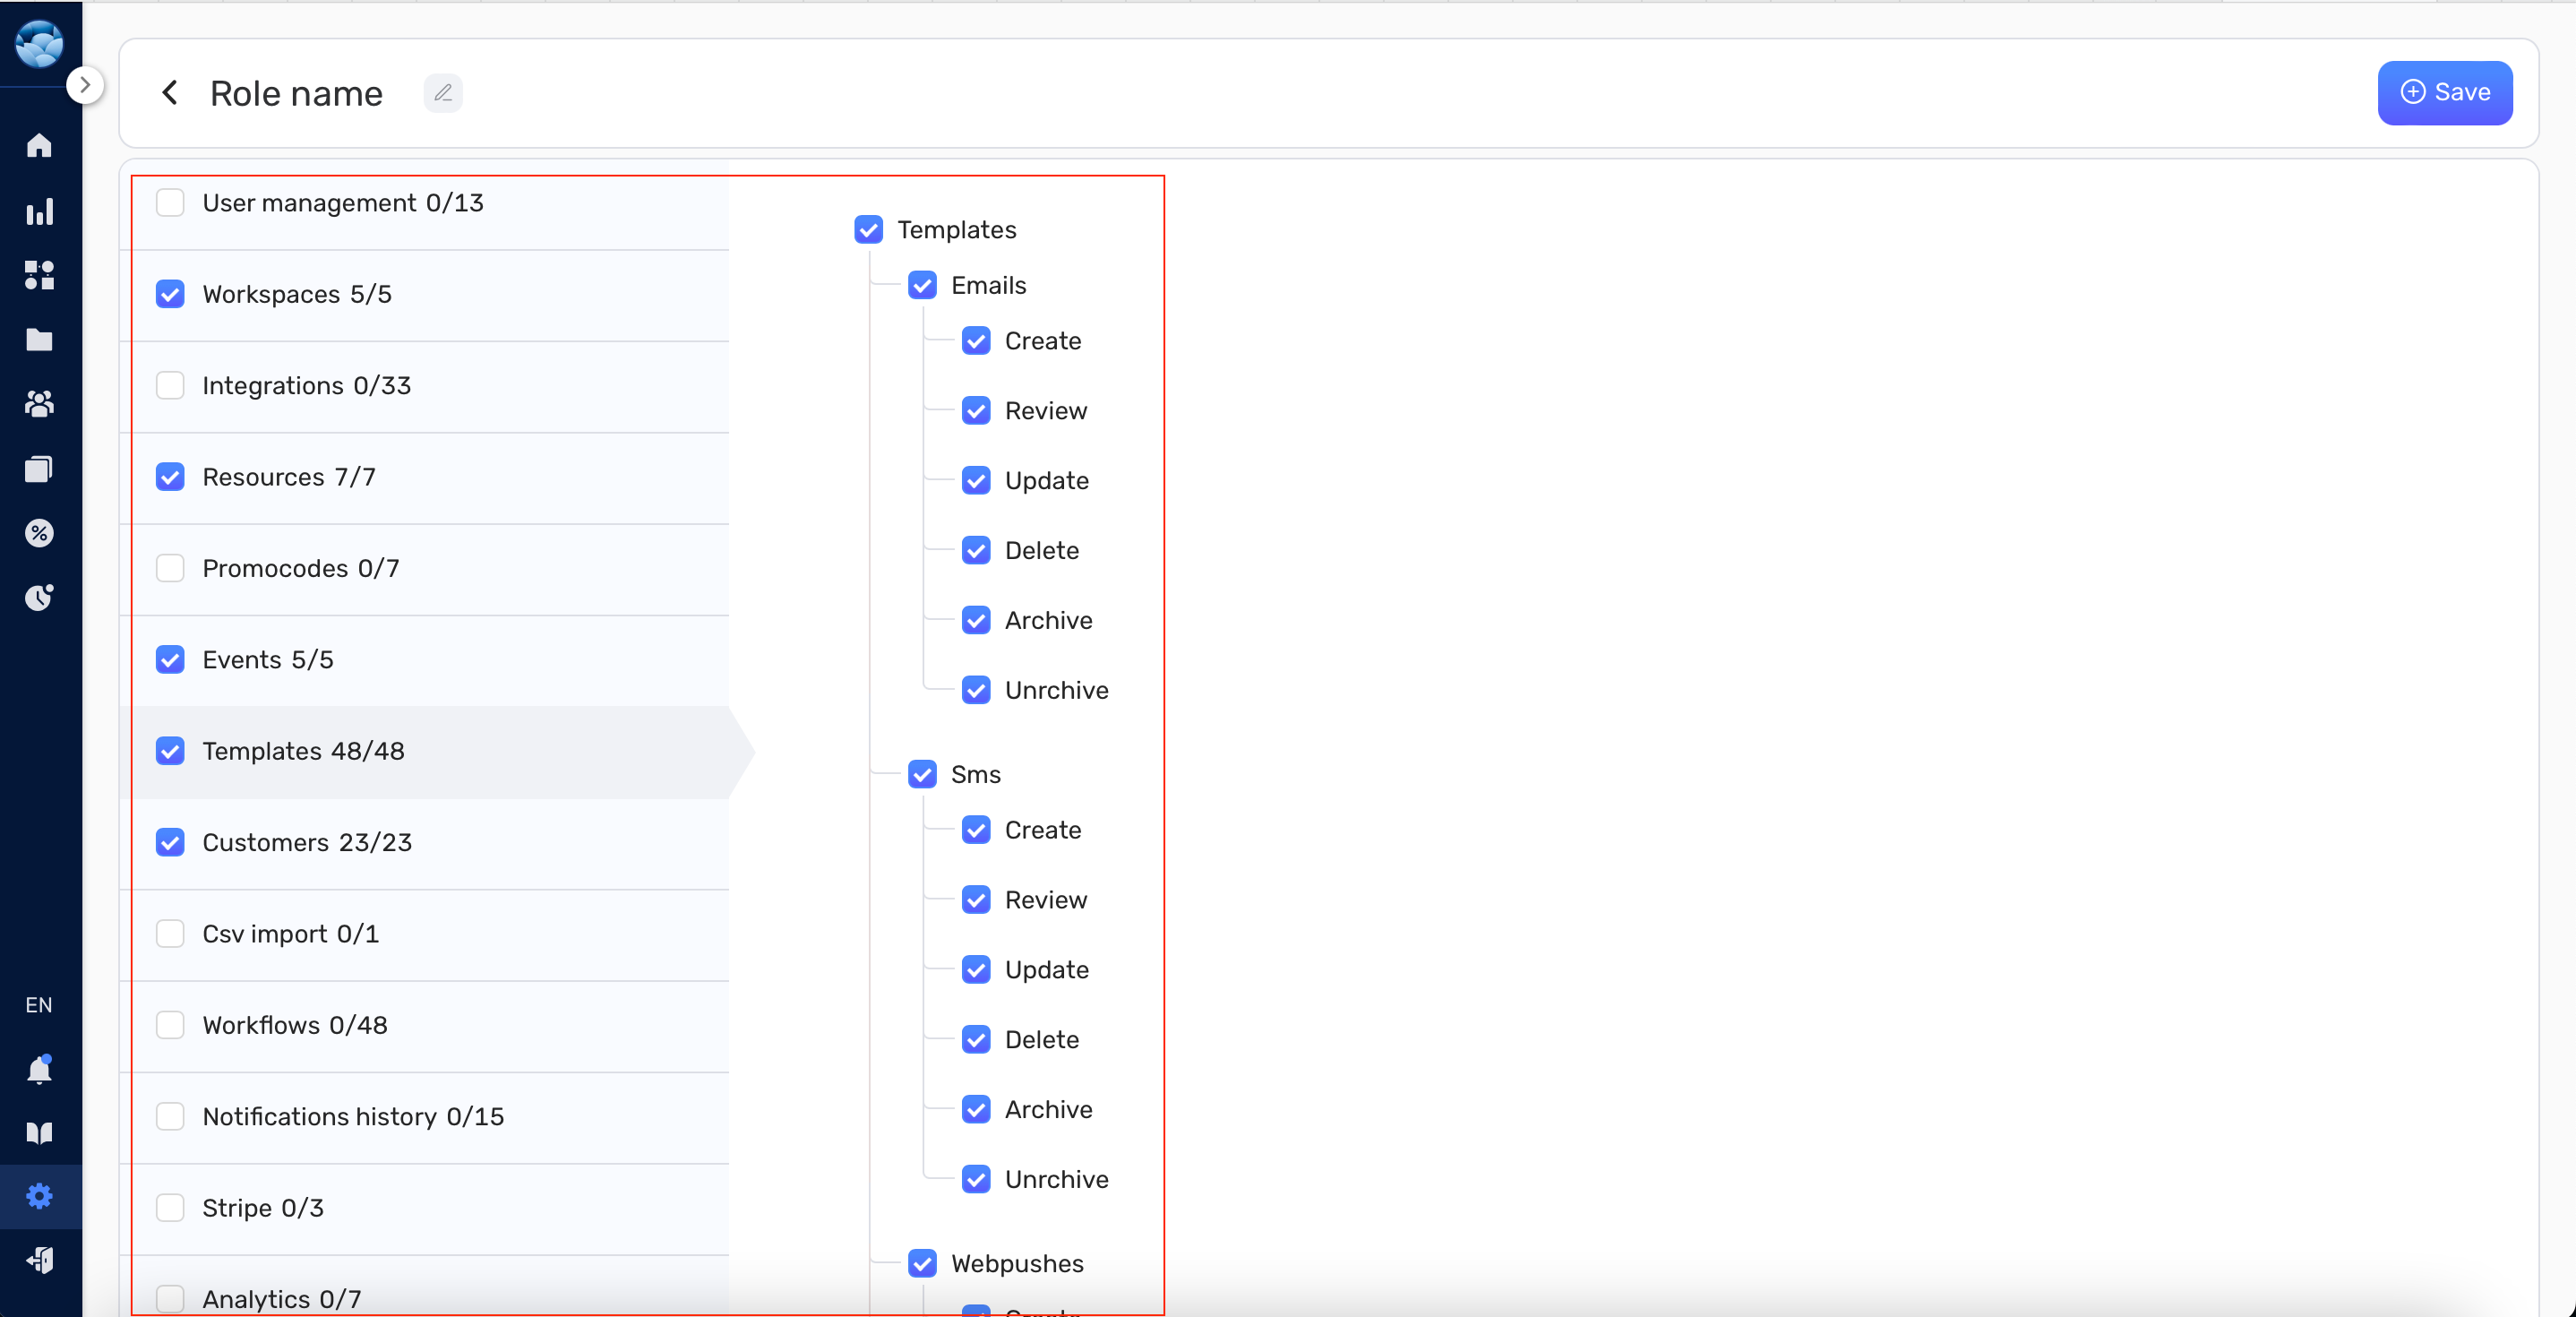
- After selecting the permissions, click Save.
Now, you can assign your new role to users in your workspace. If you need to delete a role, click the Delete button under the “Actions” column.
Conclusion #
With this guide, you’re now equipped to manage your Retainly account effectively. Remember to review user roles regularly and adjust permissions as your workspace evolves. Happy organizing!


