What is a WorkFlow? #
A workflow is a structured sequence of actions designed to complete a specific task or process based on predefined criteria. It streamlines and automates repetitive tasks, ensuring that each step is carried out accurately and efficiently. Workflow automation guarantees that the right information is delivered to the right individuals at the correct moment, while also adhering to business guidelines.
Why Create Automated Workflows #
Automated workflows empower users to set up tailored tasks, such as order processing, customer onboarding, newsletter distribution, reminders, and more. Manually handling these tasks on a frequent basis can be time-consuming and prone to errors. With automated workflows, you can significantly reduce manual intervention, ensuring tasks are executed efficiently and consistently – tailored to your unique preferences and standards.
Where to Find Workflows #
1. Log in to your Retainly account.
2. On the sidebar, click on the [Workflow] option.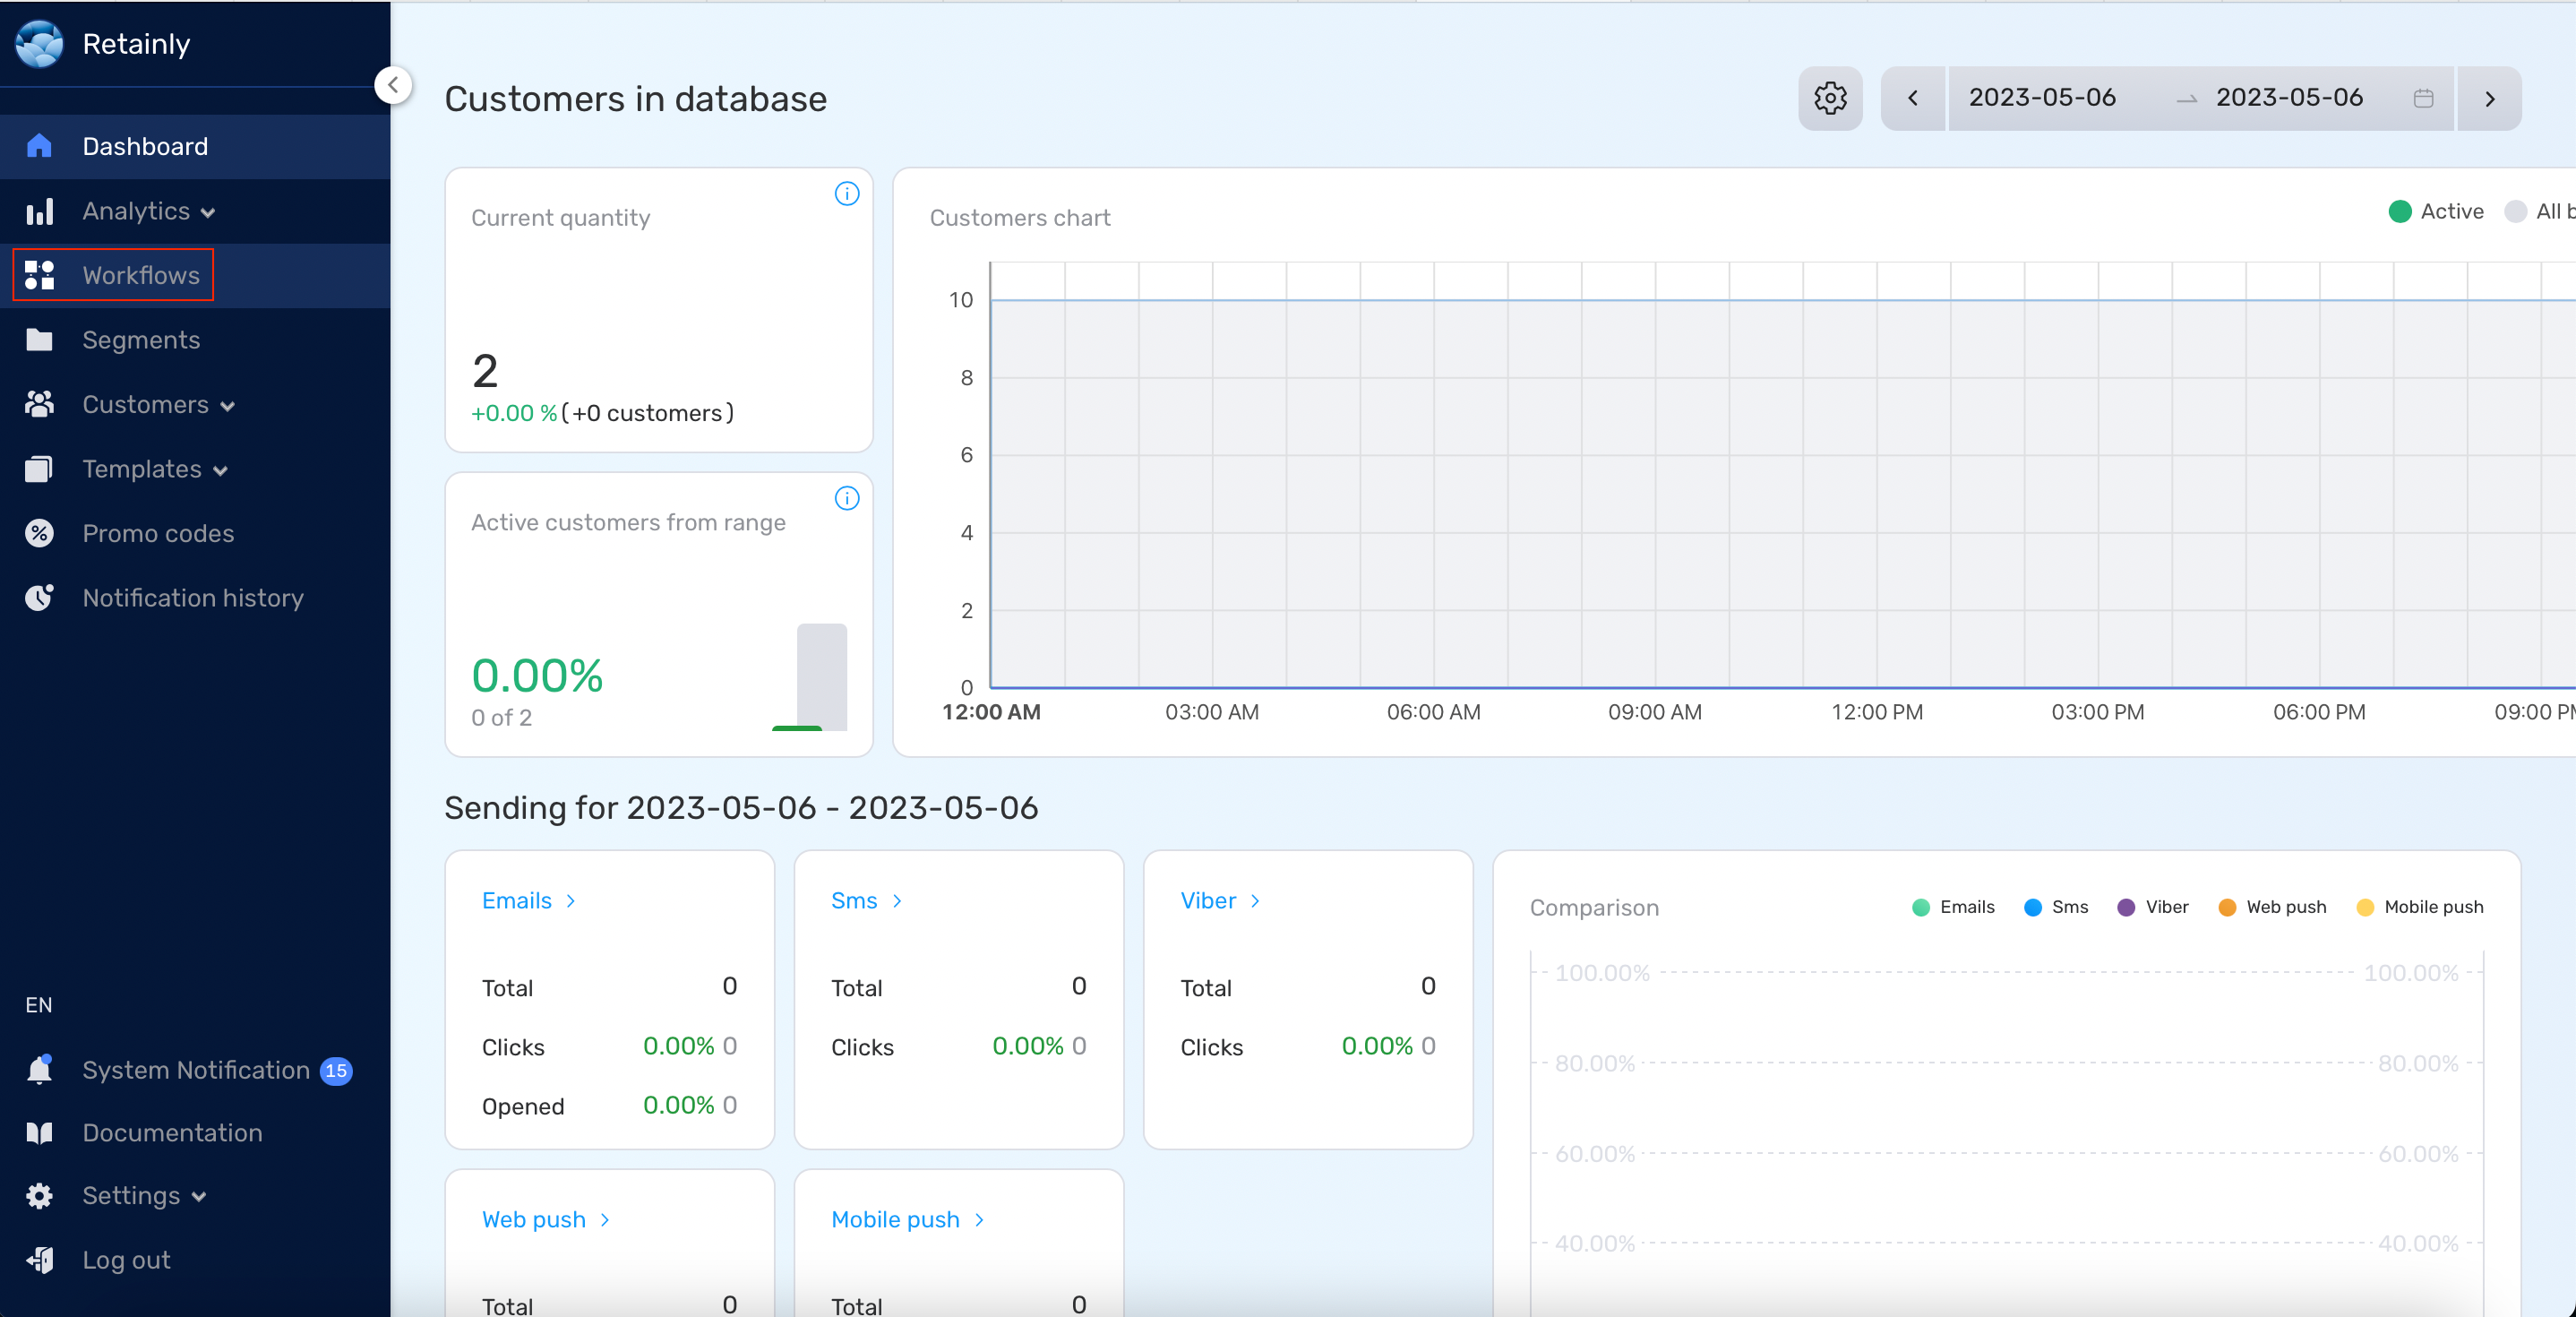
3. You will be redirected to the workflow page. Here, you’ll notice a [CREATE] button located in the top right corner. Click on it to start building your workflow.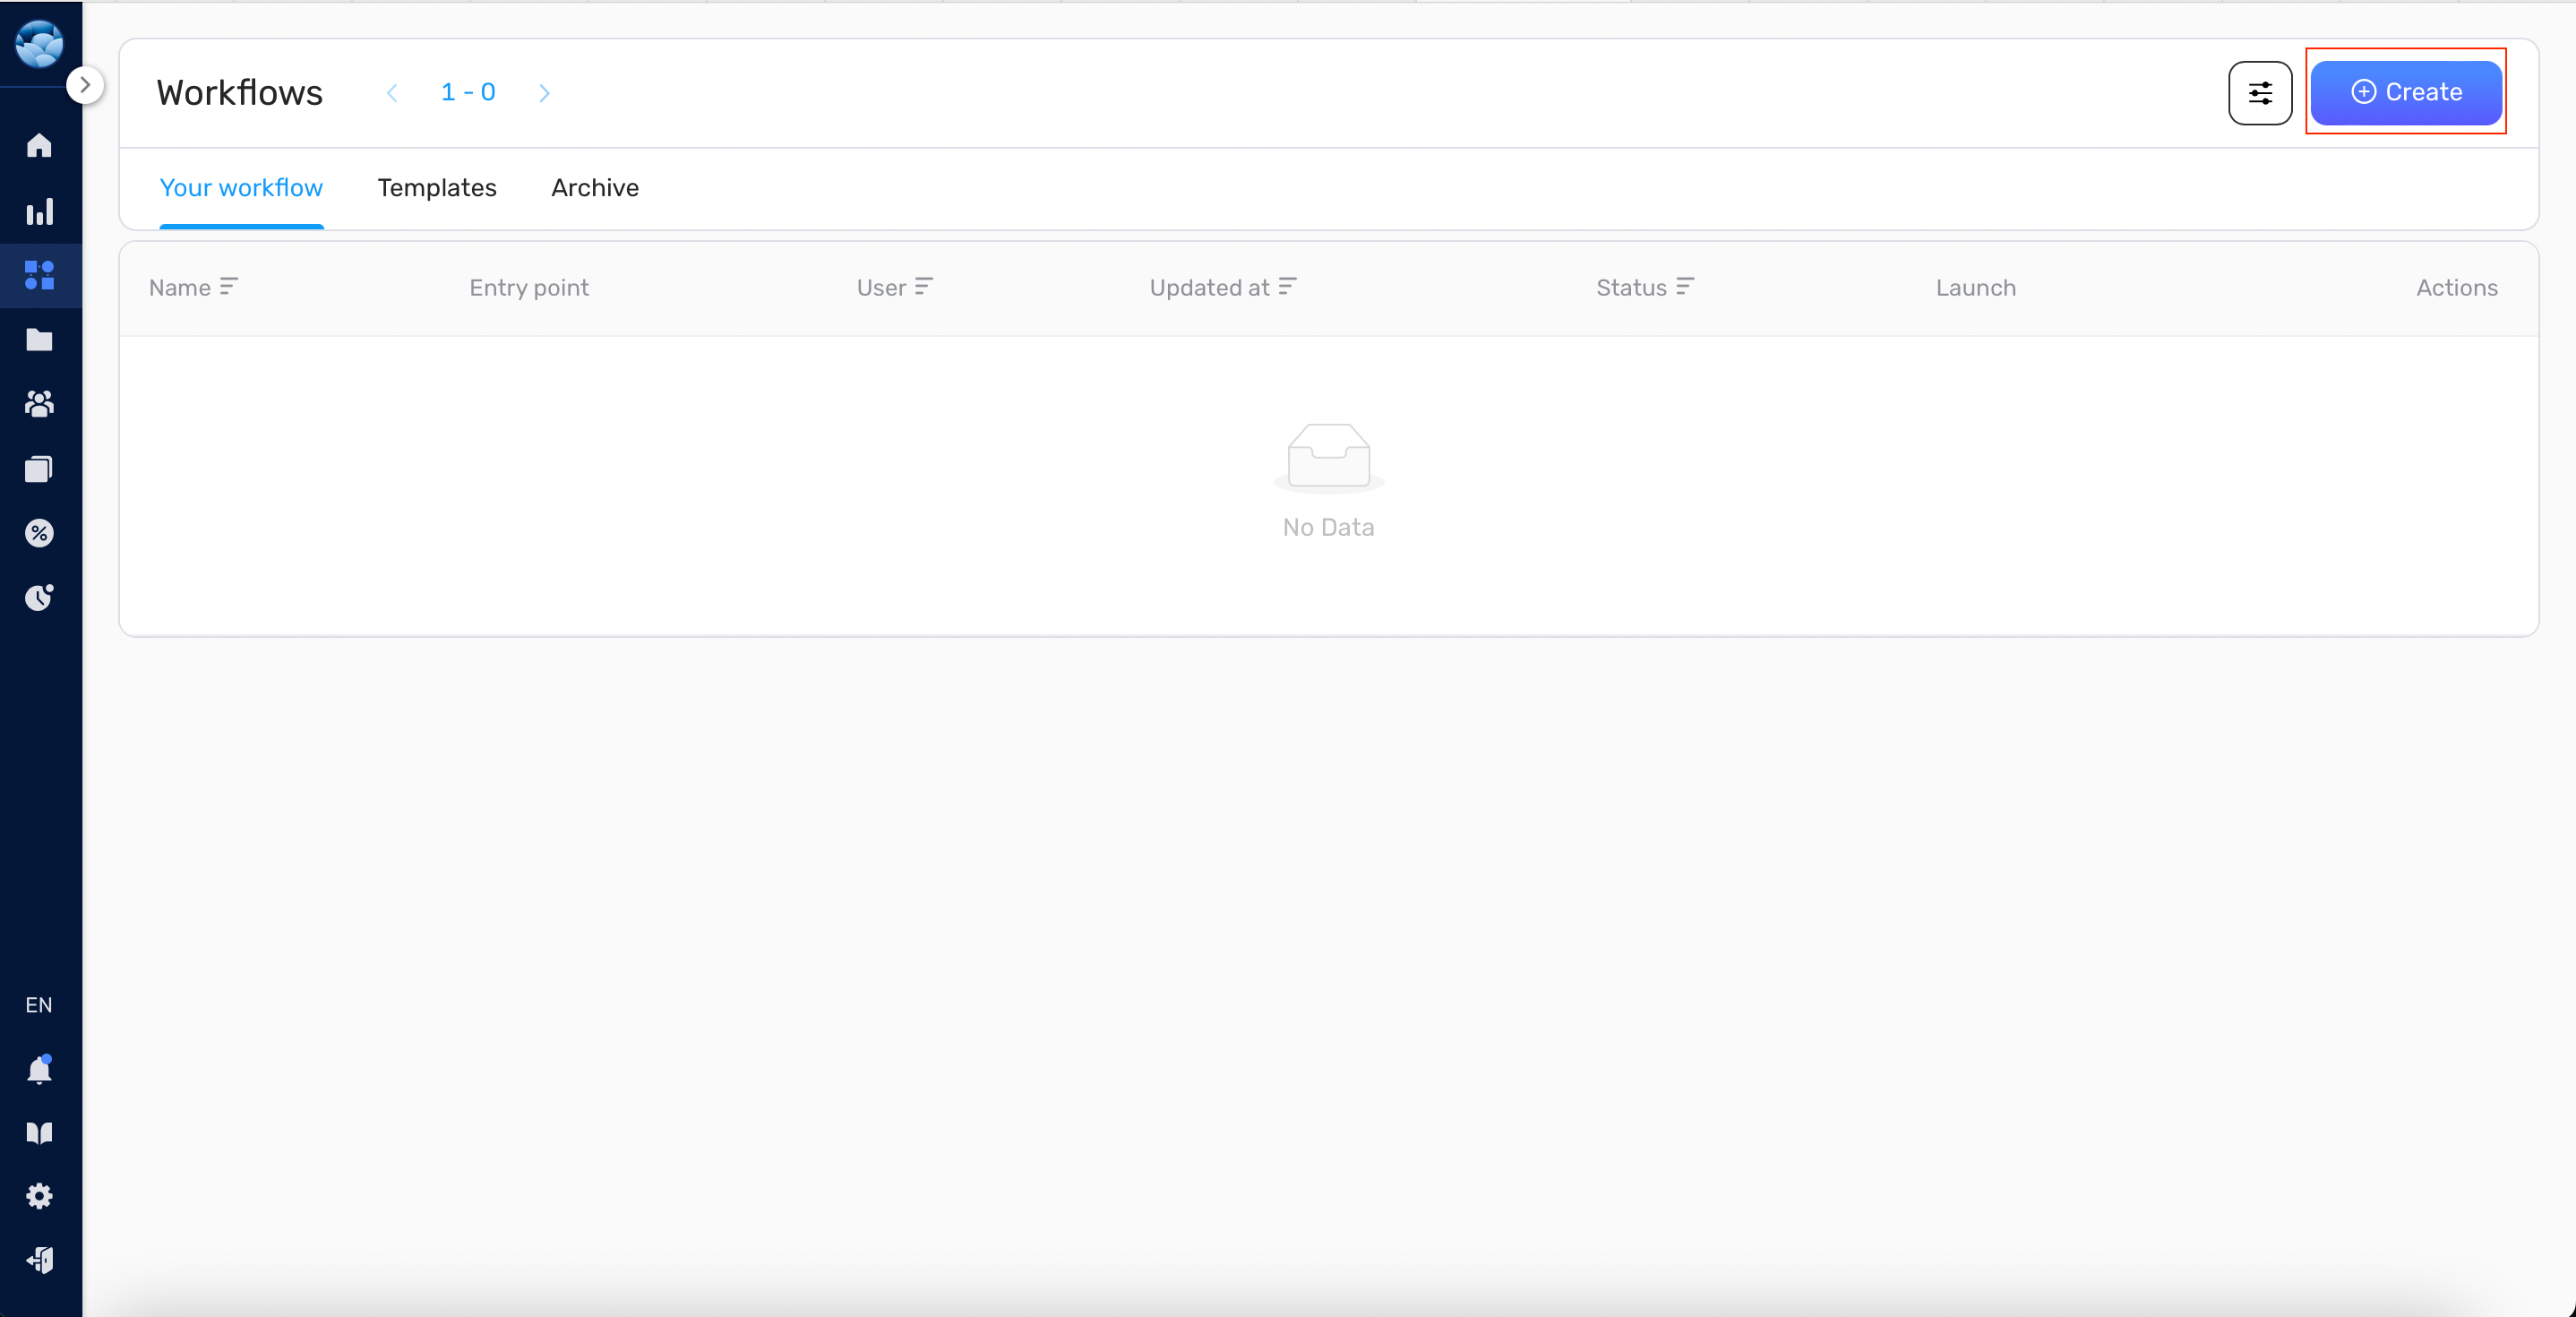
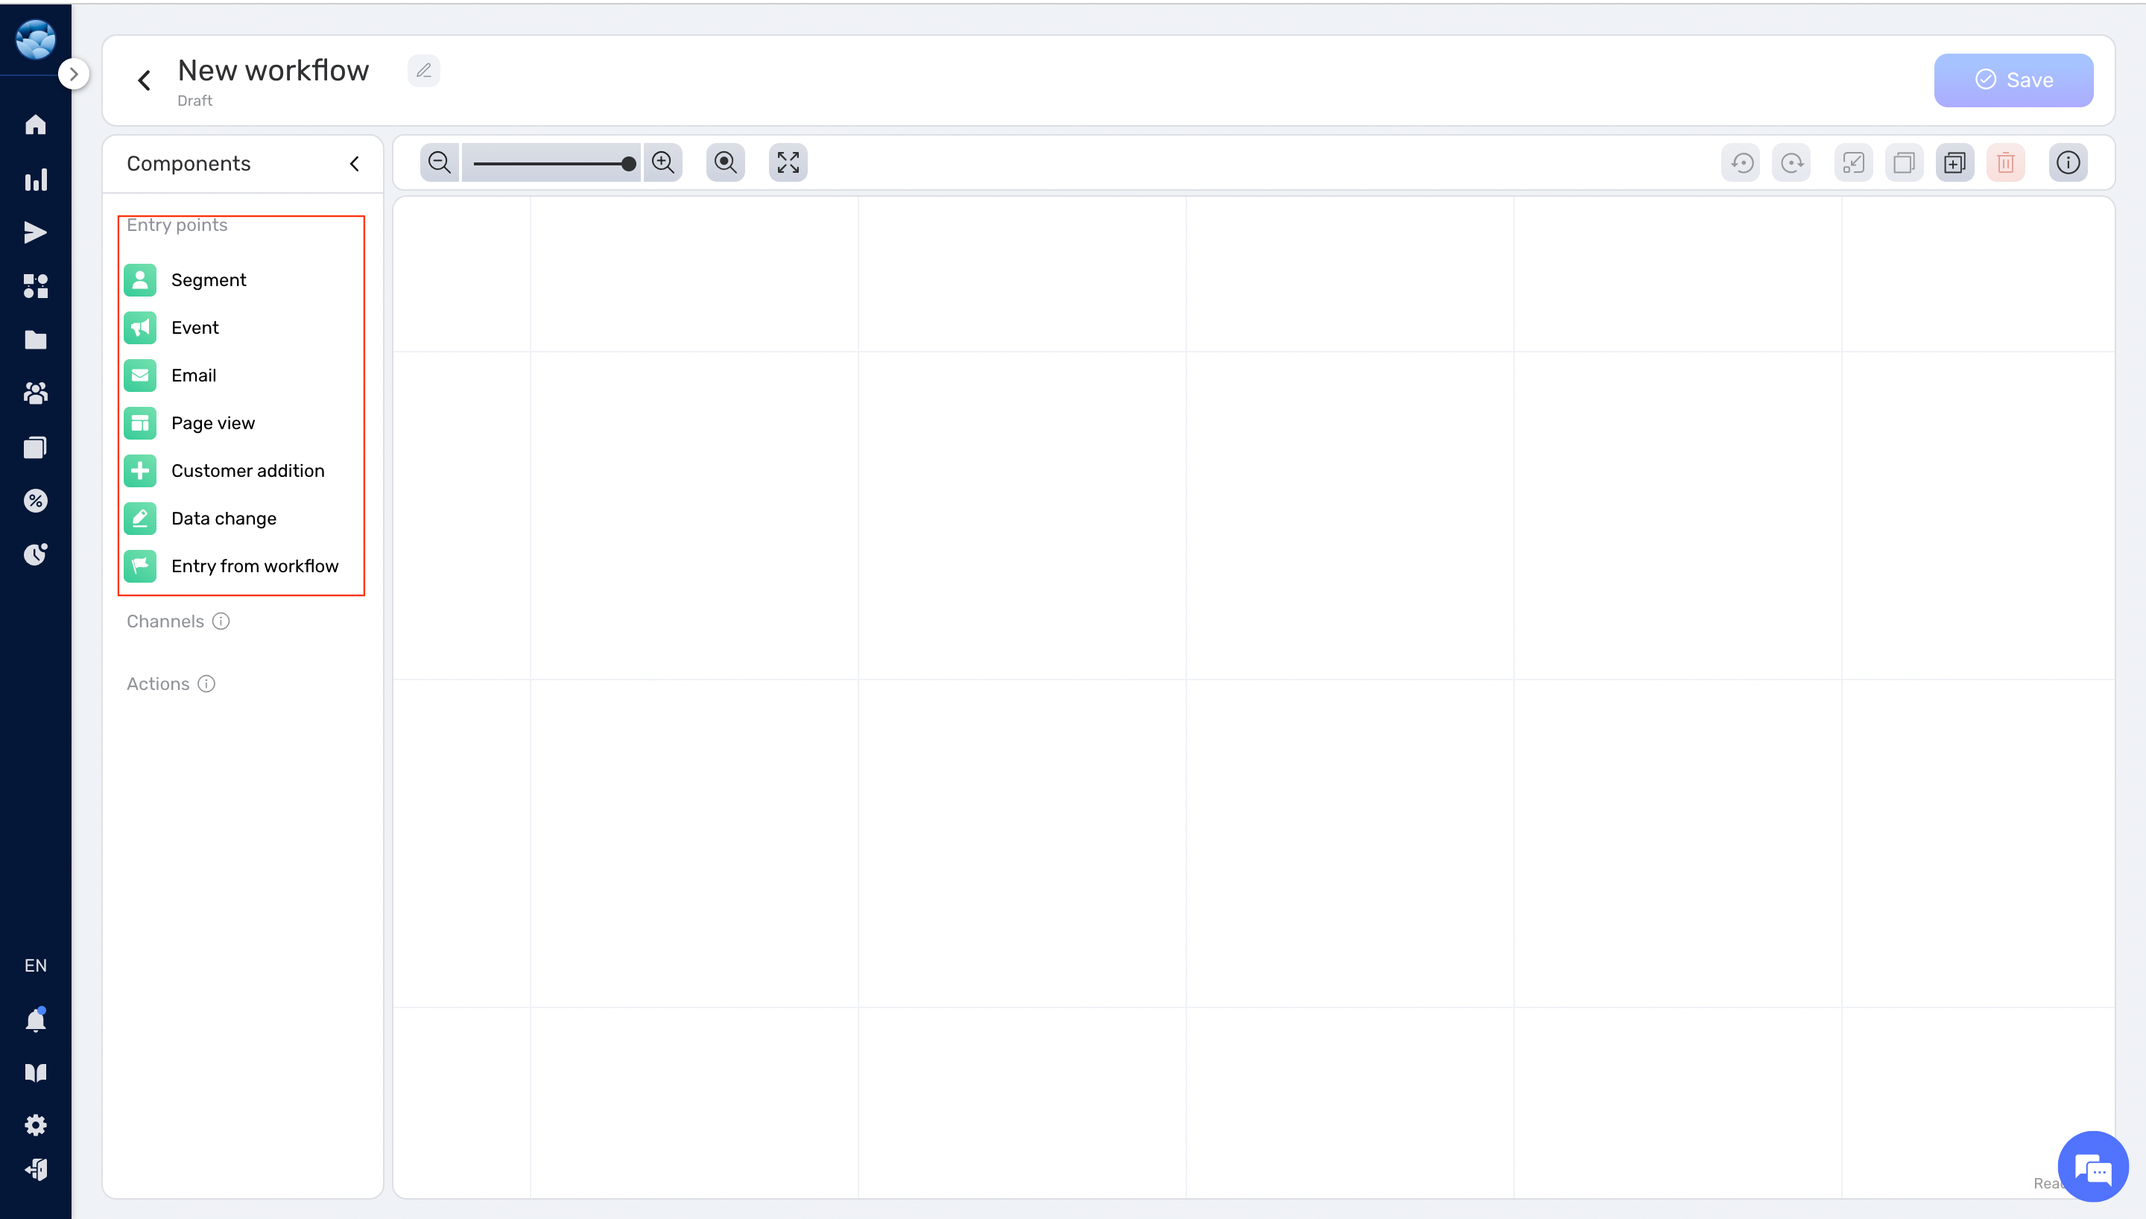
Configuring entry points #
Entry points act as triggers to initiate the workflow. Let’s delve into how you can configure these entry points effectively.
Segment/Event Entry Points #
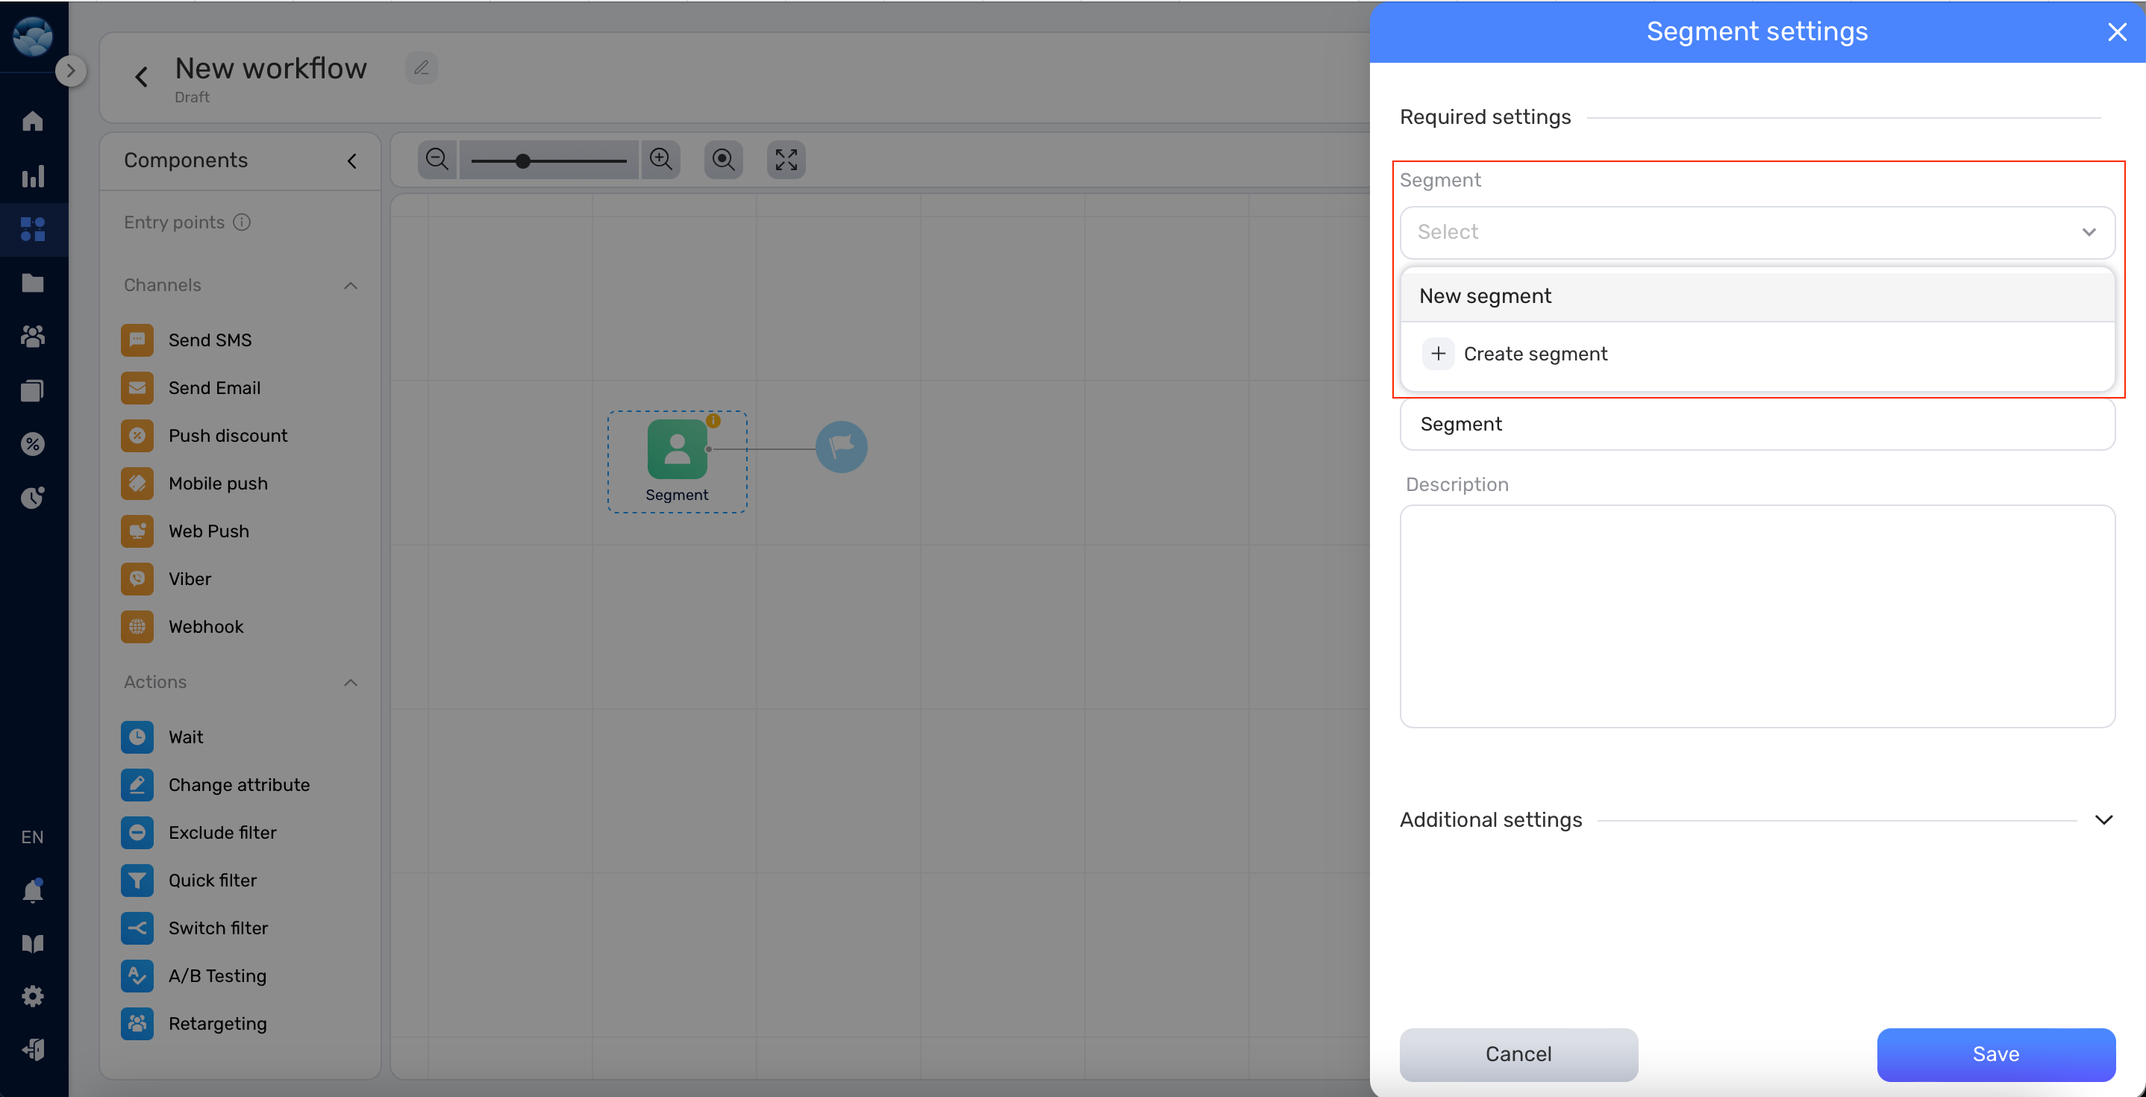
- Accessing Settings:
- Simply double-click on the segment icon to access its settings.
- Segment Settings Tab:
- Here, you can select from the list of your pre-defined segments.
- You’ll have the option to set a description, name, and other additional settings for better clarity.
- Events Configuration:
- The process for configuring events is similar to segments.
Customer Addition/Data Change Entry Points #
- Trigger Conditions:
- These entry points are condition-specific.
- They activate only when:
- A new customer is added to your system.
- A specified data point (e.g., user details, preferences) undergoes a change.
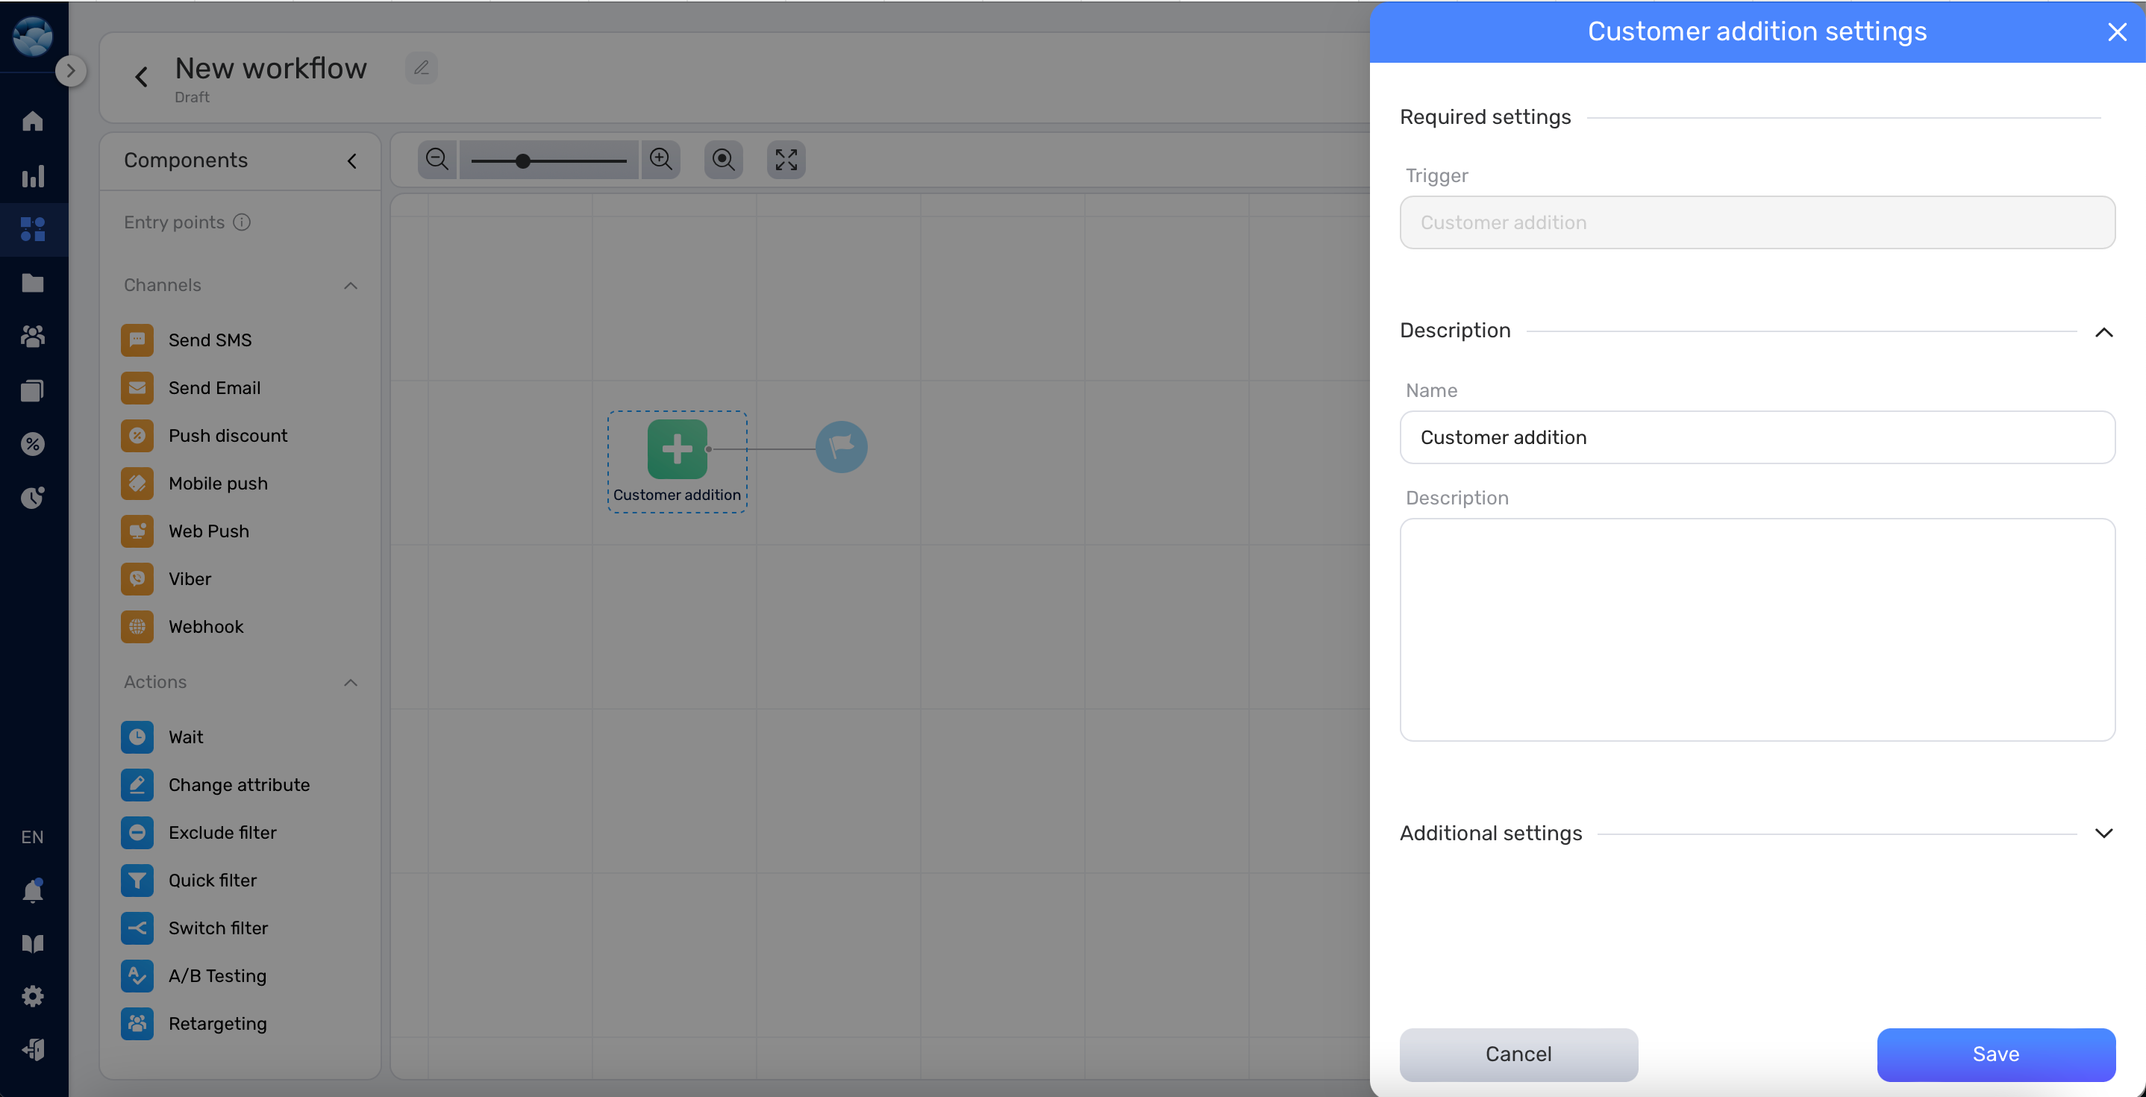
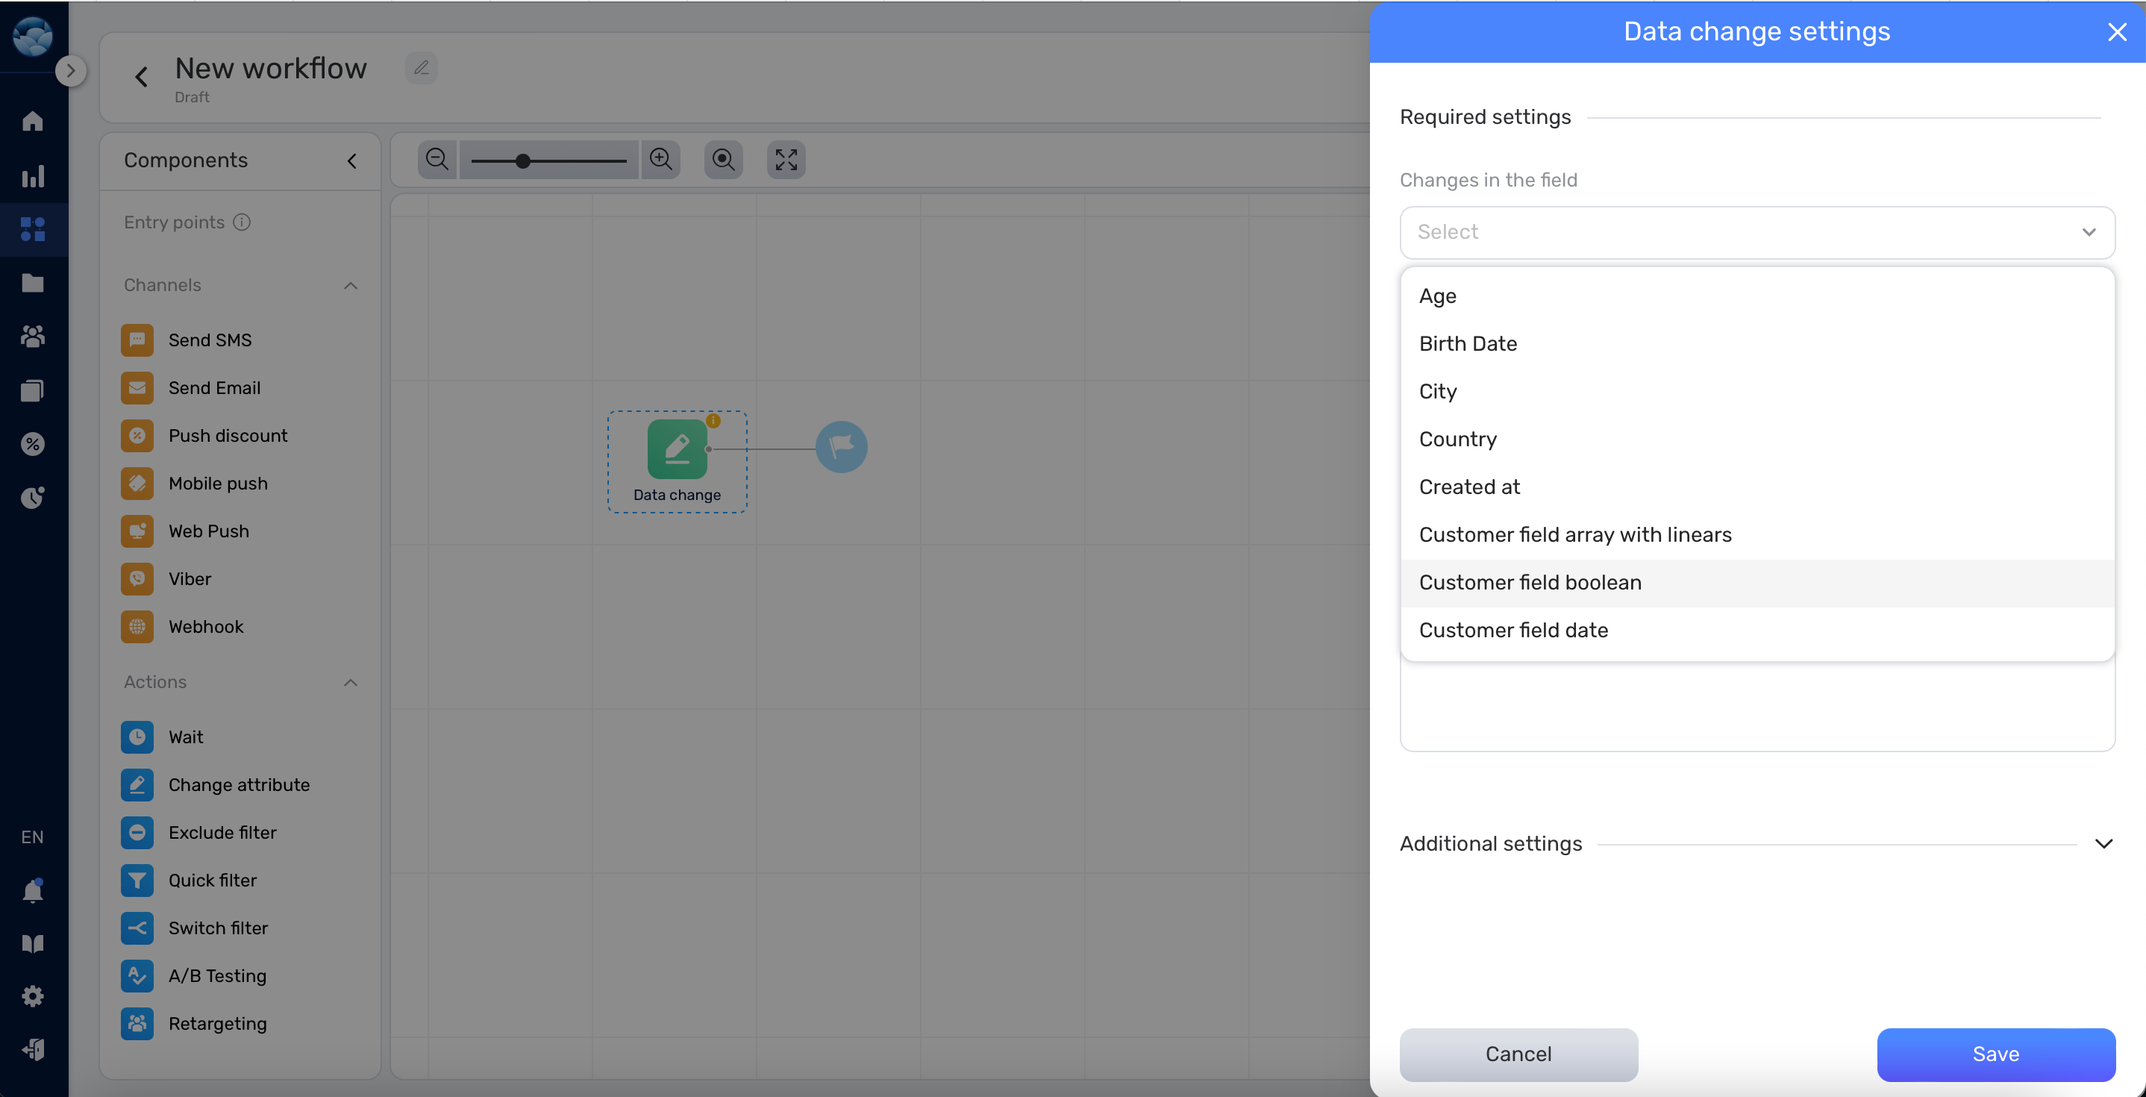
Ensure that the conditions for triggering these entry points are clearly defined to ensure smooth workflow execution.
“Entry from workflow” entry point #
The entry point “Entry from workflow” allows you to automatically target customers who have completed a different workflow. You can specify one or more source workflows and exit points to identify the customers you want to target in your current workflow.
Steps to Configure the “Entry from workflow”
1. Add the ‘Entry from workflow’ to Your Workflow: Navigate to your workflow editor and add the “Entry from workflow” node to your workflow layout.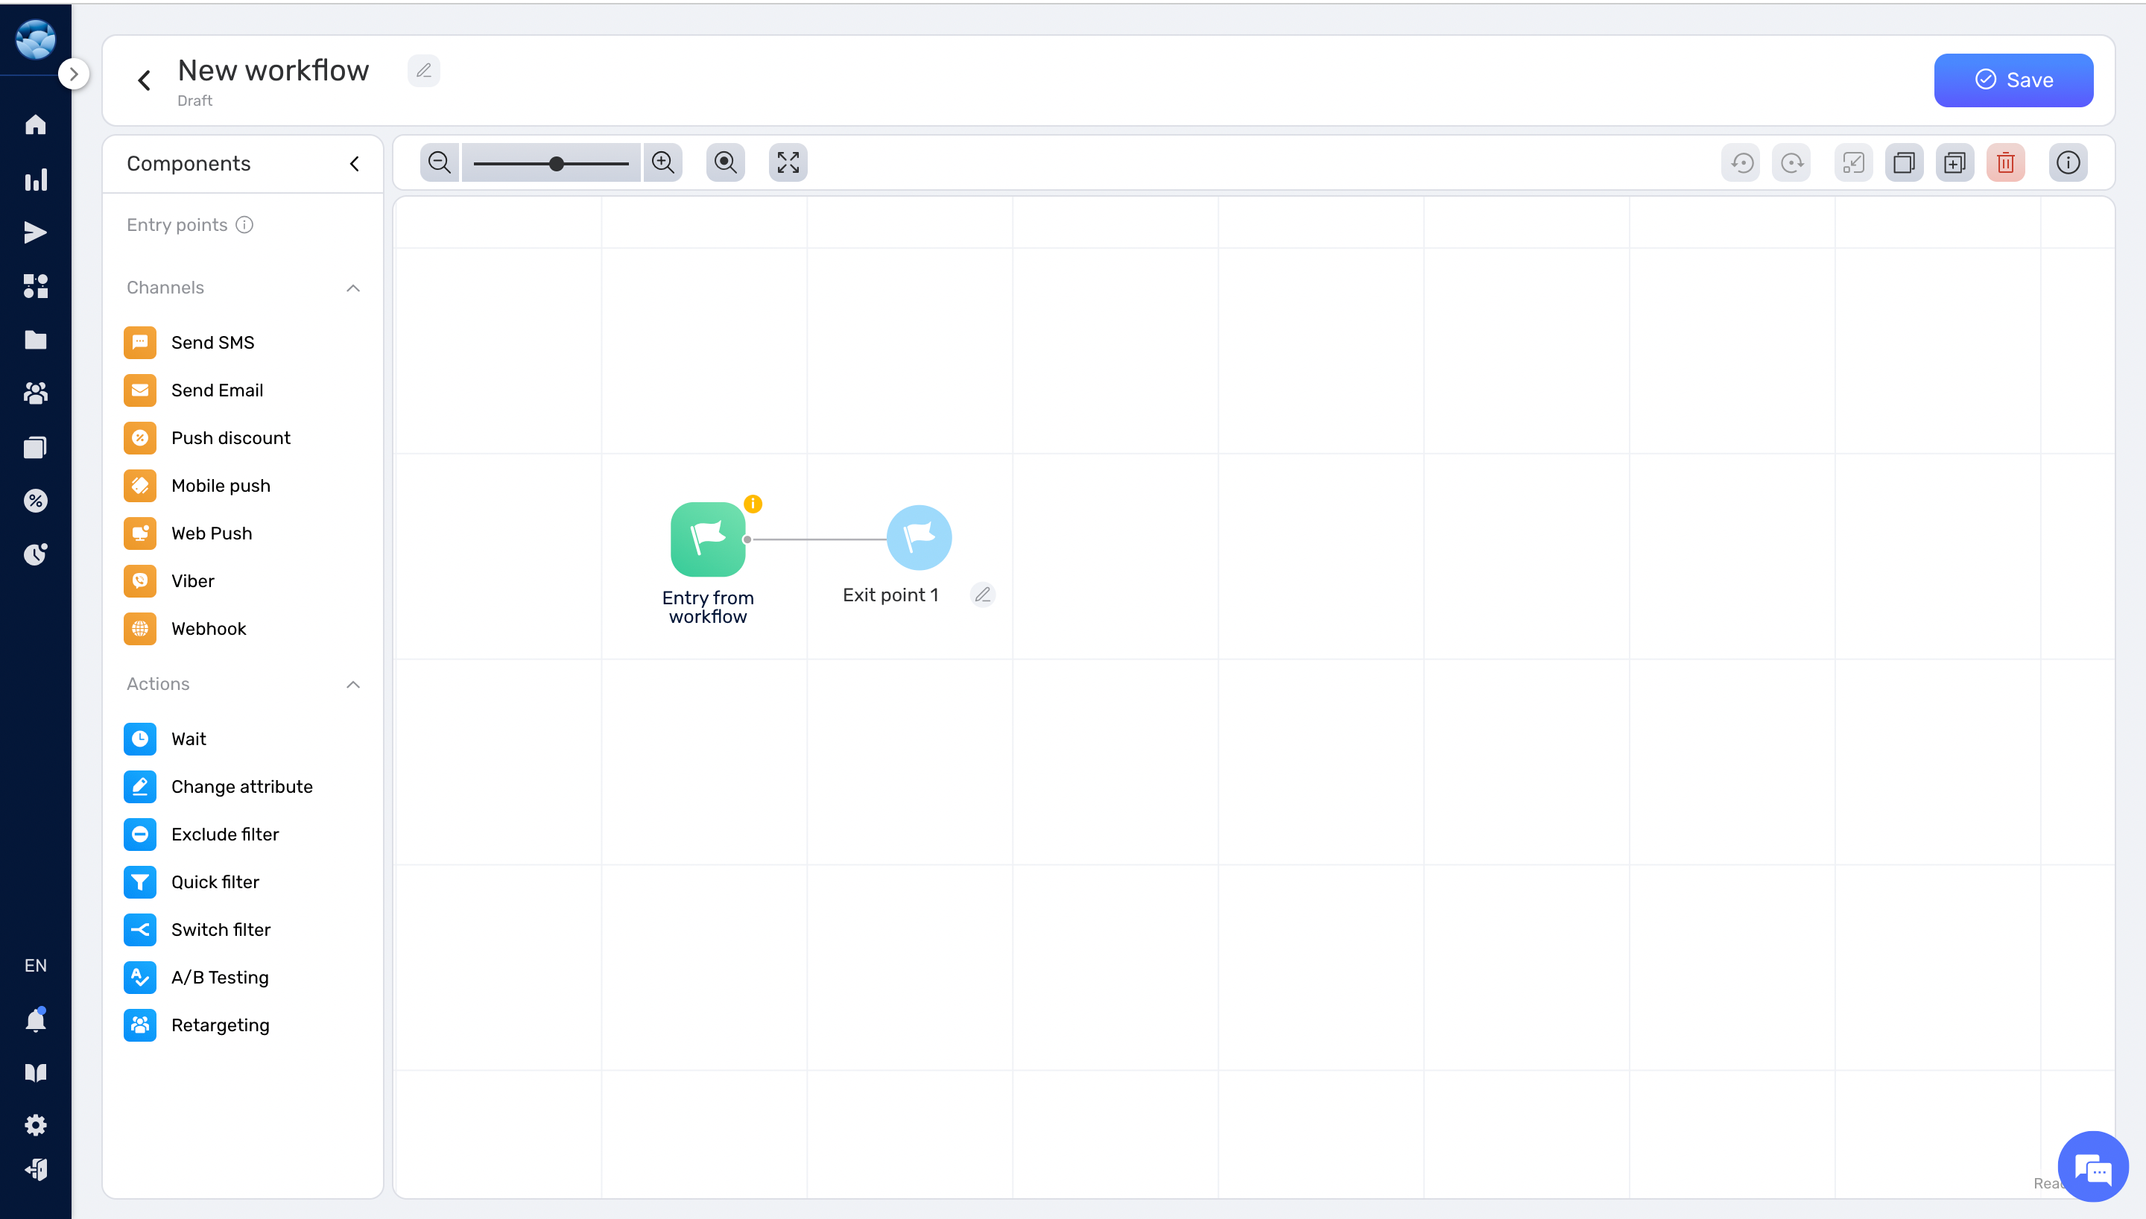
2. Access Node Settings: Select the newly added “Entry from workflow” node to access its settings.
3. Select Source Workflow: In the node settings, press “+ Add workflow” buttton. Select the workflow you want to target customers from.
4. Choose Exit Points: Under the same node settings, find the “Exit Points” option. Choose the exit points from the selected source workflow(s) that signify the completion state of customers you wish to target in your current workflow.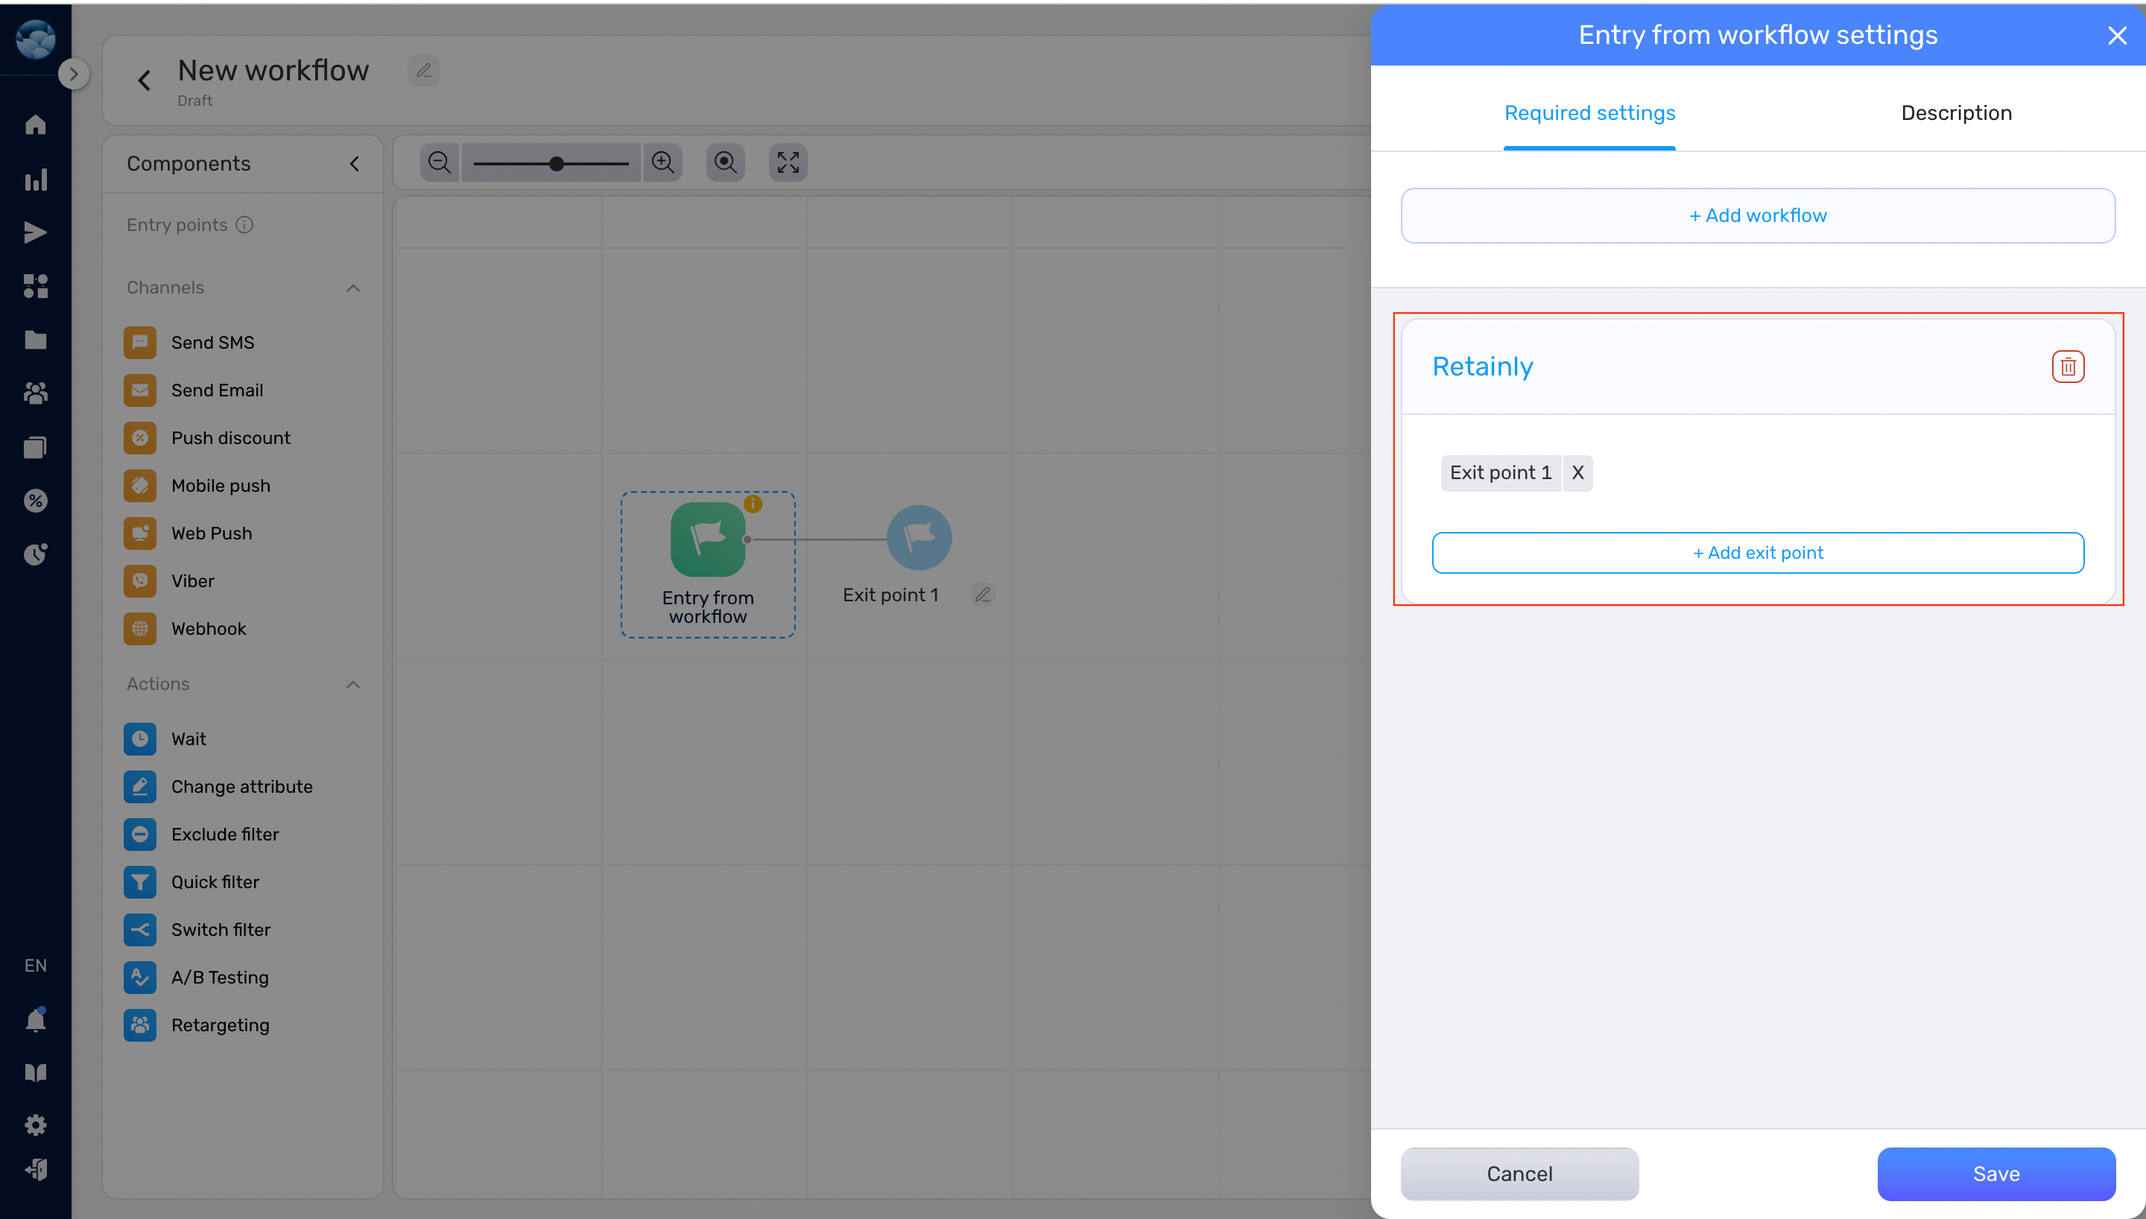
You can select multiple source workflows and exit points to broaden your targeting.
Building a Workflow
After you have selected an entry point, you will find yourself in front of different options to build your workflow. Broadly, these options are divided into two categories: Channel nodes and Action nodes.
- Channel Nodes: These are primarily communication channels. Channel nodes allow you to send a notification to a customer through various mediums like:
- SMS
- Mobile Push
- Web Push
- Viber
- Webhook
- Action Nodes: These nodes are designed to fine-tune the customer journey based on your needs. Below is a table to give you an insight into the available action nodes:
| Node | Description |
 | Create a customizable timer that triggers once the time expires. |
| Alter a specific customer attribute to a desired value. | |
| Exclude customers based on a certain segment or attribute. | |
| Swiftly filter customers based on a chosen segment or attribute. | |
| Redirect customers into different lanes based on whether they match a specific attribute or not. | |
| Split the workflow into multiple lanes to test various marketing strategies. |
Workflow Example #
Let’s dive into a practical application. Suppose you aim to notify users whenever there’s an update to their phone number. Here’s how you can set it up:
1. Navigate to the Workflow tab.
2. Select the ‘Data Change’ entry point.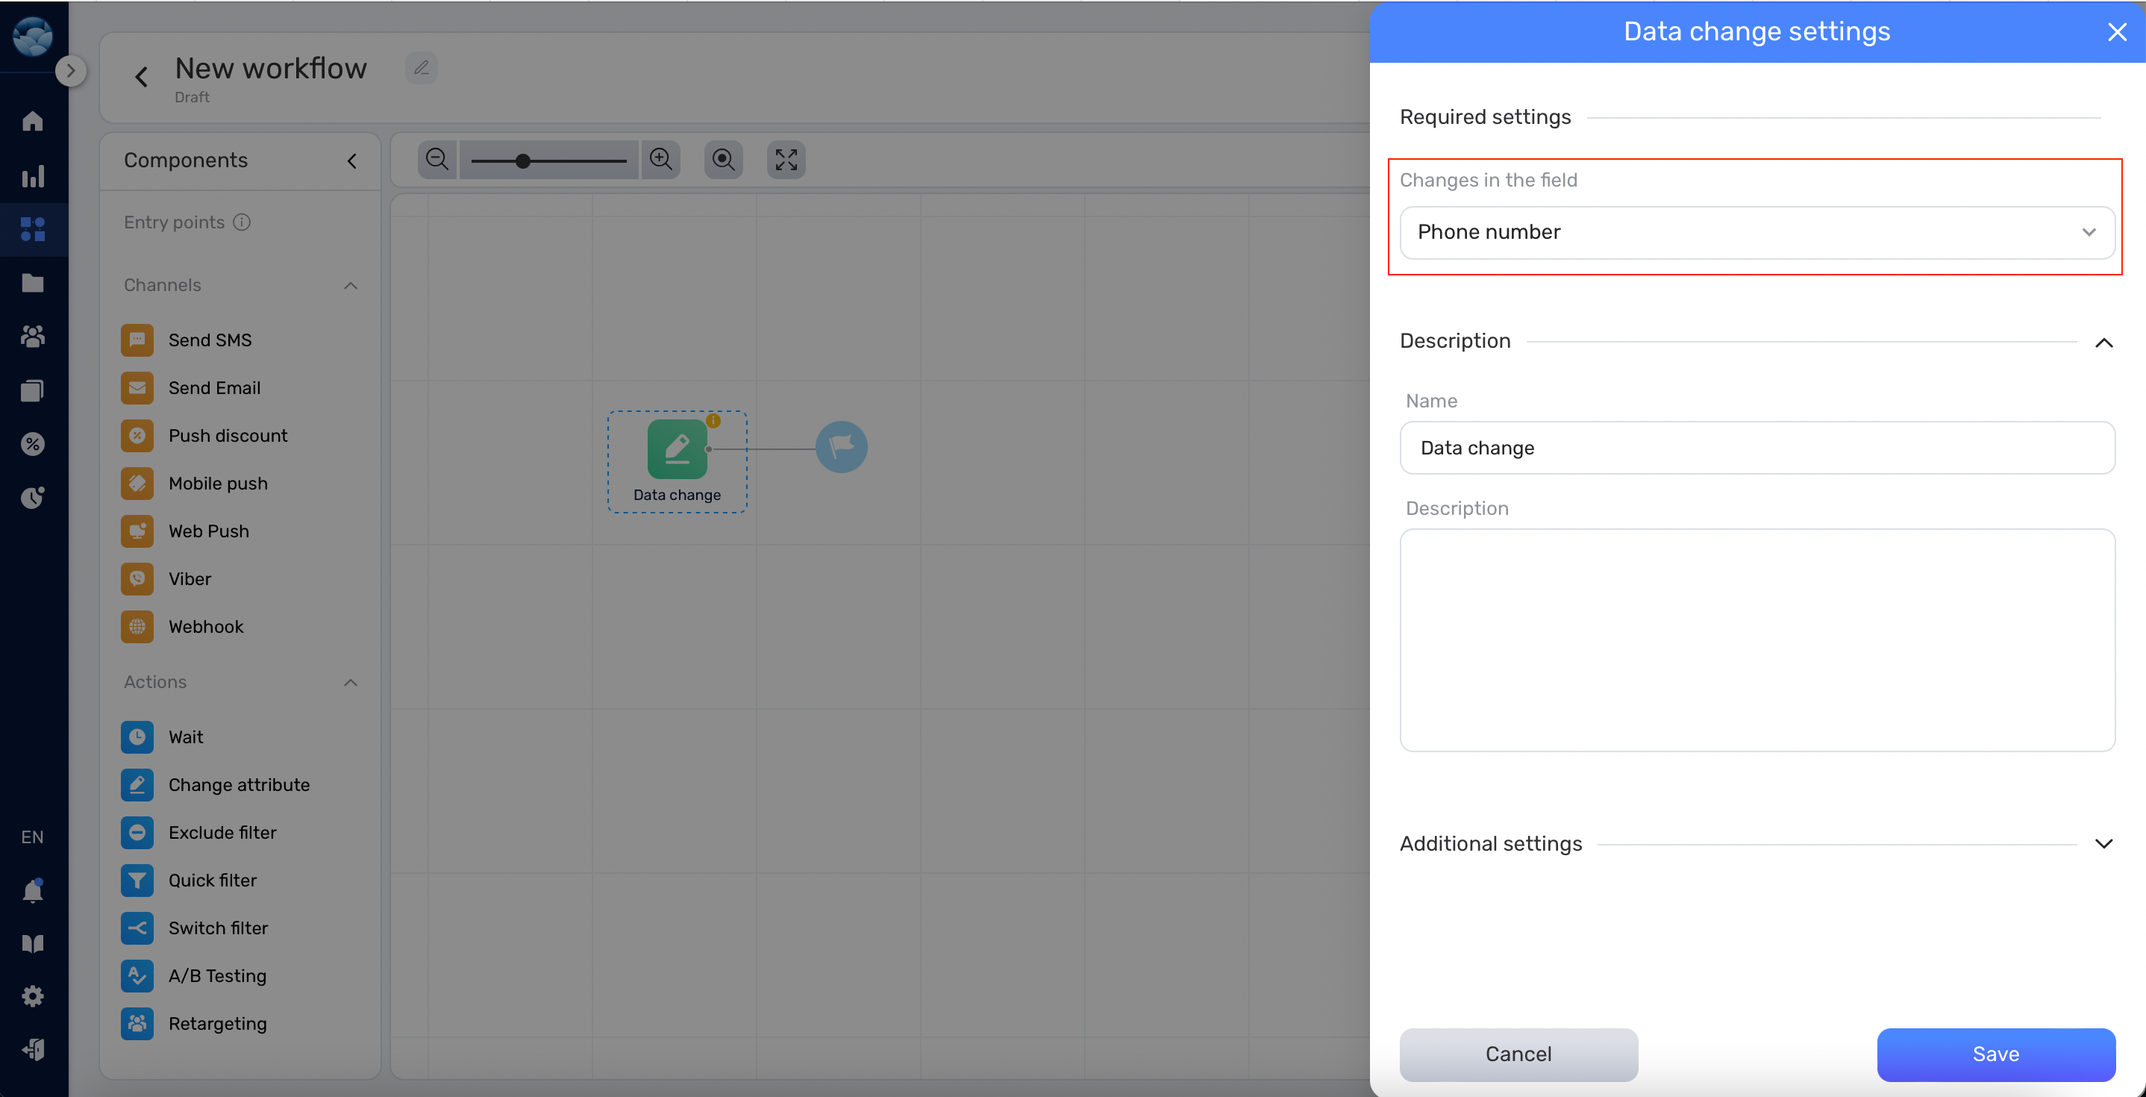
3. To notify the user a day after their phone number has been updated, pull in the ‘Wait’ object and set it to 24 hours. For precise notification timing, adjust it to 15:00 under the ‘send at’ settings.
4. For the actual notifications, drag-and-drop the ‘Send SMS’ and ‘Send Email’ objects onto the workspace.
5. Make sure you have a pre-configured template to suit your needs. Once selected, confirm the object selection.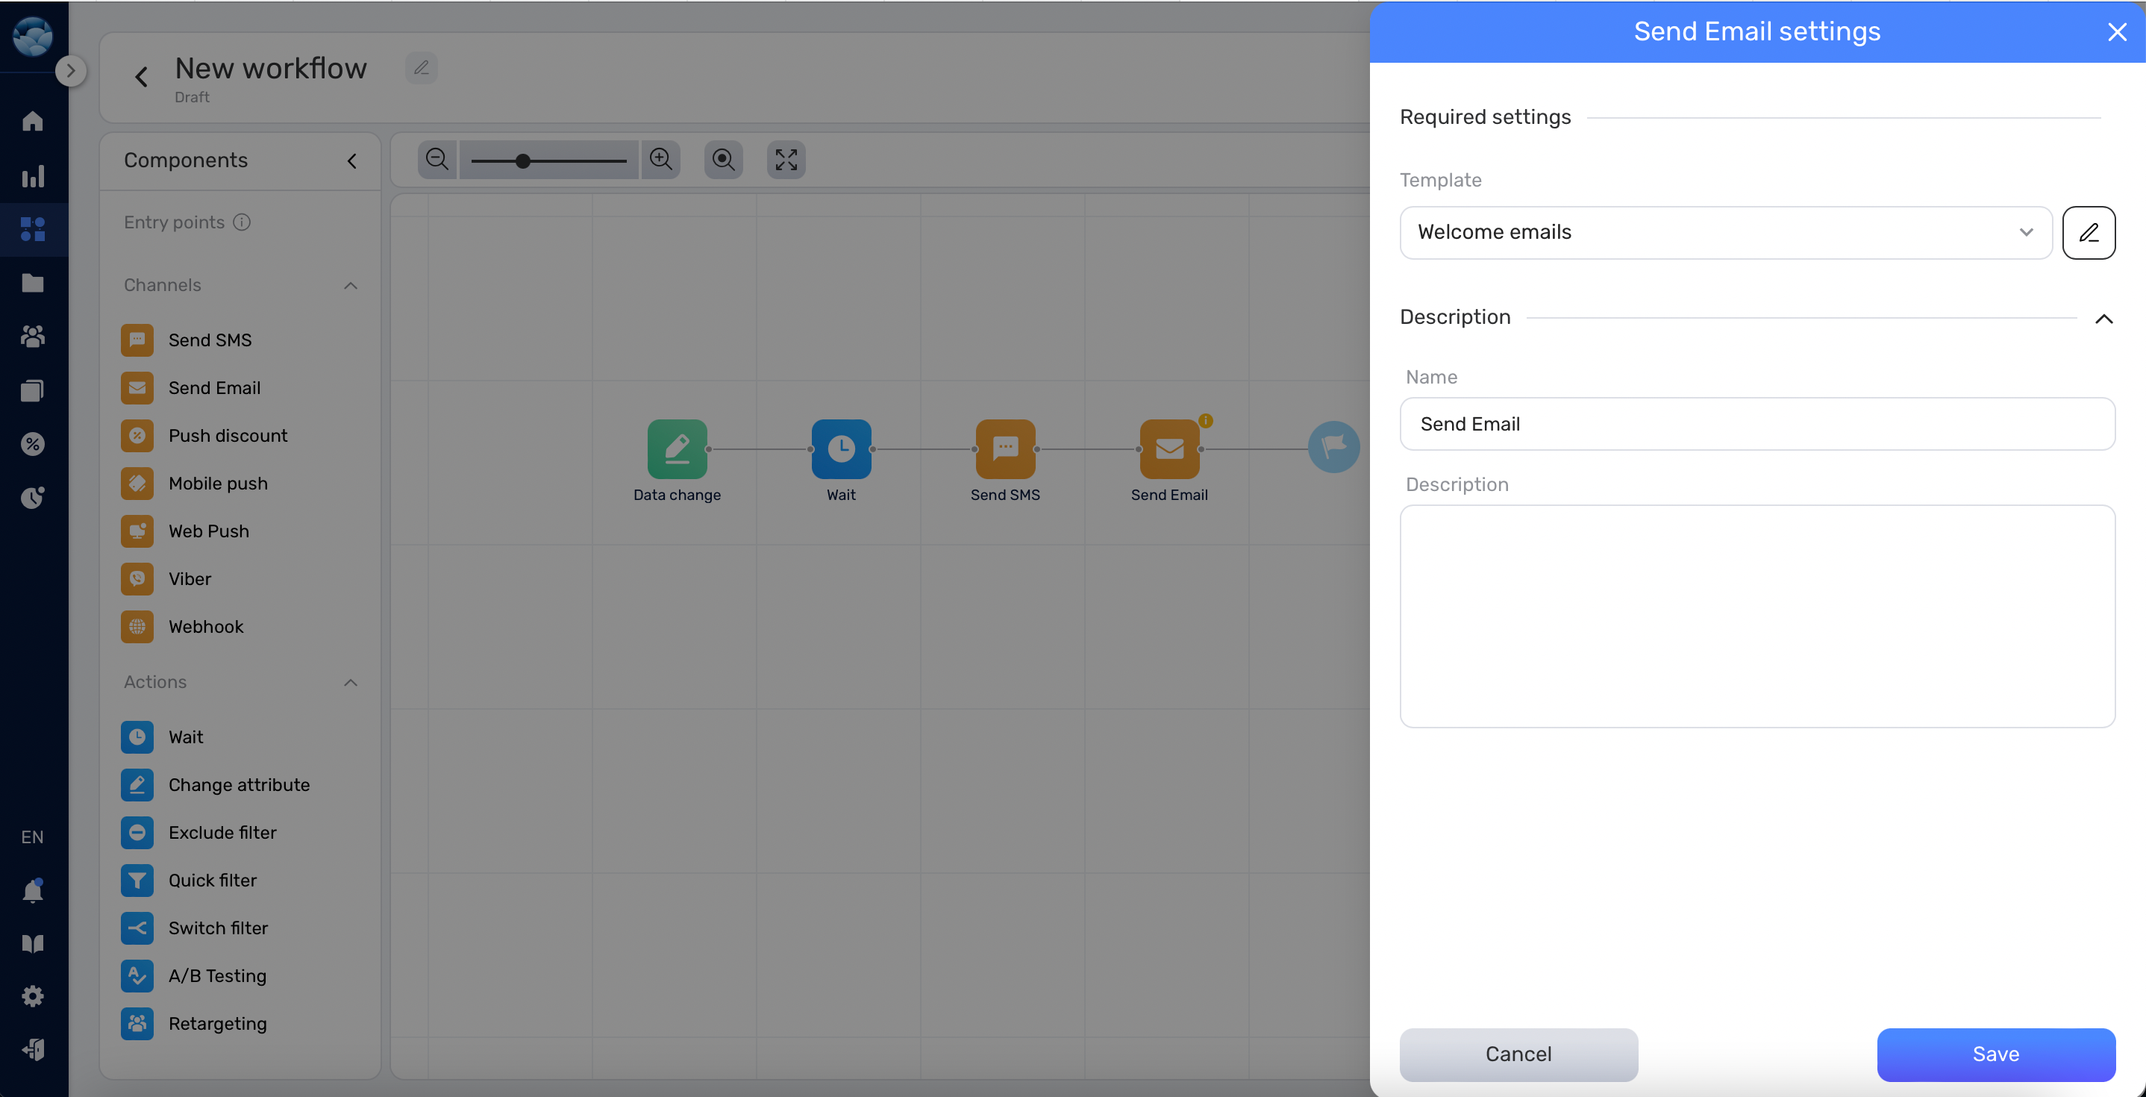
6. After setting it up, your workflow pattern should resemble something similar.
7. Click on [Save] to lock in your settings.
The next step will be to Run the workflow. You can find the guide here: Workflow Run


