Introduction #
This guide provides step-by-step instructions for importing CSV files into the Retainly app, making it easier for you to manage and analyze your data. We’ll walk you through the entire process, from preparing your CSV file to uploading it into the Retainly app.
Preparing Your CSV File: #
Before importing your CSV file into the Retainly app, ensure that it meets the following requirements:
- Use a comma (,) as the delimiter between fields.
- Include a header row with field names, which will be used as column names in the app.
- Each file must have a unique specifier as the first field, which will make the import possible
- Each file should contain mandatory fields: Unique id, phone, email
- Limit the file size to a maximum of 50 MB.
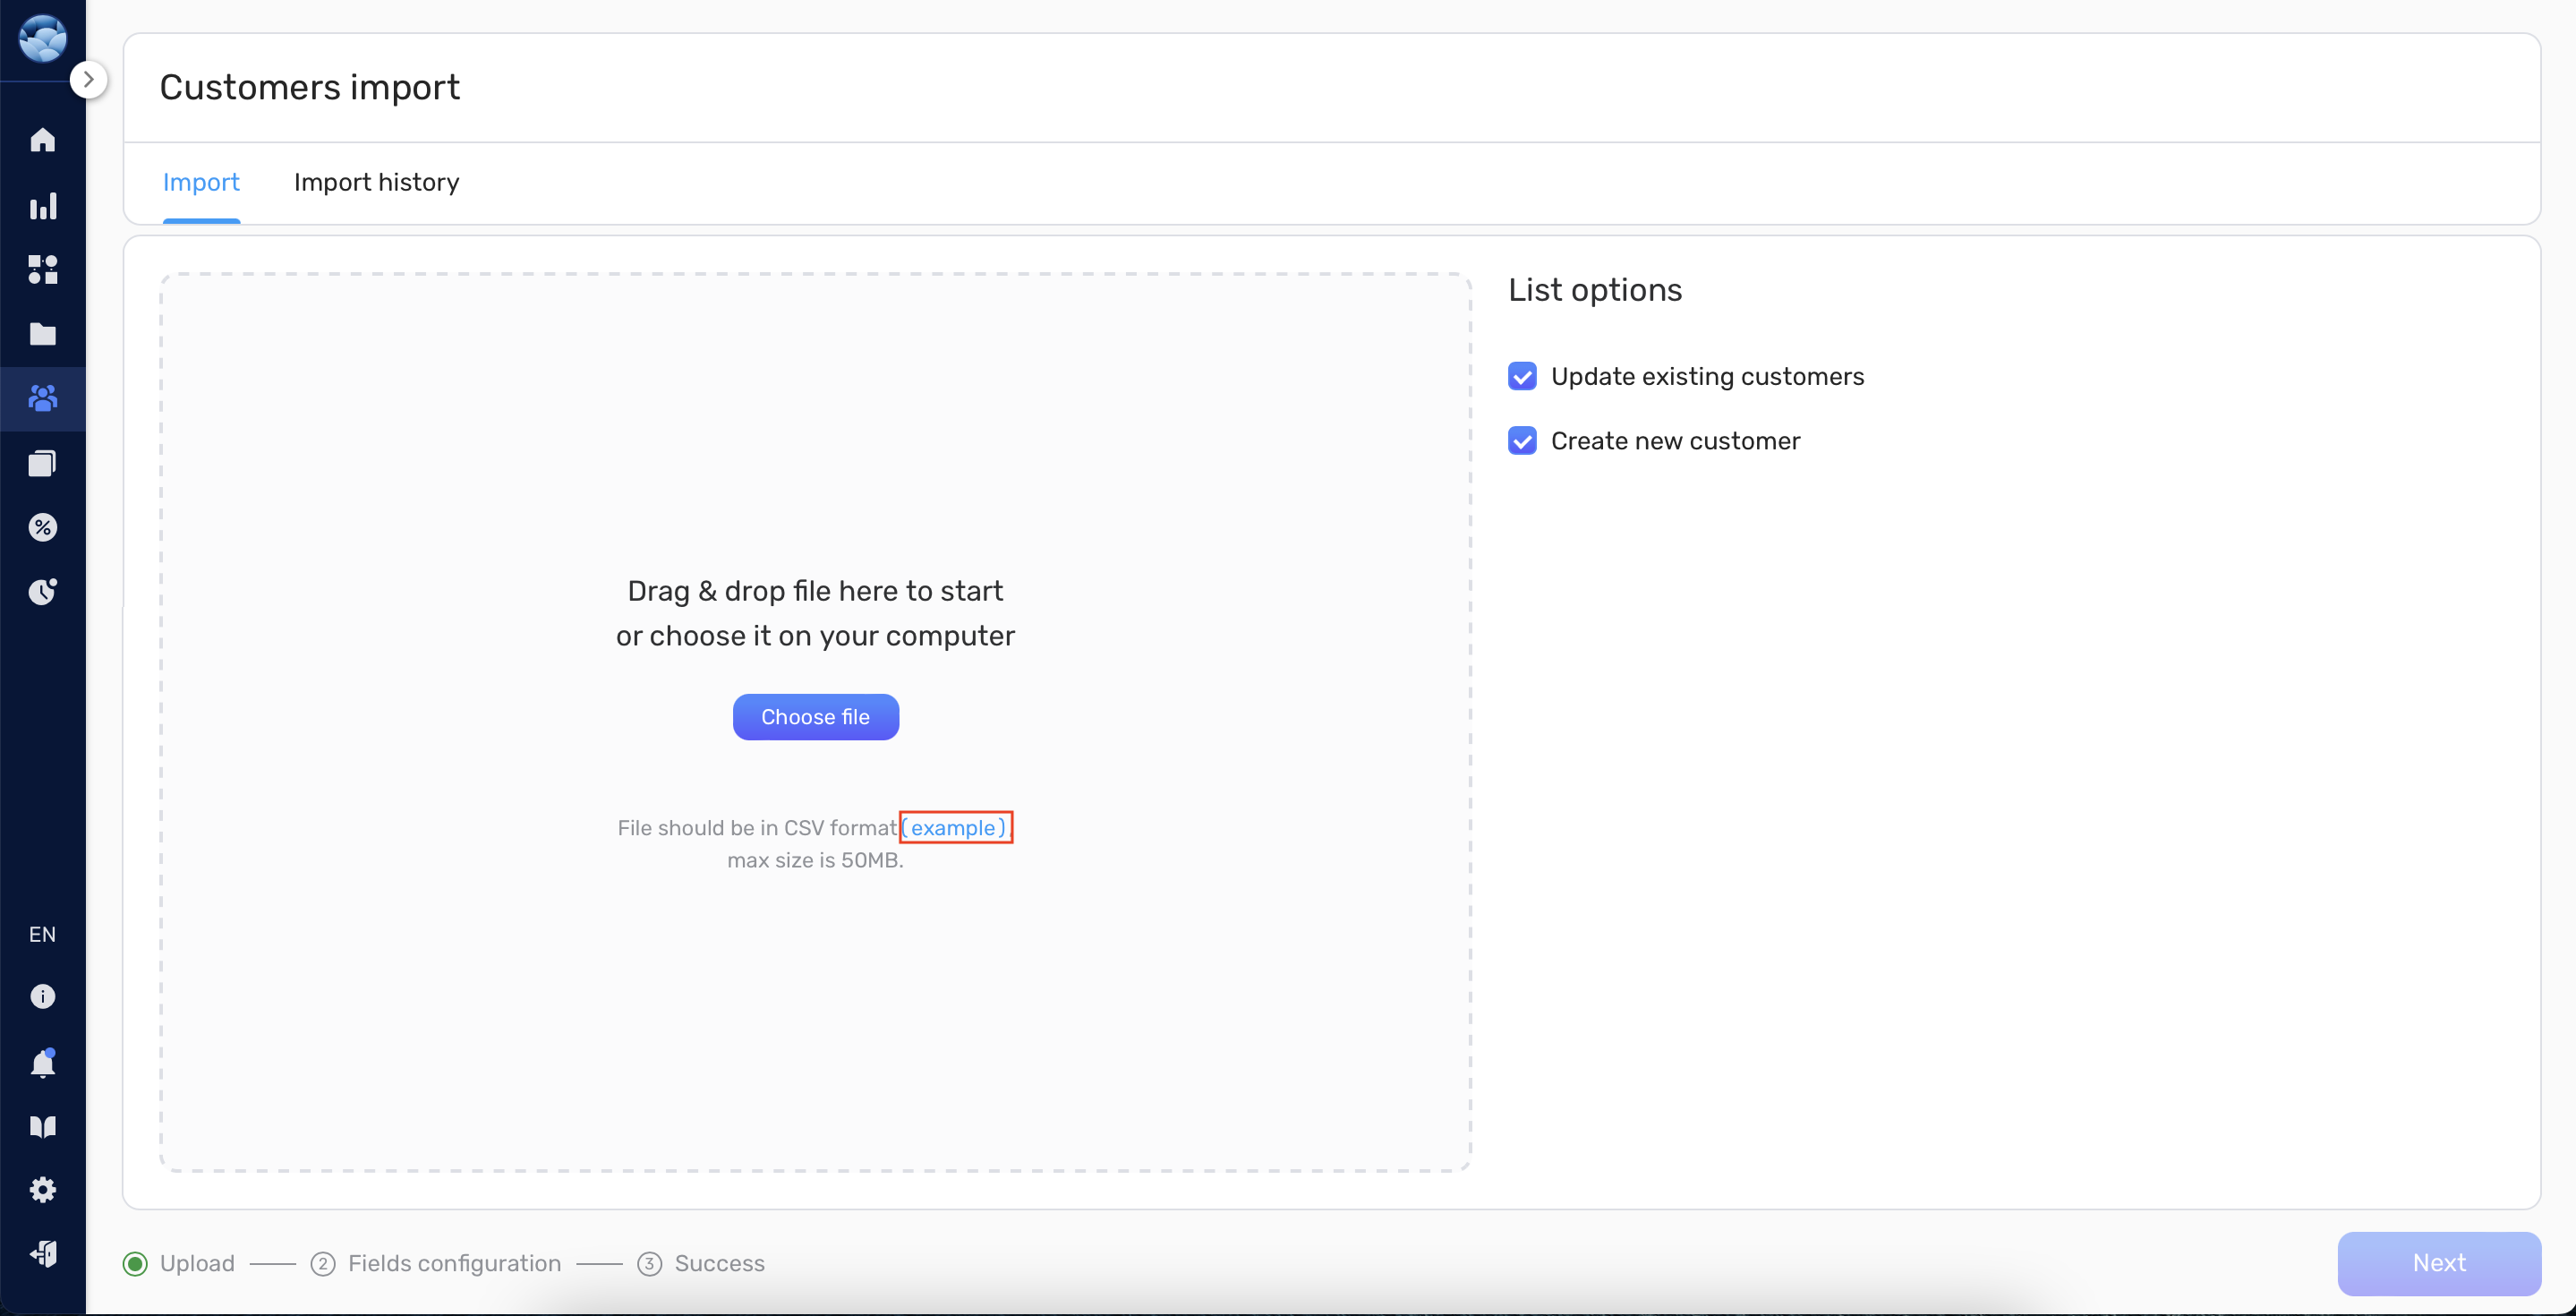
Additionally, you can download the example file by clicking on the example hyperlink, as shown below.
Uploading Your CSV File: #
Once your CSV file is prepared, follow these steps to upload it into the Retainly app:
- Log in to your Retainly account.
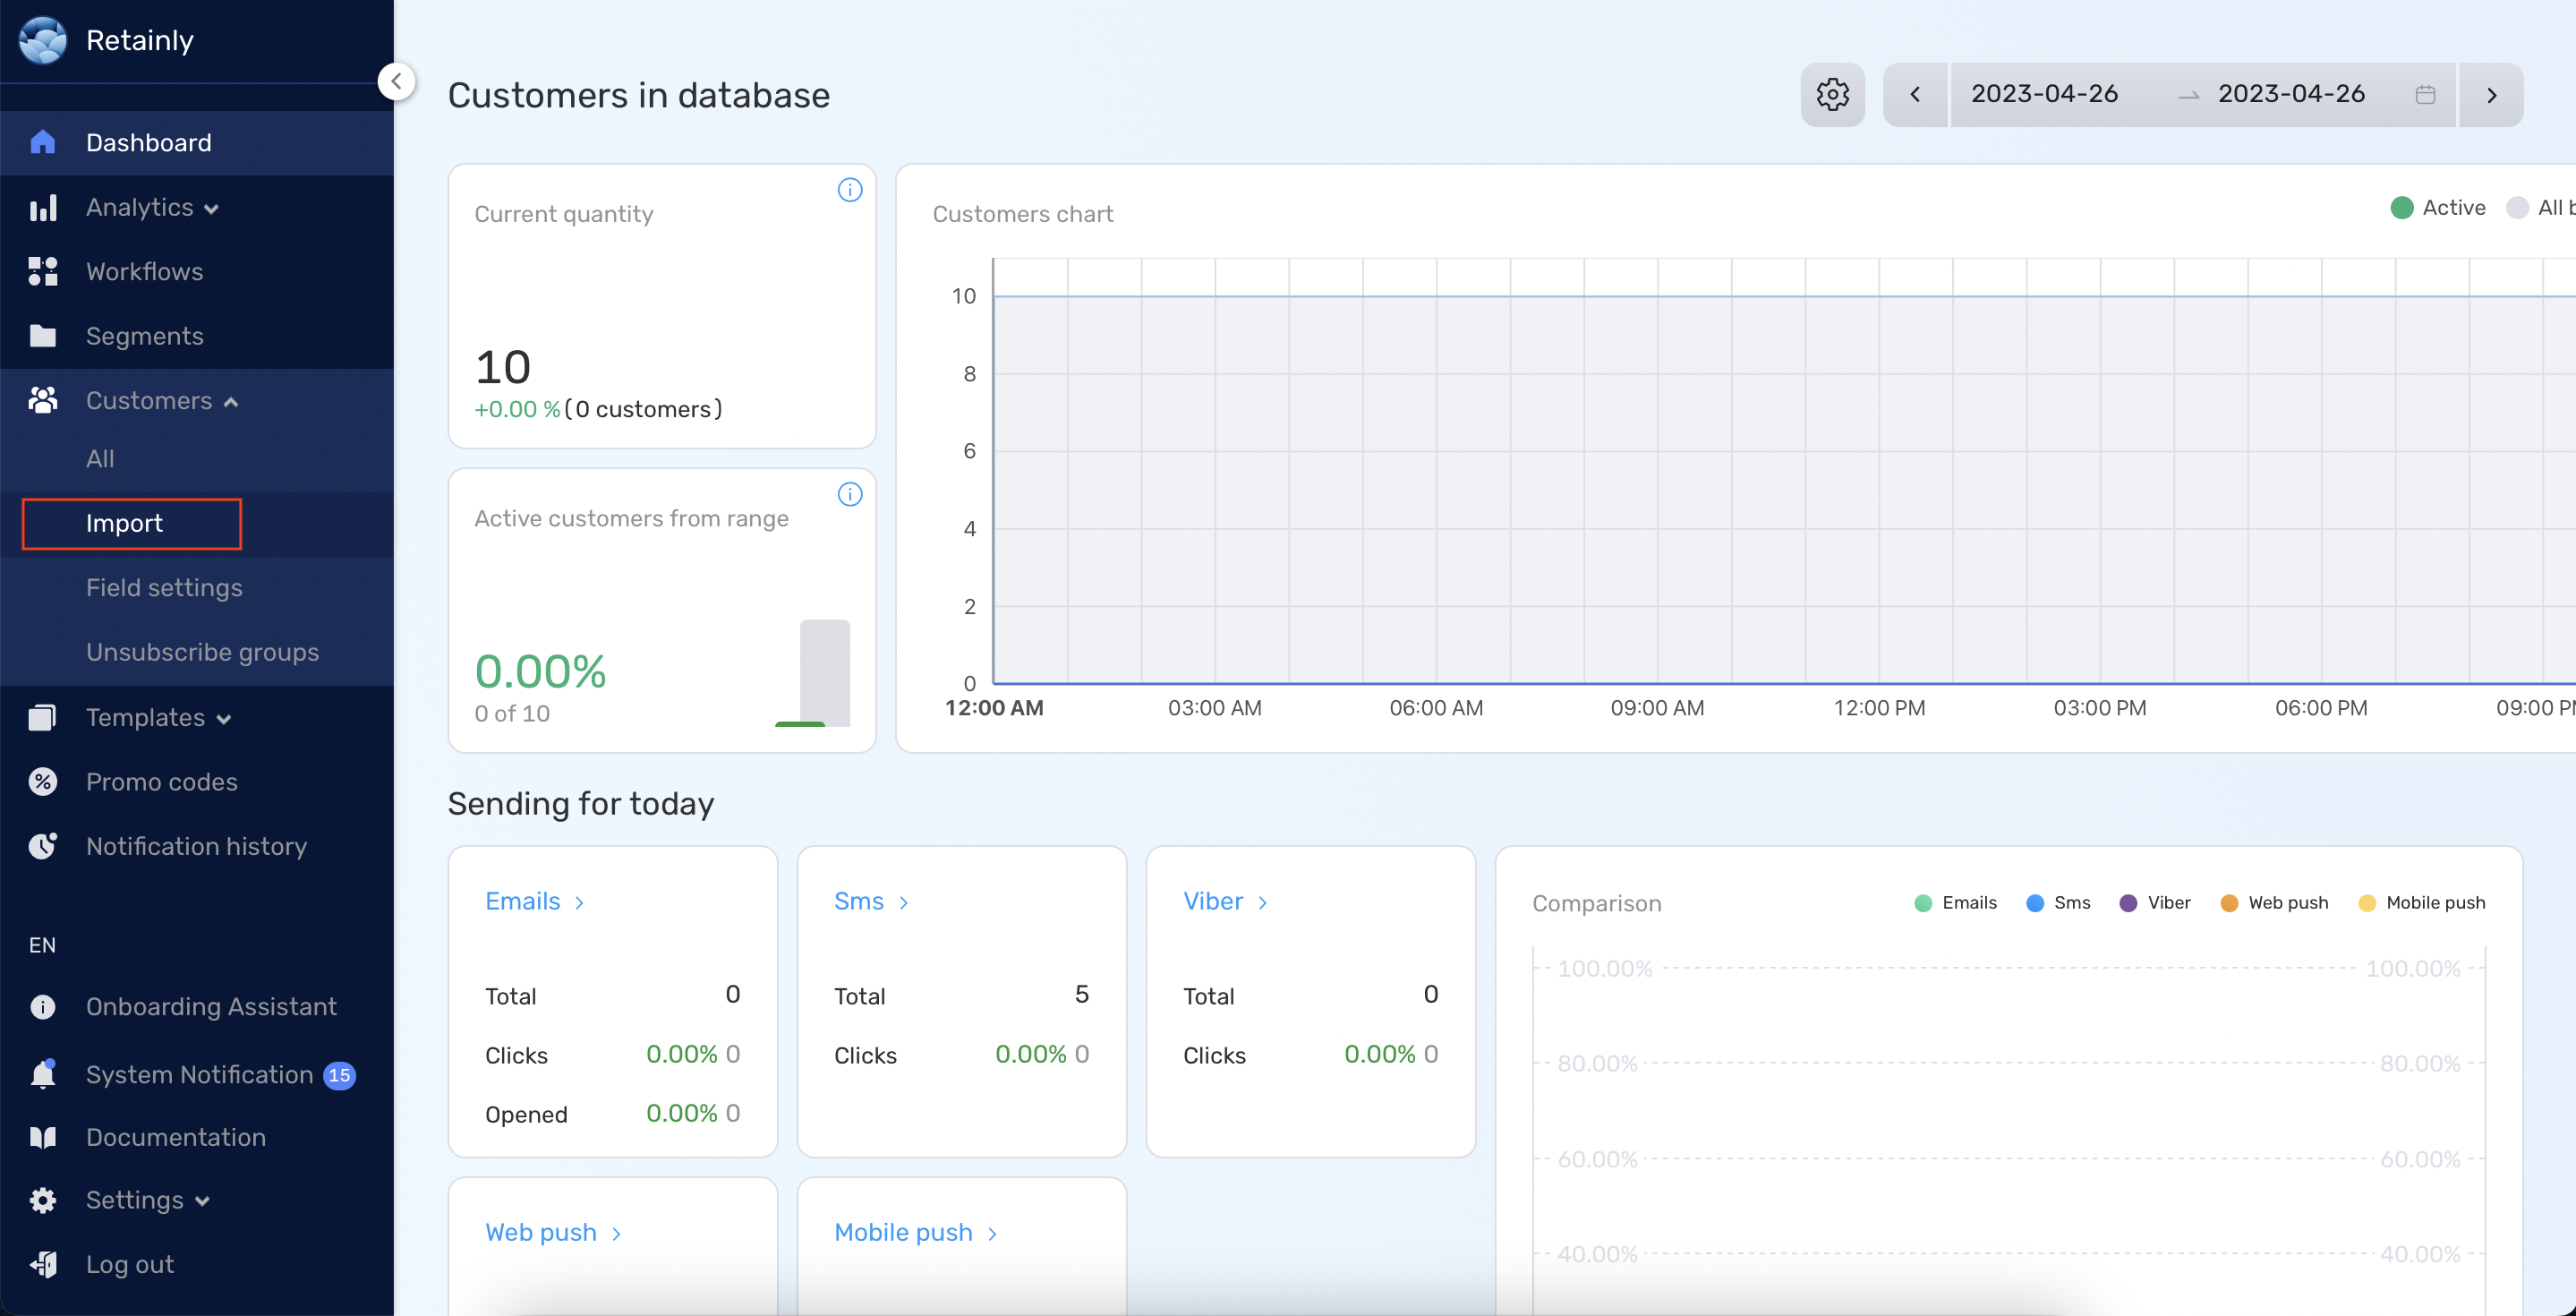
- Navigate to the Sidebar Customers → Import.
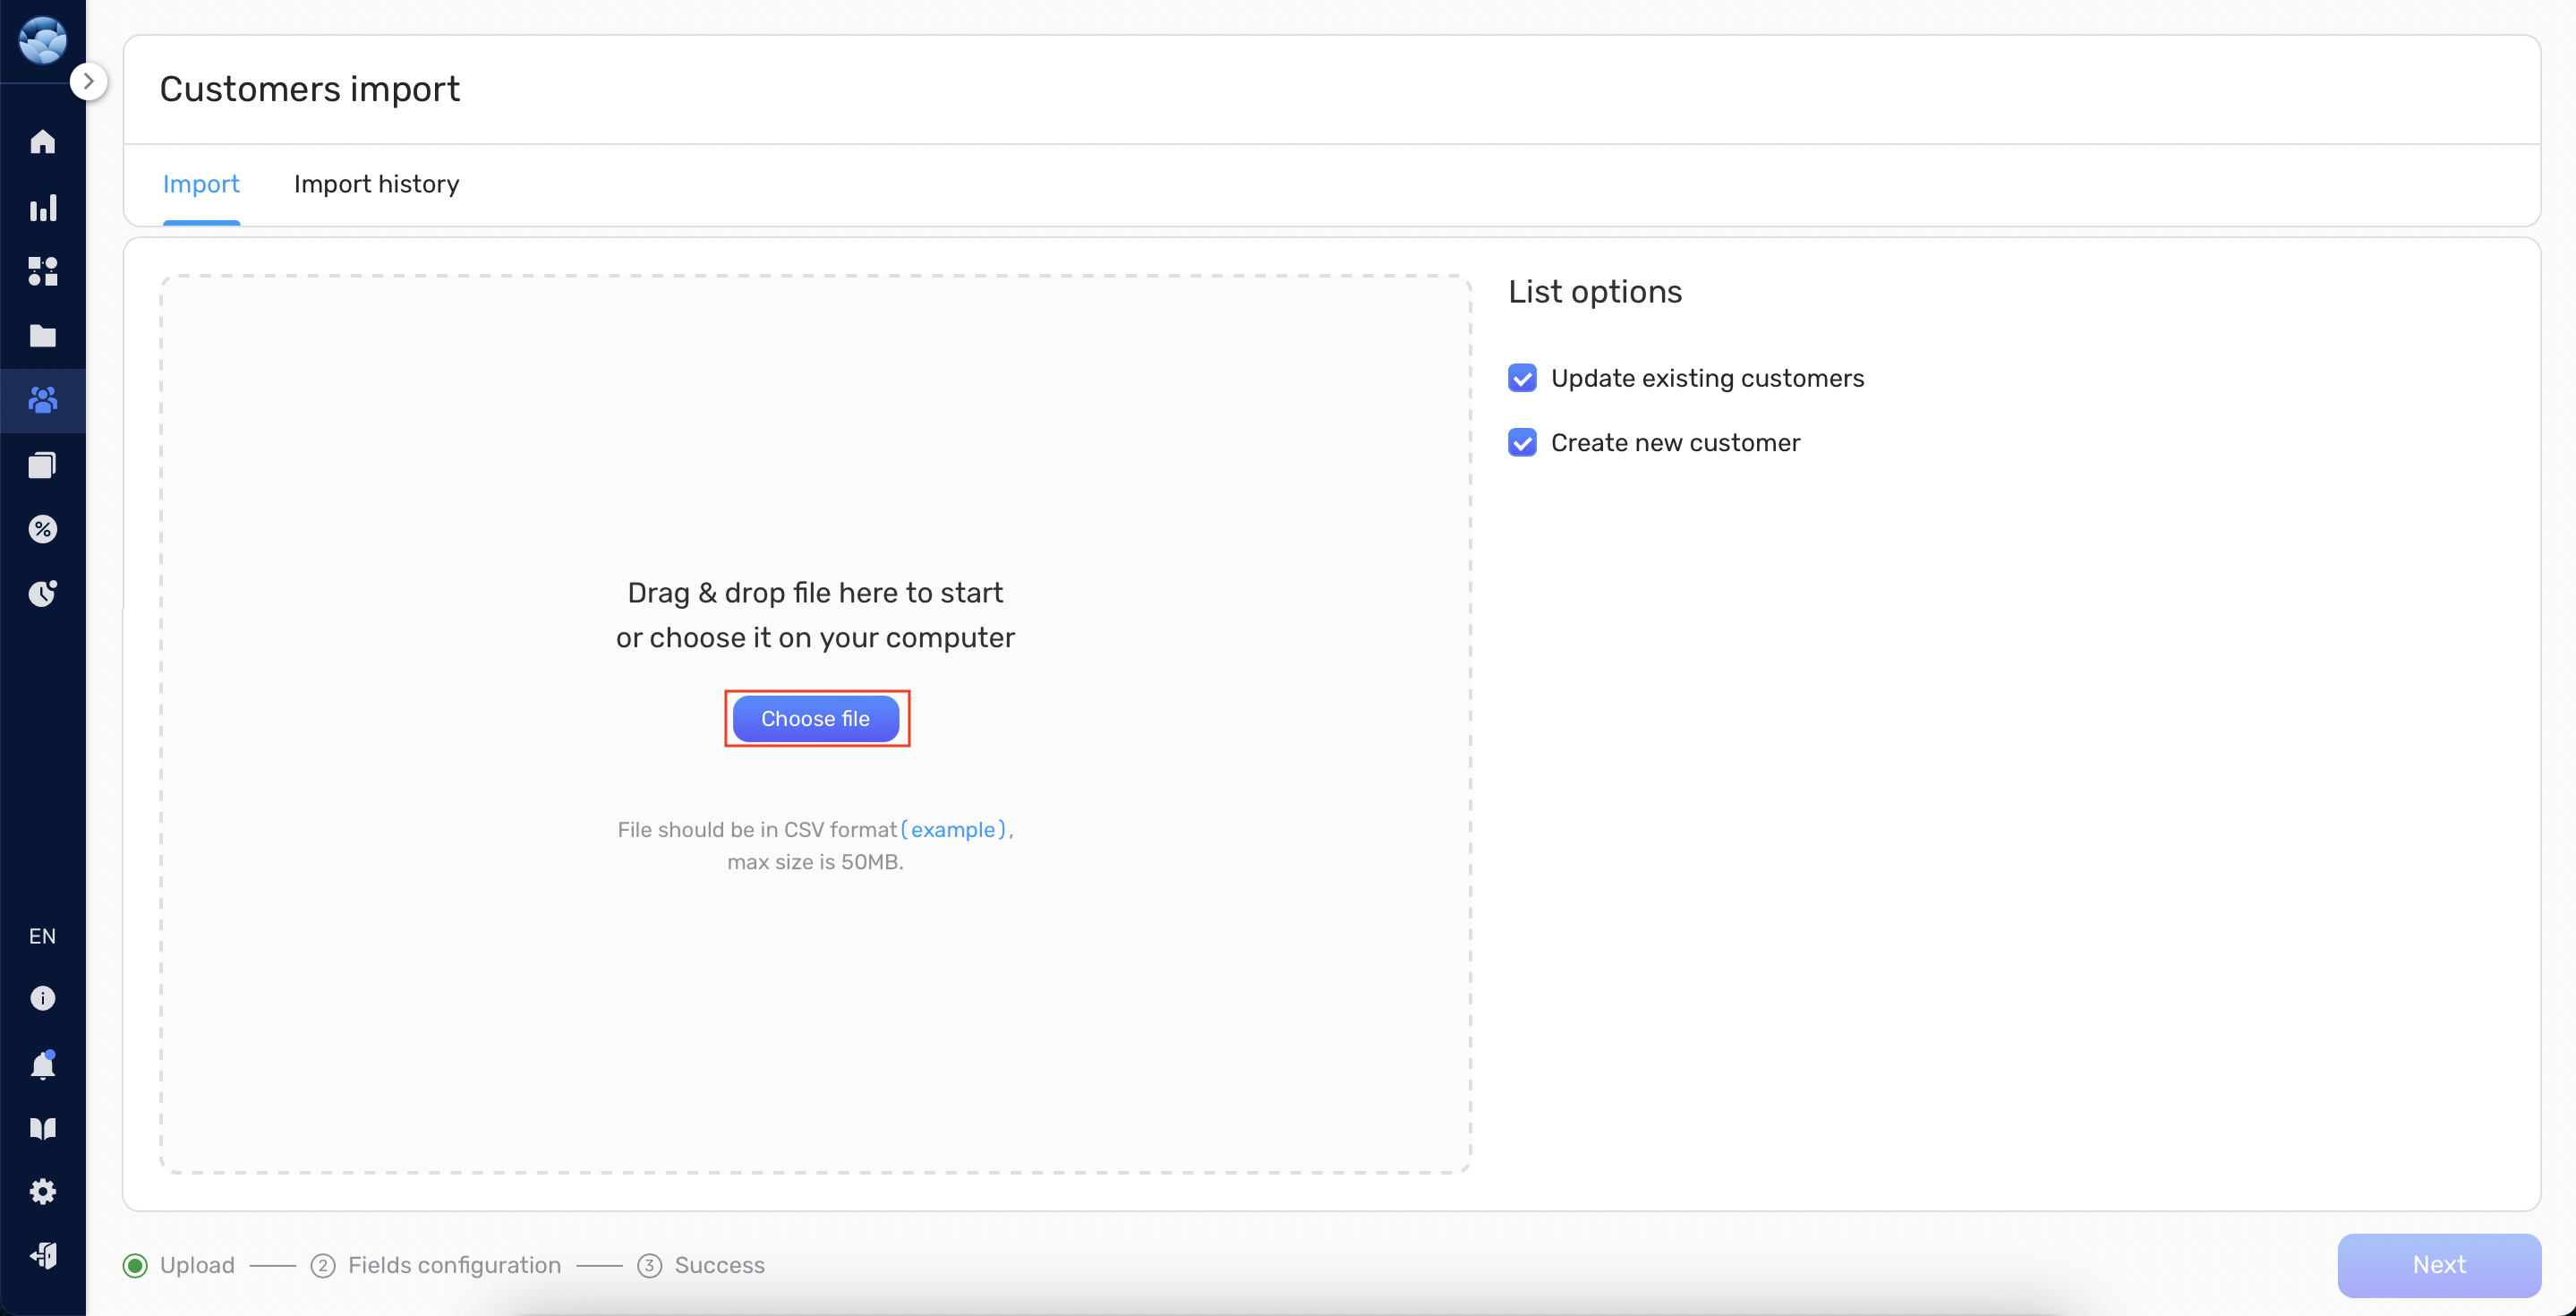
- Click the ‘Choose file’ button.
- Choose the CSV file from your computer.
- Click ‘Open’ to start the upload process.
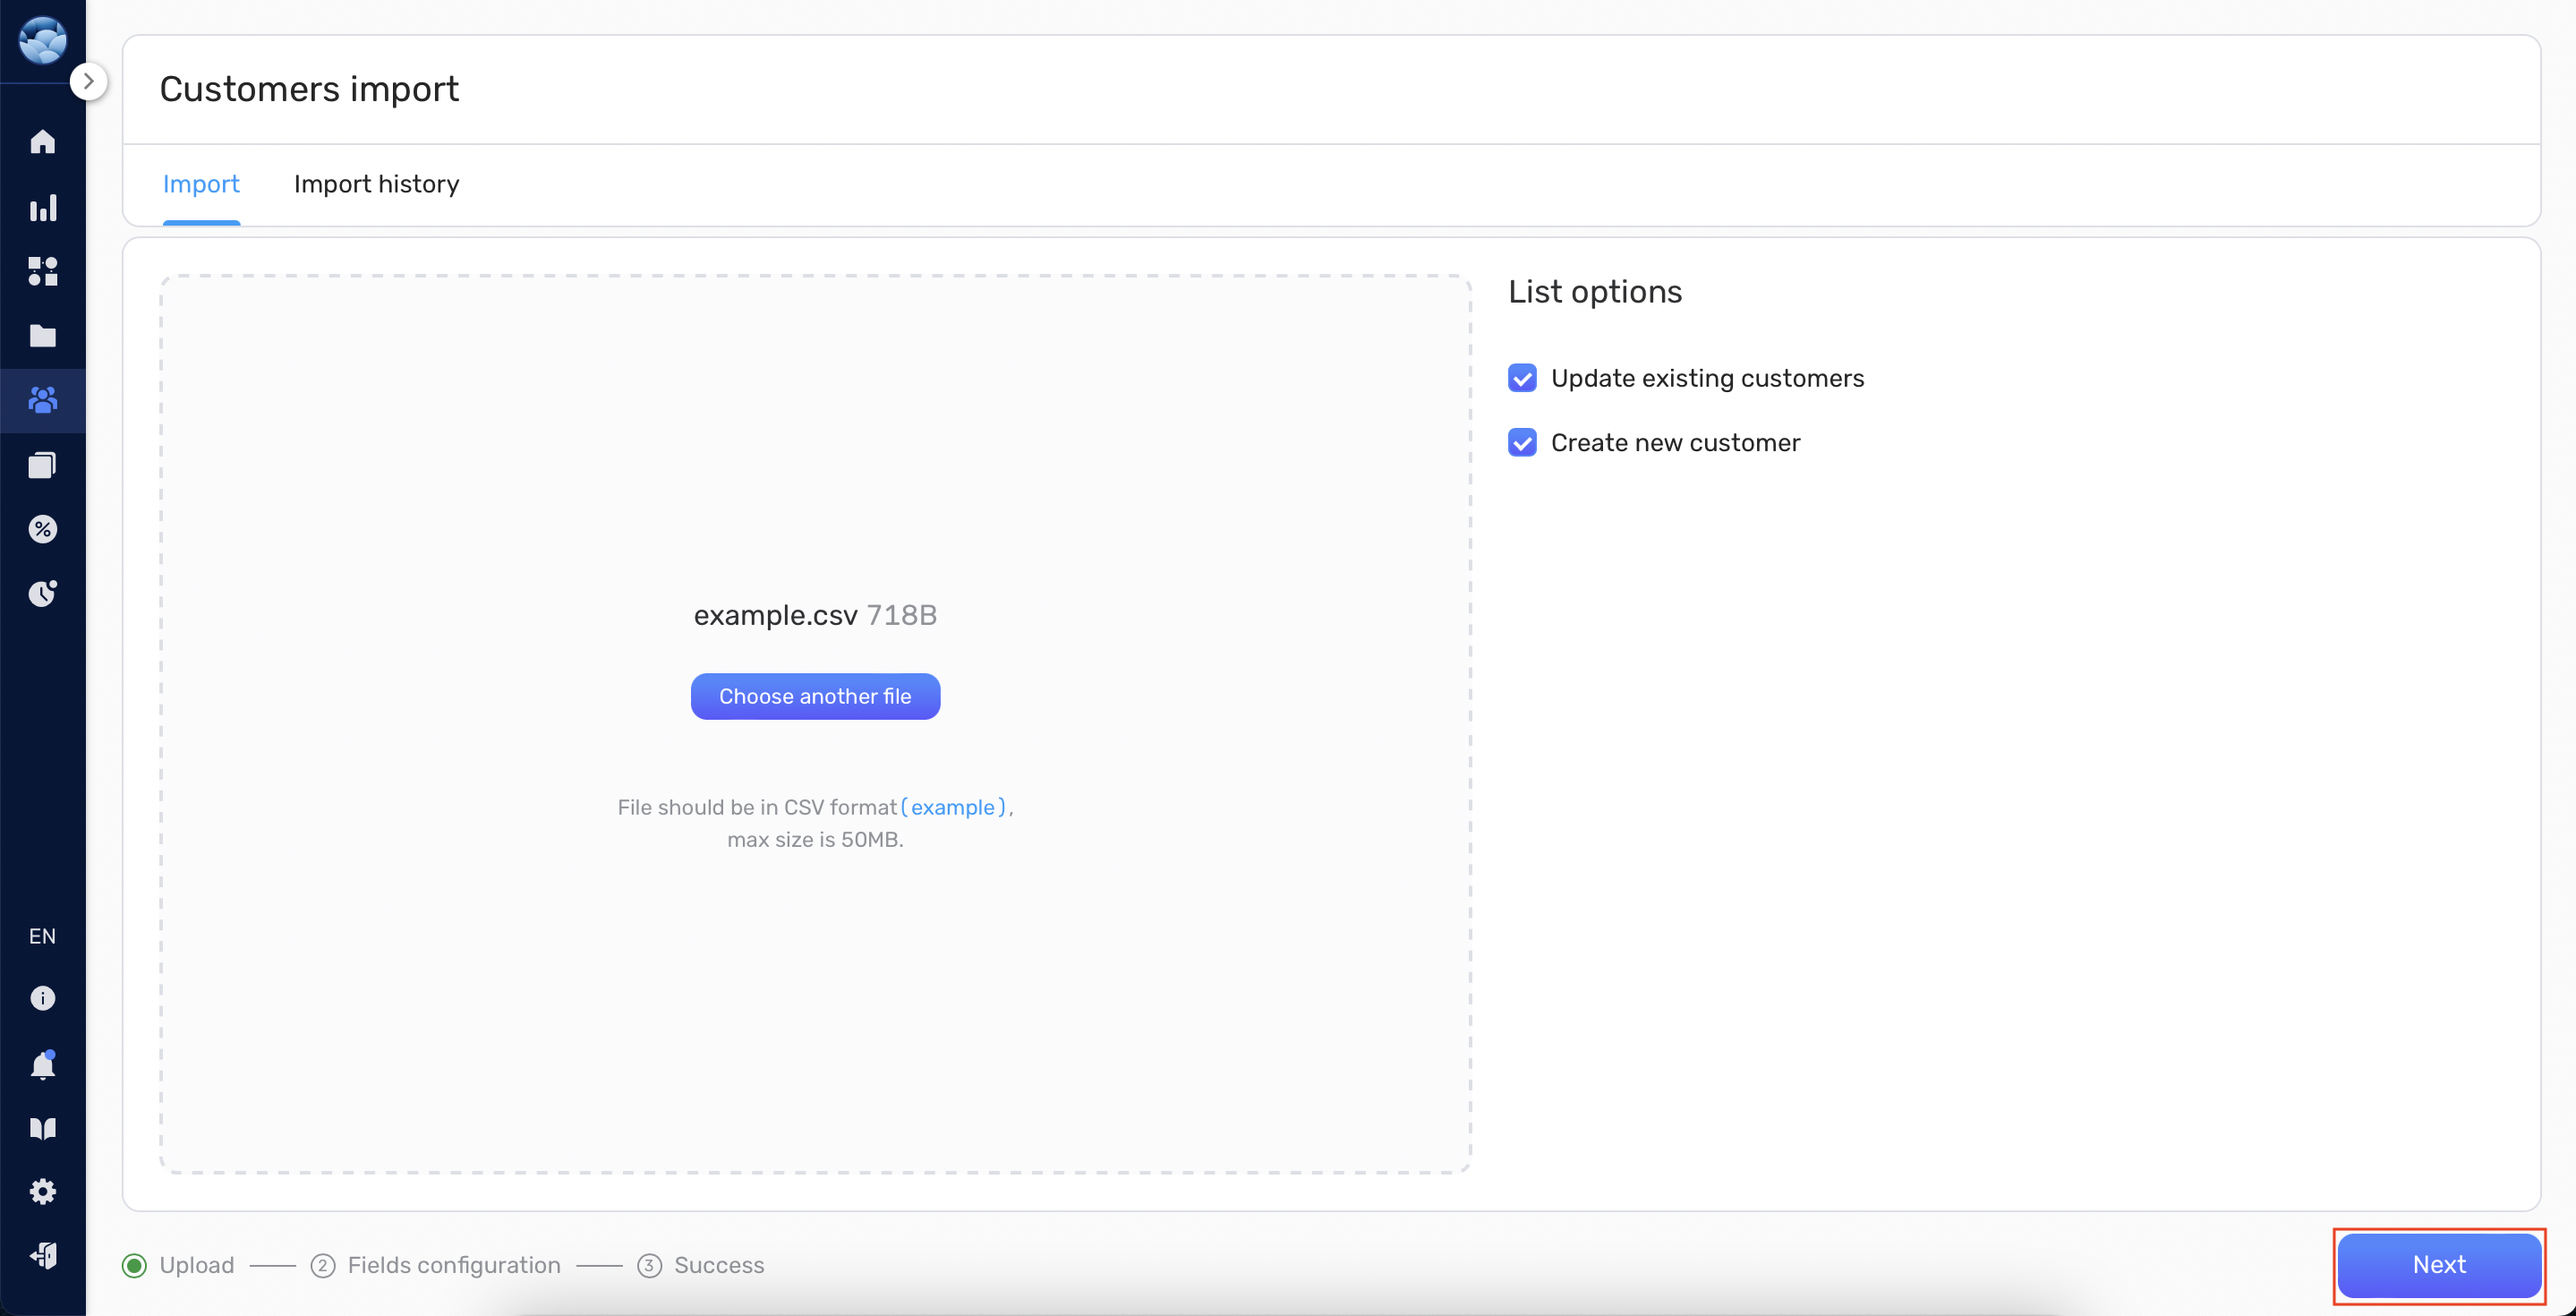
- After importing the file, proceed to the next step by clicking on [Next] on the bottom right-hand side of the screen.
Fields mapping #
After uploading your CSV file, you’ll be taken to the [Field Confirmation Page]. Your fields will be automatically imported from the .csv file, and you will be able to see them all sorted by different attributes under Label.
- Review the list of columns displayed on the screen, which are taken from your CSV header row.
- To select or deselect a field, either check or uncheck the squared box button at the left-hand-side of the window
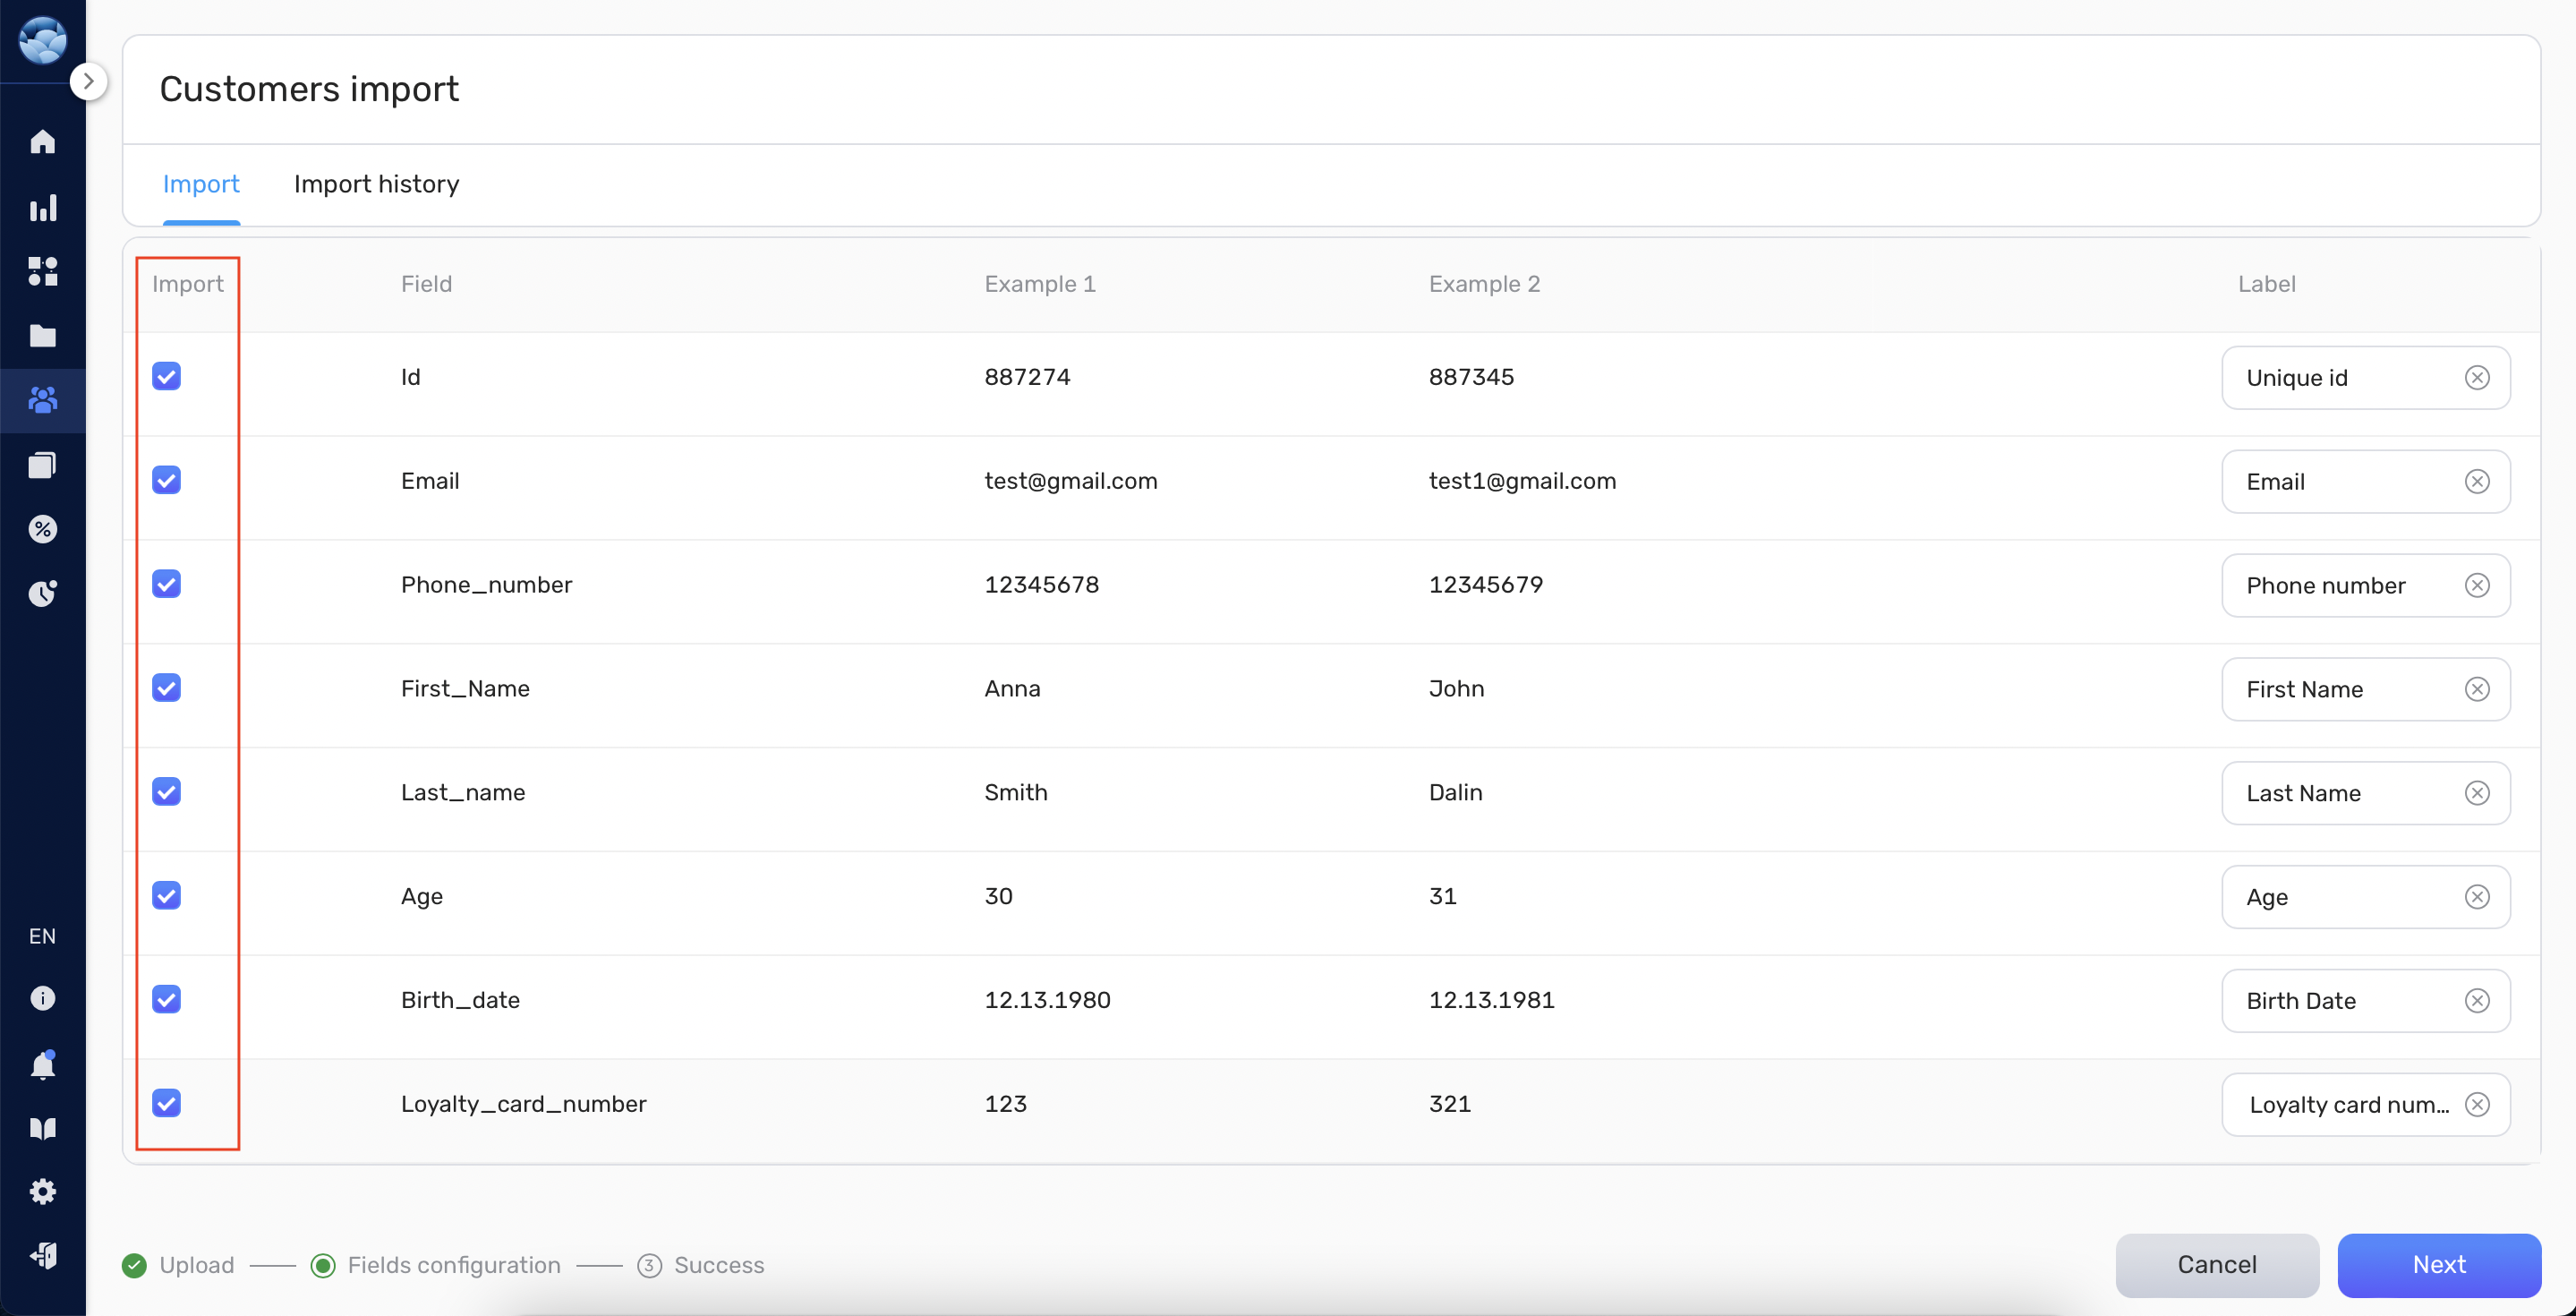
- Review all label selector options for each column. You can also manually change the label of each imported field by selecting the field under [Label]
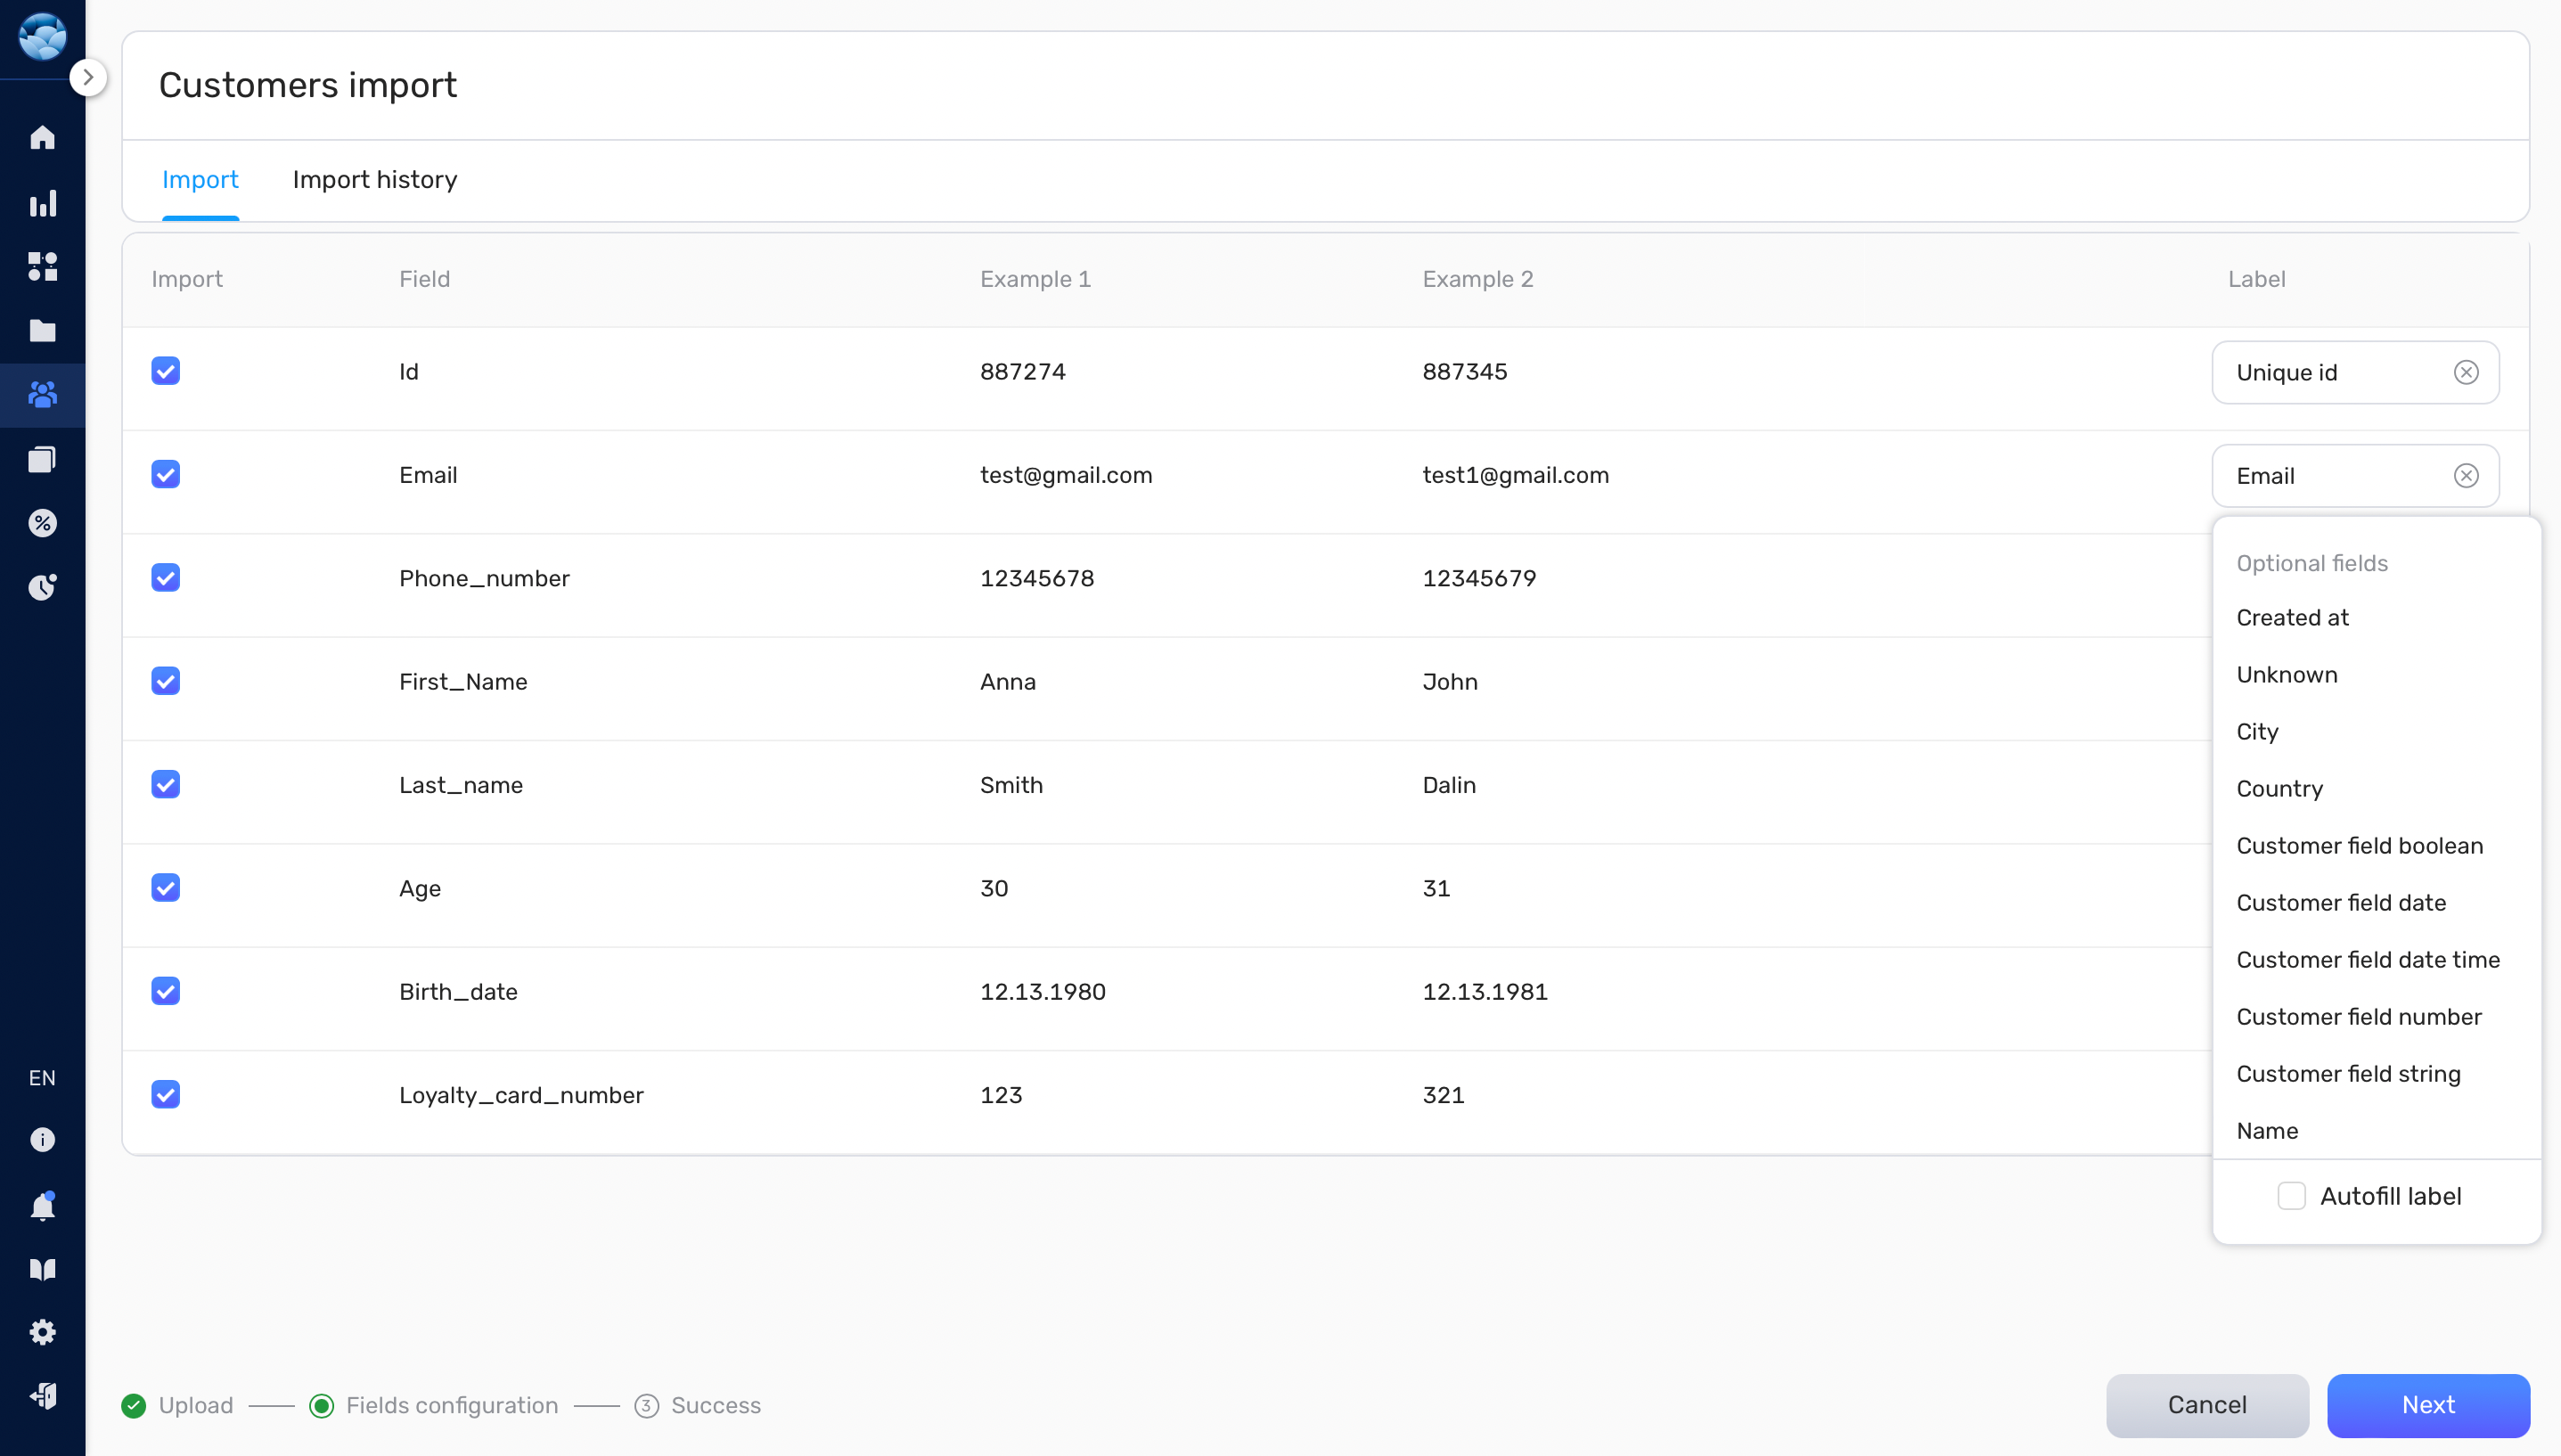
- If there’s no matching option in Retainly, you can create a custom label by clicking the ‘Autofill label’. The system will create a new label equal to the Field name.
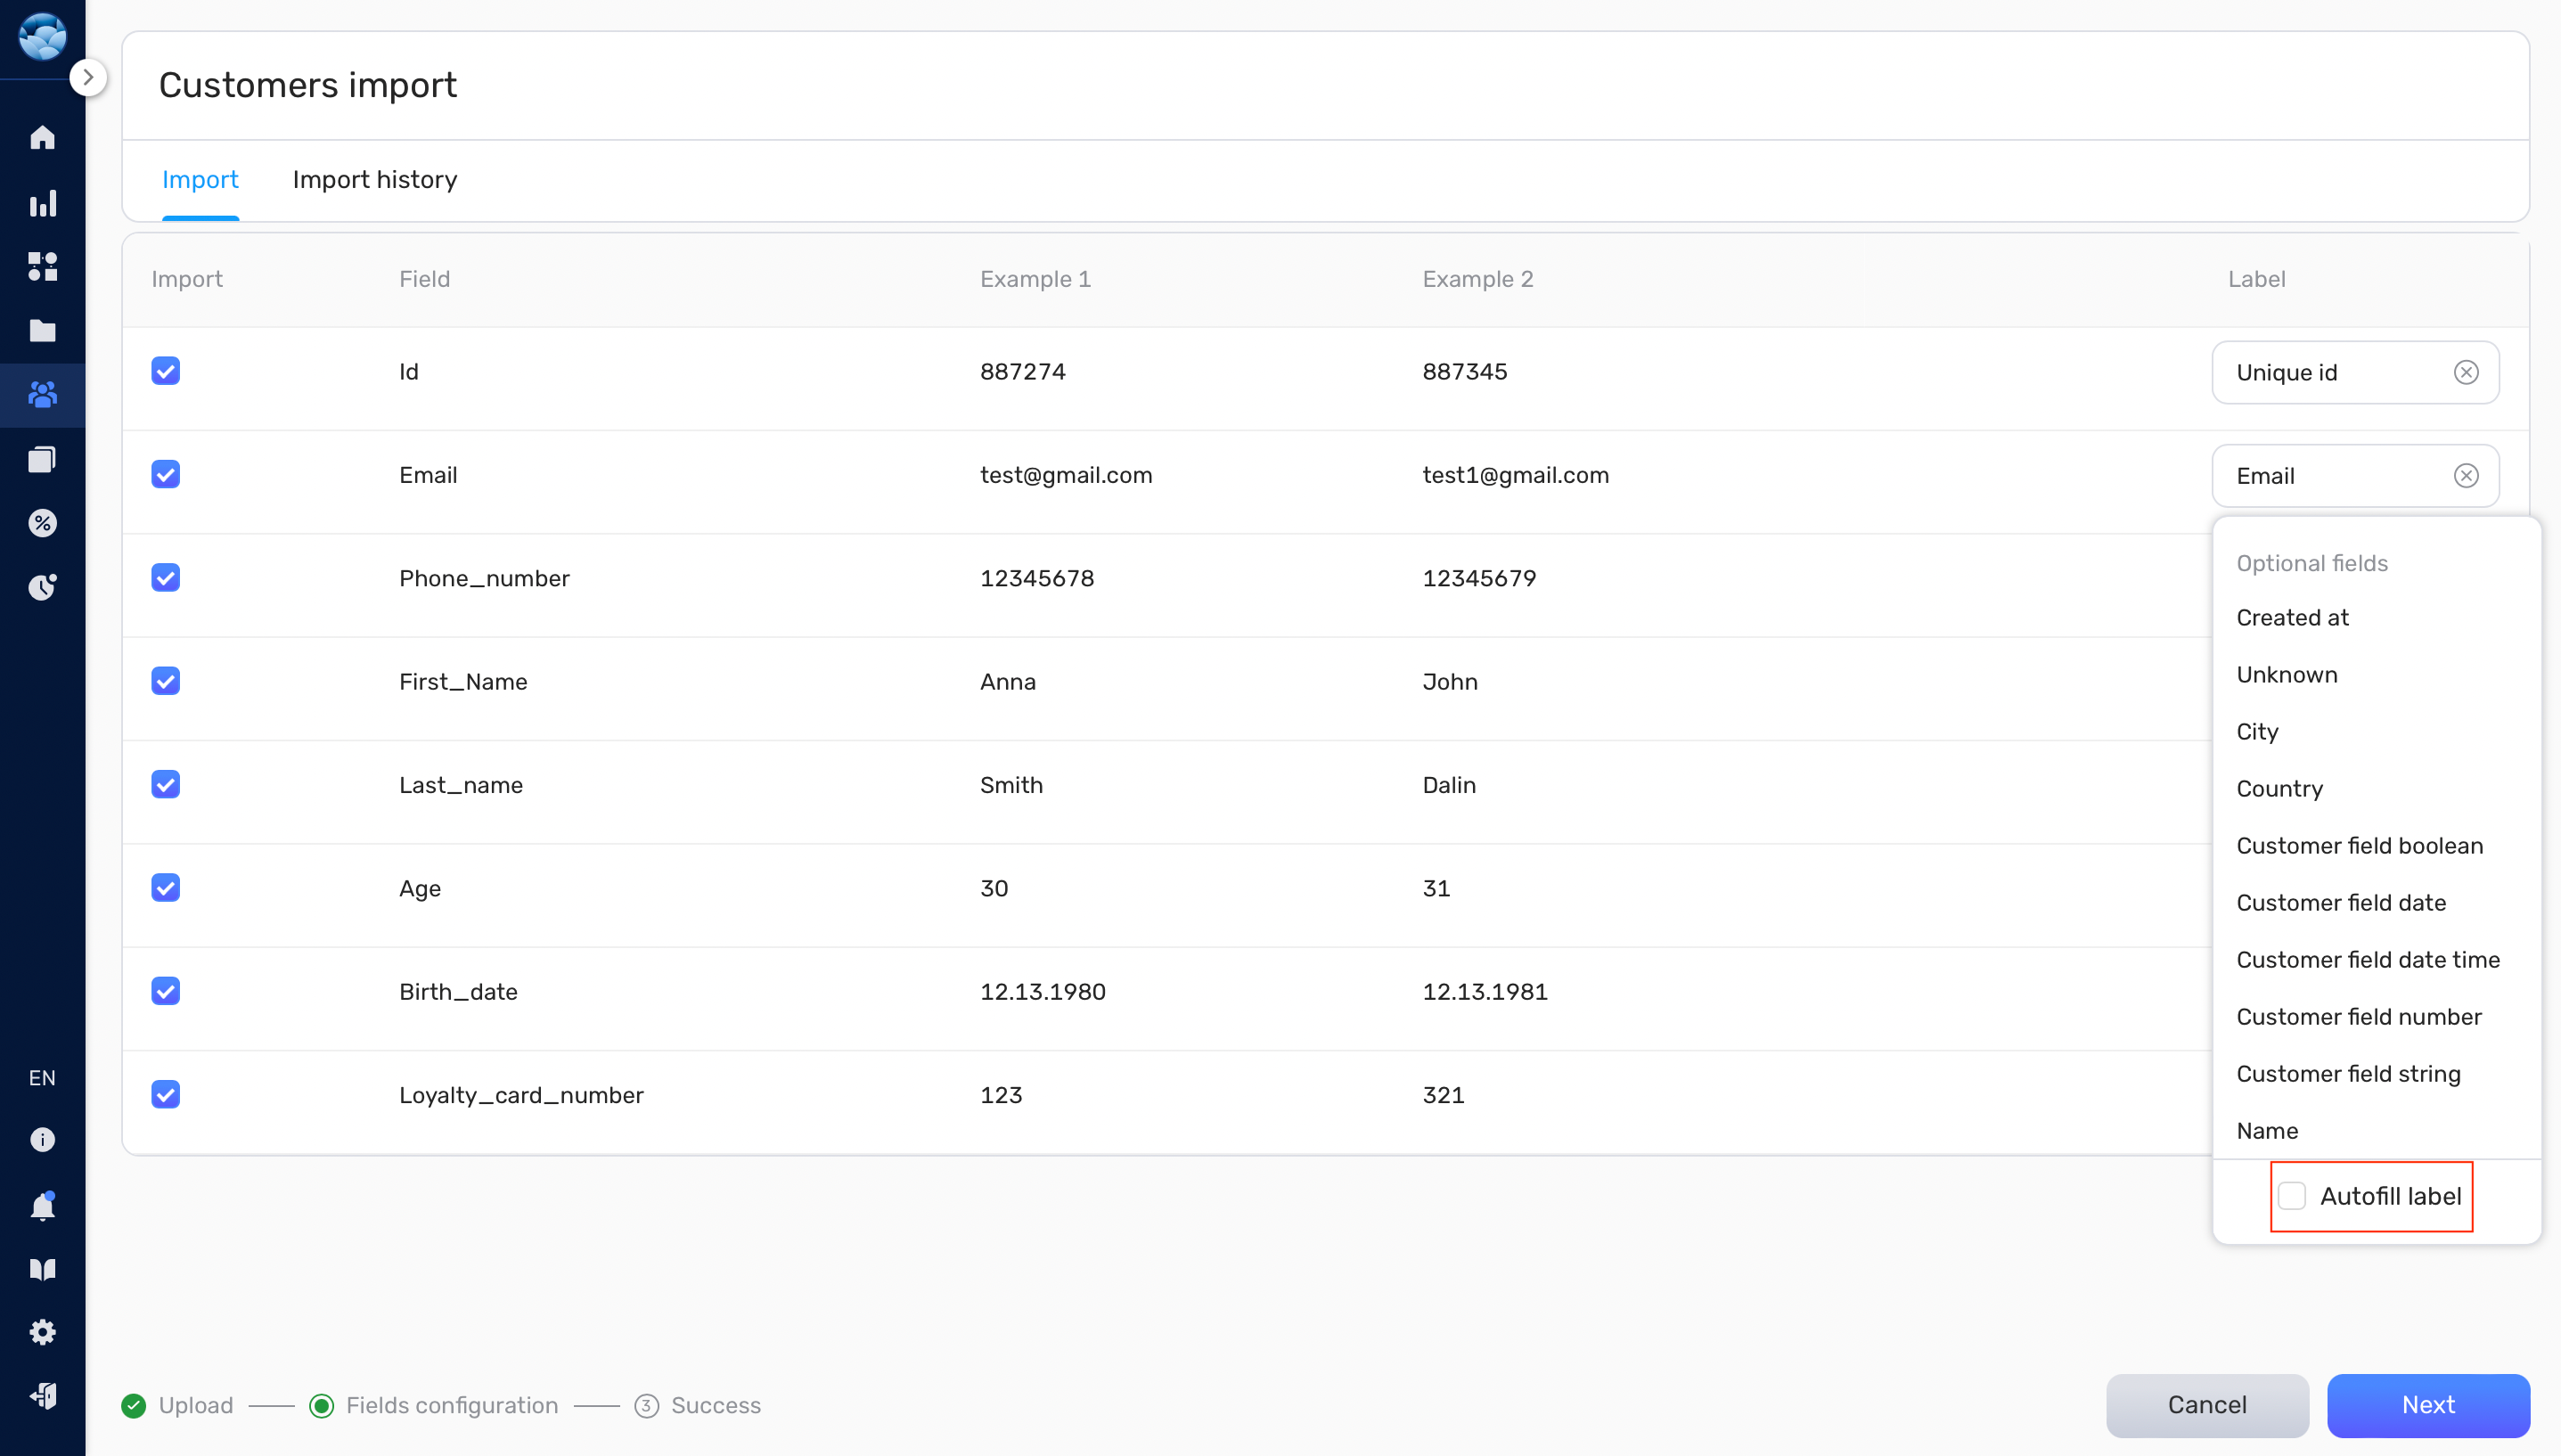
- Review your import data again to ensure you have mapped everything correctly, and click on the [Next] button to proceed.
Lastly, if your contact import worked, you should see a successful import message on the screen. Click on [Finish] to exit safely.

Conclusion: #
With this guide, you should be able to import your CSV files into the Retainly app with ease. Remember to prepare your CSV file properly and follow the steps outlined above to ensure a smooth import process. If you encounter any issues or need assistance, don’t hesitate to reach out to Retainly’s support team.


